Rexx-インストール
以下のステップでは、RexxをWindowsシステムにインストールする方法について詳しく説明します。
Step 1−前のセクションでダウンロードしたインストーラーを起動します。インストーラーが起動したら、[実行]ボタンをクリックします。

Step 2 −次の画面で次のボタンをクリックして、インストールを続行します。

Step 3 −をクリックします I Agree ボタンをクリックして続行します。

Step 4 −受け入れる default components 次に、次のボタンをクリックします。

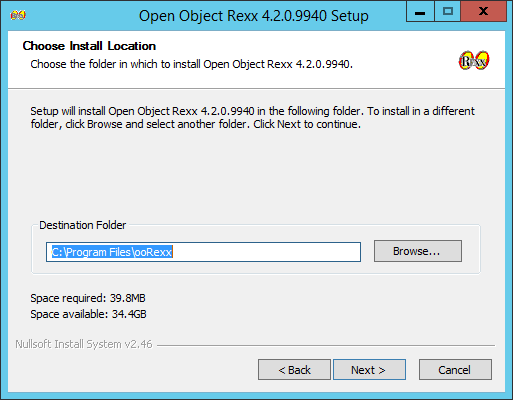
Step 5 −インストール場所を選択し、[次へ]ボタンをクリックします。
Step 6 −インストールされるデフォルトのプロセスを受け入れて、「次へ」ボタンをクリックします。

Step 7 −デフォルトのファイルの関連付けを選択し、[次へ]ボタンをクリックします。

Step 8 −次のスクリーンショットに示すように、Rexxアイテムを実行可能ファイルに送信するチェックボックスをクリックしてから、[次へ]ボタンをクリックします。

Step 9−次の画面で、Rexxファイルを操作するためのエディターを選択します。デフォルトオプションとしてメモ帳を保持します。また、各Rexxファイルのデフォルトの拡張子を受け入れます。

Step 10 −表示される次の画面でデフォルト設定を受け入れ、[次へ]ボタンをクリックしてインストールを続行します。

Step 11 −最後に、[インストール]ボタンをクリックして、インストールを続行します。

Step 12 −インストールが完了したら、[次へ]ボタンをクリックして先に進む必要があります。

Step 13 − [完了]ボタンをクリックして、インストールを完了します。
