Android - Анимация
Анимация - это процесс создания движения и изменения формы
Анимация в android возможна разными способами. В этой главе мы обсудим один простой и широко используемый способ создания анимации, называемый промежуточной анимацией.
Анимация анимации
Анимация принимает некоторые параметры, такие как начальное значение, конечное значение, размер, продолжительность, угол поворота и т. Д., И выполняет необходимую анимацию для этого объекта. Его можно применить к любому типу объекта. Итак, чтобы использовать это, android предоставил нам класс под названием Animation.
Чтобы выполнить анимацию в android, мы собираемся вызвать статическую функцию loadAnimation () класса AnimationUtils. Мы собираемся получить результат в экземпляре Animation Object. Его синтаксис следующий -
Animation animation = AnimationUtils.loadAnimation(getApplicationContext(),
   R.anim.myanimation);
Обратите внимание на второй параметр. Это имя XML-файла нашей анимации. Вам нужно создать новую папку под названиемanim в каталоге res и создайте файл xml в папке anim.
Этот класс анимации имеет множество полезных функций, которые перечислены ниже -
| Старший Нет | Метод и описание |
|---|---|
| 1 | start() Этот метод запускает анимацию. |
| 2 | setDuration(long duration) Этот метод устанавливает продолжительность анимации. |
| 3 | getDuration() Этот метод получает продолжительность, установленную вышеуказанным методом. |
| 4 | end() Этот метод завершает анимацию. |
| 5 | cancel() Этот метод отменяет анимацию. |
Чтобы применить эту анимацию к объекту, мы просто вызовем метод startAnimation () объекта. Его синтаксис -
ImageView image1 = (ImageView)findViewById(R.id.imageView1);
image.startAnimation(animation);
пример
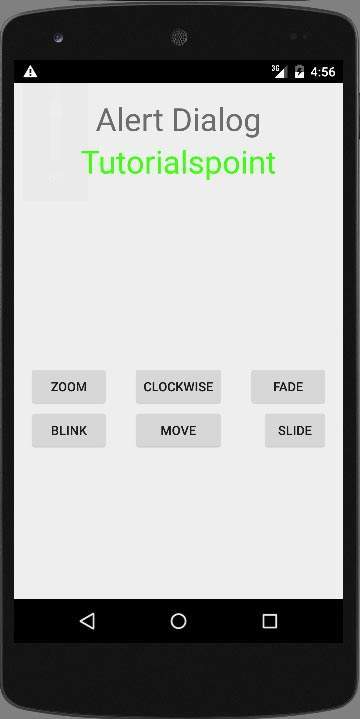
В следующем примере демонстрируется использование анимации в android. Вы сможете выбрать другой тип анимации из меню, и выбранная анимация будет применена к изображению на экране.
Чтобы поэкспериментировать с этим примером, вам нужно запустить это на эмуляторе или реальном устройстве.
| Шаги | Описание |
|---|---|
| 1 | Вы будете использовать Android studio IDE для создания Android-приложения и назовете его My Application в пакете com.example.sairamkrishna.myapplication. |
| 2 | Измените файл src / MainActivity.java, чтобы добавить код анимации |
| 3 | Измените XML-файл макета res / layout / activity_main.xml, добавьте при необходимости любой компонент графического интерфейса. |
| 4 | Создайте новую папку в каталоге res и назовите ее anim. Подтвердите это, посетив res / anim |
| 5 | Щелкните правой кнопкой мыши анимацию, нажмите «Создать» и выберите XML-файл Android. Вам необходимо создать различные файлы, перечисленные ниже. |
| 6 | Создайте файлы myanimation.xml, clockwise.xml, fade.xml, move.xml, blink.xml, slide.xml и добавьте код XML. |
| 7 | Нет необходимости изменять строковые константы по умолчанию. Студия Android заботится о константах по умолчанию в файле values / string.xml. |
| 8 | Запустите приложение, выберите работающее устройство Android, установите на него приложение и проверьте результаты. |
Вот модифицированный код MainActivity.java.
package com.example.sairamkrishna.myapplication;

import android.app.Activity;
import android.os.Bundle;
import android.view.View;
import android.view.animation.Animation;
import android.view.animation.AnimationUtils;
import android.widget.ImageView;
import android.widget.Toast;

public class MainActivity extends Activity {
   @Override
   protected void onCreate(Bundle savedInstanceState) {
      super.onCreate(savedInstanceState);
      setContentView(R.layout.activity_main);
   }

   public void clockwise(View view){
      ImageView image = (ImageView)findViewById(R.id.imageView);
      Animation animation = AnimationUtils.loadAnimation(getApplicationContext(),
         R.anim.myanimation);
      image.startAnimation(animation);
   }

   public void zoom(View view){
      ImageView image = (ImageView)findViewById(R.id.imageView);
      Animation animation1 = AnimationUtils.loadAnimation(getApplicationContext(),
         R.anim.clockwise);
      image.startAnimation(animation1);
   }

   public void fade(View view){
      ImageView image = (ImageView)findViewById(R.id.imageView);
      Animation animation1 =
         AnimationUtils.loadAnimation(getApplicationContext(),
            R.anim.fade);
      image.startAnimation(animation1);
   }

   public void blink(View view){
      ImageView image = (ImageView)findViewById(R.id.imageView);
      Animation animation1 =
         AnimationUtils.loadAnimation(getApplicationContext(),
            R.anim.blink);
      image.startAnimation(animation1);
   }

   public void move(View view){
      ImageView image = (ImageView)findViewById(R.id.imageView);
      Animation animation1 =
         AnimationUtils.loadAnimation(getApplicationContext(), R.anim.move);
      image.startAnimation(animation1);
   }

   public void slide(View view){
      ImageView image = (ImageView)findViewById(R.id.imageView);
      Animation animation1 =
         AnimationUtils.loadAnimation(getApplicationContext(), R.anim.slide);
      image.startAnimation(animation1);
   }
}
Вот модифицированный код res/layout/activity_main.xml.
Здесь abc указывает на логотип учебной точки.
<RelativeLayout
   xmlns:android="http://schemas.android.com/apk/res/android"
   xmlns:tools="http://schemas.android.com/tools"
   android:layout_width="match_parent"
   android:layout_height="match_parent"
   android:paddingLeft="@dimen/activity_horizontal_margin"
   android:paddingRight="@dimen/activity_horizontal_margin"
   android:paddingTop="@dimen/activity_vertical_margin"
   android:paddingBottom="@dimen/activity_vertical_margin" tools:context=".MainActivity">

   <TextView
      android:layout_width="wrap_content"
      android:layout_height="wrap_content"
      android:text="Alert Dialog"
      android:id="@+id/textView"
      android:textSize="35dp"
      android:layout_alignParentTop="true"
      android:layout_centerHorizontal="true" />

   <TextView
      android:layout_width="wrap_content"
      android:layout_height="wrap_content"
      android:text="Tutorialspoint"
      android:id="@+id/textView2"
      android:textColor="#ff3eff0f"
      android:textSize="35dp"
      android:layout_below="@+id/textView"
      android:layout_centerHorizontal="true" />

   <ImageView
      android:layout_width="wrap_content"
      android:layout_height="wrap_content"
      android:id="@+id/imageView"
      android:src="@drawable/abc"
      android:layout_below="@+id/textView2"
      android:layout_alignRight="@+id/textView2"
      android:layout_alignEnd="@+id/textView2"
      android:layout_alignLeft="@+id/textView"
      android:layout_alignStart="@+id/textView"/>

   <Button
      android:layout_width="wrap_content"
      android:layout_height="wrap_content"
      android:text="zoom"
      android:id="@+id/button"
      android:layout_below="@+id/imageView"
      android:layout_alignParentLeft="true"
      android:layout_alignParentStart="true"
      android:layout_marginTop="40dp"
      android:onClick="clockwise"/>

   <Button
      android:layout_width="wrap_content"
      android:layout_height="wrap_content"
      android:text="clockwise"
      android:id="@+id/button2"
      android:layout_alignTop="@+id/button"
      android:layout_centerHorizontal="true"
      android:onClick="zoom"/>

   <Button
      android:layout_width="wrap_content"
      android:layout_height="wrap_content"
      android:text="fade"
      android:id="@+id/button3"
      android:layout_alignTop="@+id/button2"
      android:layout_alignParentRight="true"
      android:layout_alignParentEnd="true"
      android:onClick="fade"/>

   <Button
      android:layout_width="wrap_content"
      android:layout_height="wrap_content"
      android:text="blink"
      android:onClick="blink"
      android:id="@+id/button4"
      android:layout_below="@+id/button"
      android:layout_alignParentLeft="true"
      android:layout_alignParentStart="true" />

   <Button
      android:layout_width="wrap_content"
      android:layout_height="wrap_content"
      android:text="move"
      android:onClick="move"
      android:id="@+id/button5"
      android:layout_below="@+id/button2"
      android:layout_alignRight="@+id/button2"
      android:layout_alignEnd="@+id/button2"
      android:layout_alignLeft="@+id/button2"
      android:layout_alignStart="@+id/button2" />

   <Button
      android:layout_width="wrap_content"
      android:layout_height="wrap_content"
      android:text="slide"
      android:onClick="slide"
      android:id="@+id/button6"
      android:layout_below="@+id/button3"
      android:layout_toRightOf="@+id/textView"
      android:layout_toEndOf="@+id/textView" />

</RelativeLayout>
Вот код res/anim/myanimation.xml.
<?xml version="1.0" encoding="utf-8"?>
<set xmlns:android="http://schemas.android.com/apk/res/android">

   <scale xmlns:android="http://schemas.android.com/apk/res/android"
      android:fromXScale="0.5"
      android:toXScale="3.0"
      android:fromYScale="0.5"
      android:toYScale="3.0"
      android:duration="5000"
      android:pivotX="50%"
      android:pivotY="50%" >
   </scale>

   <scale xmlns:android="http://schemas.android.com/apk/res/android"
      android:startOffset="5000"
      android:fromXScale="3.0"
      android:toXScale="0.5"
      android:fromYScale="3.0"
      android:toYScale="0.5"
      android:duration="5000"
      android:pivotX="50%"
      android:pivotY="50%" >
   </scale>

</set>
Вот код res/anim/clockwise.xml.
<?xml version="1.0" encoding="utf-8"?>
<set xmlns:android="http://schemas.android.com/apk/res/android">

   <rotate xmlns:android="http://schemas.android.com/apk/res/android"
      android:fromDegrees="0"
      android:toDegrees="360"
      android:pivotX="50%"
      android:pivotY="50%"
      android:duration="5000" >
   </rotate>

   <rotate xmlns:android="http://schemas.android.com/apk/res/android"
      android:startOffset="5000"
      android:fromDegrees="360"
      android:toDegrees="0"
      android:pivotX="50%"
      android:pivotY="50%"
      android:duration="5000" >
   </rotate>

</set>
Вот код res/anim/fade.xml.
<?xml version="1.0" encoding="utf-8"?>
<set xmlns:android="http://schemas.android.com/apk/res/android"
   android:interpolator="@android:anim/accelerate_interpolator" >

   <alpha
      android:fromAlpha="0"
      android:toAlpha="1"
      android:duration="2000" >
   </alpha>

   <alpha
      android:startOffset="2000"
      android:fromAlpha="1"
      android:toAlpha="0"
      android:duration="2000" >
   </alpha>

</set>
Вот код res/anim/blink.xml.
<?xml version="1.0" encoding="utf-8"?>
<set xmlns:android="http://schemas.android.com/apk/res/android">
   <alpha android:fromAlpha="0.0"
      android:toAlpha="1.0"
      android:interpolator="@android:anim/accelerate_interpolator"
      android:duration="600"
      android:repeatMode="reverse"
      android:repeatCount="infinite"/>
</set>
Вот код res/anim/move.xml.
<?xml version="1.0" encoding="utf-8"?>
<set
   xmlns:android="http://schemas.android.com/apk/res/android"
   android:interpolator="@android:anim/linear_interpolator"
   android:fillAfter="true">

   <translate
      android:fromXDelta="0%p"
      android:toXDelta="75%p"
      android:duration="800" />
</set>
Вот код res/anim/slide.xml
<?xml version="1.0" encoding="utf-8"?>
<set xmlns:android="http://schemas.android.com/apk/res/android"
   android:fillAfter="true" >

   <scale
      android:duration="500"
      android:fromXScale="1.0"
      android:fromYScale="1.0"
      android:interpolator="@android:anim/linear_interpolator"
      android:toXScale="1.0"
      android:toYScale="0.0" />
</set>
Вот модифицированный код res/values/string.xml.
<resources>
   <string name="app_name">My Application</string>
</resources>
Вот код по умолчанию AndroidManifest.xml.
<?xml version="1.0" encoding="utf-8"?>
<manifest xmlns:android="http://schemas.android.com/apk/res/android"
   package="com.example.sairamkrishna.myapplication" >

   <application
      android:allowBackup="true"
      android:icon="@drawable/ic_launcher"
      android:label="@string/app_name"
      android:theme="@style/AppTheme" >

      <activity
         android:name="com.example.animation.MainActivity"
         android:label="@string/app_name" >

         <intent-filter>
            <action android:name="android.intent.action.MAIN" />
            <category android:name="android.intent.category.LAUNCHER" />
         </intent-filter>

      </activity>

   </application>
</manifest>
Попробуем запустить ваше приложение. Я предполагаю, что вы подключили свое настоящее мобильное устройство Android к компьютеру. Чтобы запустить приложение из студии Android, откройте один из файлов активности вашего проекта и щелкните

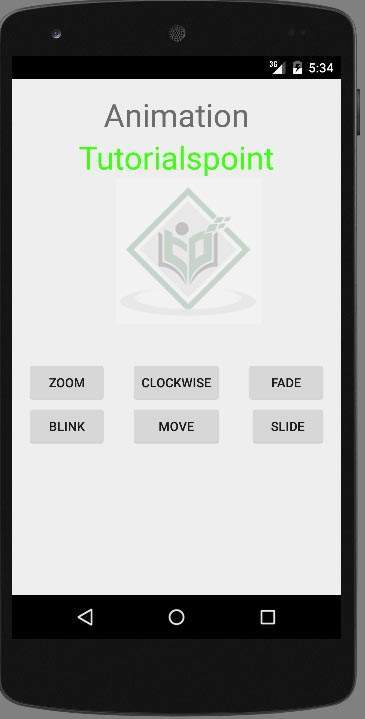
Выберите кнопку масштабирования, появится следующий экран -

Теперь выберите кнопку слайда, появится следующий экран
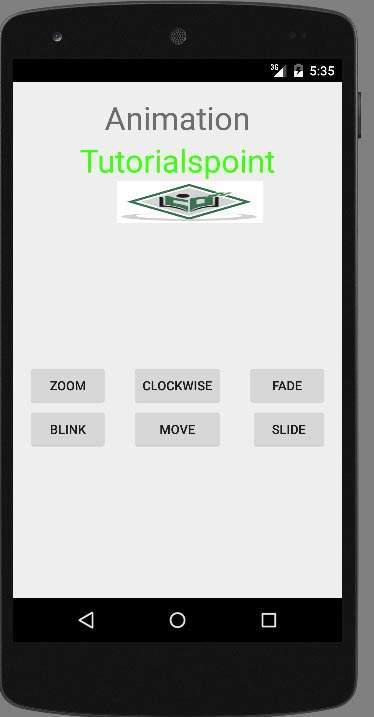
Теперь выберите кнопку перемещения, появится следующий экран

Теперь нажмите на кнопку по часовой стрелке, появится следующий экран

Теперь кнопка Fade отобразит следующий экран
Примечание. Если вы запустите его в эмуляторе, вы можете не ощутить эффект плавной анимации. Вы должны запустить его на своем мобильном телефоне Android, чтобы испытать плавную анимацию.