Sass - การติดตั้ง
ในบทนี้เราจะเรียนรู้ขั้นตอนทีละขั้นตอนในการติดตั้ง Ruby ซึ่งใช้สำหรับการเรียกใช้ไฟล์ SASS
ข้อกำหนดของระบบสำหรับ SASS
Operating System - ข้ามแพลตฟอร์ม
Browser Support - IE (Internet Explorer 8+), Firefox, Google Chrome, Safari, Opera
Programming Language - ทับทิม
การติดตั้ง Ruby
Step 1 - เปิดลิงค์ https://www.ruby-lang.org/en/downloads/คุณจะเห็นหน้าจอดังที่แสดงด้านล่าง -

ดาวน์โหลดไฟล์ zip เวอร์ชันเสถียรปัจจุบัน
Step 2 - จากนั้นเรียกใช้การตั้งค่าเพื่อติดตั้ง Ruby บนระบบ
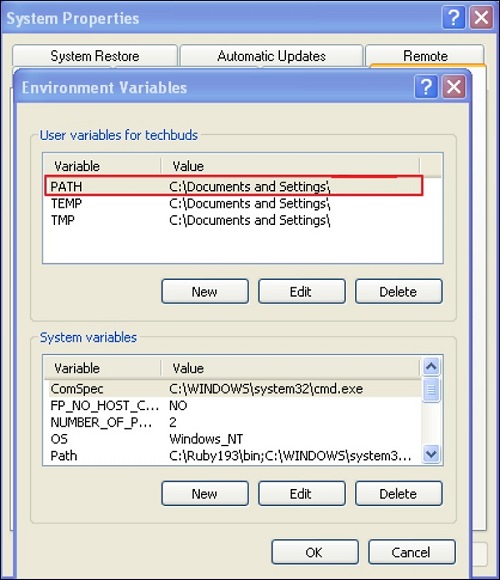
Step 3- จากนั้นเพิ่มโฟลเดอร์ Ruby bin ในPATH User VariableและSystem Variableเพื่อทำงานกับคำสั่ง gem
Path User Variable -
คลิกขวาที่ไฟล์ My Computer ไอคอน.
เลือก Properties.
จากนั้นคลิกไฟล์ Advanced แล้วคลิก Environment Variables.

ในหน้าต่างEnvironment Variablesให้ดับเบิลคลิกที่PATHตามที่แสดงในภาพหน้าจอด้านล่าง -
คุณจะได้กล่องแก้ไขตัวแปรผู้ใช้ดังภาพ เพิ่มเส้นทางโฟลเดอร์ถังทับทิมในฟิลด์ค่าตัวแปรเป็นC:\Ruby\bin. หากเส้นทางถูกกำหนดไว้แล้วสำหรับไฟล์อื่นให้ใส่อัฒภาคหลังจากนั้นและเพิ่มเส้นทางโฟลเดอร์ Ruby ดังที่แสดงด้านล่าง

คลิก OK ปุ่ม.
System Variable -
คลิก New ปุ่ม.
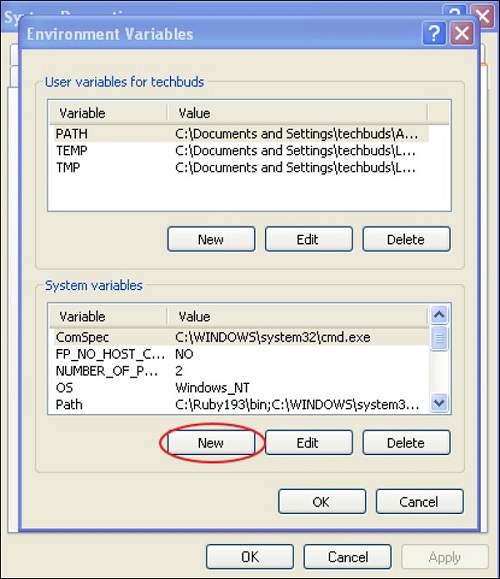
ถัดไป New System Variable block จะแสดงดังภาพด้านล่าง
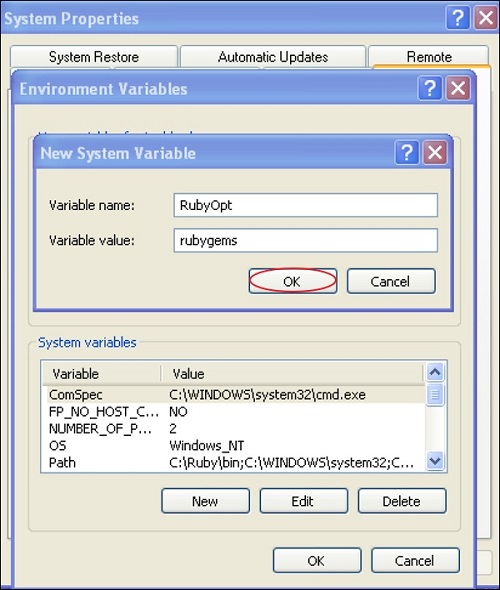
ป้อน RubyOptในฟิลด์ชื่อตัวแปรและrubygemsในฟิลด์ค่าตัวแปร หลังจากเขียนชื่อตัวแปรและค่าแล้วคลิกOK ปุ่ม.
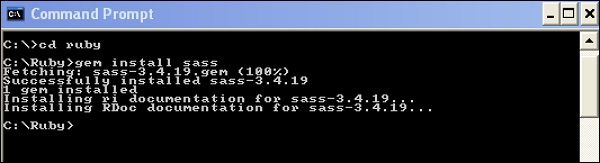
Step 4 - เปิดพรอมต์คำสั่งในระบบของคุณและป้อนบรรทัดต่อไปนี้ -
gem install sassStep 5 - ถัดไปคุณจะเห็นหน้าจอต่อไปนี้หลังจากติดตั้ง SASS สำเร็จ
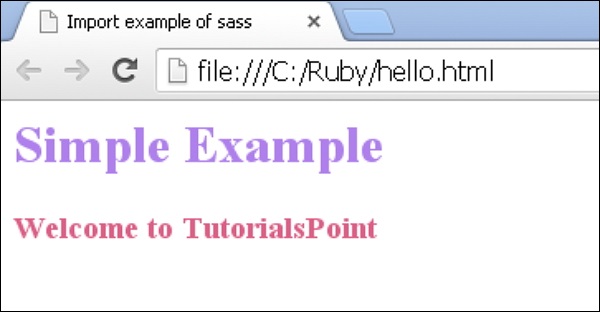
ตัวอย่าง
ต่อไปนี้เป็นตัวอย่างง่ายๆของ SASS
<html>
   <head>
      <title> Import example of sass</title>
      <link rel = "stylesheet" type = "text/css" href = "style.css"/>
   </head>

   <body>
      <h1>Simple Example</h1>
      <h3>Welcome to TutorialsPoint</h3>
   </body>
</html>ตอนนี้เราจะสร้างไฟล์เป็นstyle.scssซึ่งค่อนข้างคล้ายกับ CSS และสิ่งเดียวที่แตกต่างคือมันจะถูกบันทึกด้วยนามสกุล. scss ควรสร้างทั้งไฟล์. htm และ. scss ไว้ในโฟลเดอร์ruby. คุณสามารถบันทึกไฟล์. scss ของคุณในโฟลเดอร์ruby\lib\sass\ (ก่อนขั้นตอนนี้ให้สร้างโฟลเดอร์เป็นไฟล์ sass ในไดเรกทอรี lib)
h1{
   color: #AF80ED;
}

h3{
   color: #DE5E85;
}
คุณสามารถบอกให้ SASS ดูไฟล์และอัปเดต CSS เมื่อใดก็ตามที่ไฟล์ SASS เปลี่ยนแปลงโดยใช้คำสั่งต่อไปนี้ -
sass --watch C:\ruby\lib\sass\style.scss:style.css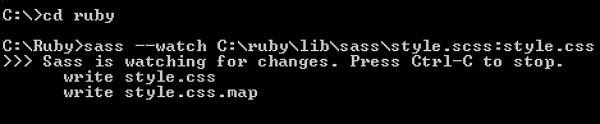
เมื่อคุณเรียกใช้คำสั่งดังกล่าวระบบจะสร้างไฟล์ style.cssโดยอัตโนมัติ เมื่อใดก็ตามที่คุณเปลี่ยนไฟล์ SCSS ไฟล์style.cssจะได้รับการอัปเดตโดยอัตโนมัติ
style.cssไฟล์จะมีรหัสต่อไปนี้เมื่อคุณเรียกใช้คำสั่งดังกล่าวข้างต้น -
style.css
h1 {
   color: #AF80ED;
}
h3 {
   color: #DE5E85;
}
ให้เราทำตามขั้นตอนต่อไปนี้เพื่อดูว่าโค้ดข้างต้นทำงานอย่างไร -
บันทึกรหัสที่ระบุข้างต้นใน hello.html ไฟล์.
เปิดไฟล์ HTML นี้ในเบราว์เซอร์