ポリマー-イベント
イベントは、DOMツリーの親要素への状態変化と通信できる要素によって使用され、イベントの作成、ディスパッチ、およびリッスンに標準のDOMAPIを使用します。ザ・annotated event listeners はPolymerによって使用され、イベントリスナーをDOMテンプレートの小さなチャンクとして定義し、テンプレートのoneventアノテーションを使用してDOMの子に追加できます。
例
次の例では、注釈付きのイベントリスナーをテンプレートに追加します。index.htmlというファイルを作成し、その中に次のコードを配置します。
<!doctype html>
<html>
   <head>
      <title>Polymer Example</title>
      <script src = "bower_components/webcomponentsjs/webcomponents-lite.js"></script>
      <link rel = "import" href="bower_components/polymer/polymer.html">
      <link rel = "import" href = "annotated-eventlistners.html">
   </head>

   <body>
      <template id = "myapp" is = "dom-bind">
         //tap event is part of gesture events that fires consistently across both mobile
         //and desktop devices
         <annotated-eventlistners on-tap = "myClick"></annotated-eventlistners>
      </template>

      <script>
         var myval = document.querySelector('#myapp');
         myval.myClick =  function(e) {
            console.log('Hello World!!!');
         };
      </script>
   </body>
</html>
出力
アプリケーションを実行するには、作成したプロジェクトディレクトリに移動し、次のコマンドを実行します。
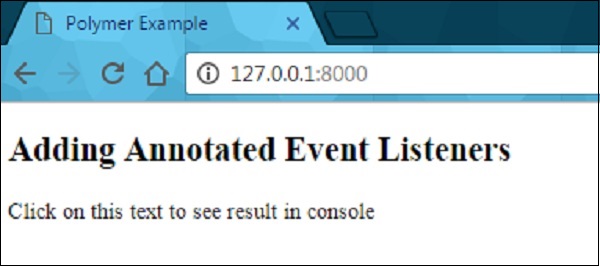
polymer serveブラウザを開いて、に移動します http://127.0.0.1:8000/。以下が出力になります。

次のスクリーンショットに示すように、テキストをクリックしてコンソールに結果を表示します。

カスタムイベント
カスタムイベントは、標準のCustomEventコンストラクターとhost要素のdispatchEventメソッドを使用してトリガーできます。
ホスト要素からカスタムイベントをトリガーする次の例について考えてみます。index.htmlファイルを開き、次のコードを追加します。
<!doctype html>
<html>
   <head>
      <title>Polymer Example</title>
      <script src = "bower_components/webcomponentsjs/webcomponents-lite.js"></script>
      <link rel = "import" href = "bower_components/polymer/polymer.html">
      <link rel = "import" href = "custom-event.html">
   </head>

   <body>
      <custom-event></custom-event>
      <script>
         document.querySelector('custom-event').addEventListener('customValue', function (e) {
            console.log(e.detail.customval); // true
         })
      </script>
   </body>
</html>
次に、custom-event.htmlという別のファイルを作成し、次のコードを含めます。
<link rel = "import" href = "bower_components/polymer/polymer-element.html">

//it specifies the start of an element's local DOM
<dom-module id = "custom-event">
   <template>
      <h2>Custom Event Example</h2>
      <button on-click = "myClick">Click Here</button>
   </template>

   <script>
      Polymer ({
         is: "custom-event", myClick(e) {
            this.dispatchEvent(new CustomEvent('customValue', {detail: {customval: true}}));
         }
      });
   </script>
</dom-module>
出力
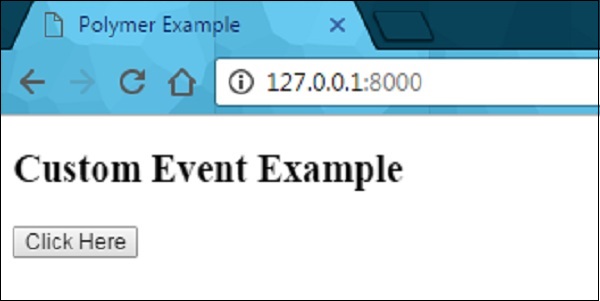
前の例に示されているようにアプリケーションを実行し、に移動します http://127.0.0.1:8000/。以下が出力になります。

次に、ボタンをクリックしてコンソールを開き、次のスクリーンショットに示すように、カスタムイベントの真の値を確認します。

ここで、「イベントリターゲティング」を使用して移動します。これは、リスニング要素と同じスコープで要素を表すことができるイベントのターゲットを指定します。たとえば、ターゲットはメインドキュメントの要素と見なすことができますが、シャドウツリーではなくメインドキュメントでリスナーを使用します。詳細な説明と例については、Polymer shadowdomスタイリングの章を参照してください。
ジェスチャーイベント
ジェスチャイベントは、タッチデバイスとモバイルデバイスの両方でより良いインタラクションを定義するユーザーインタラクションに使用できます。たとえば、タップイベントは、モバイルデバイスとデスクトップデバイスの両方で一貫して発生するジェスチャーイベントの一部です。
この章の冒頭で説明したジェスチャイベントの例を参照できます。 on-tap テンプレートに注釈付きのイベントリスナーを追加するイベント。
次の表に、さまざまなタイプのジェスチャイベントタイプを示します。
| シニア番号 | イベントの種類と説明 | プロパティ |
|---|---|---|
| 1 | down 指/ボタンが下に移動したことを示します。 |
|
| 2 | up 指/ボタンが上に移動したことを示します。 |
|
| 3 | tap アップアクションとダウンアクションの発生を指定します。 |
|
| 4 | track アップアクションとダウンアクションの発生を指定します。 |
|
例
次の例では、テンプレートでのジェスチャイベントタイプの使用を指定しています。index.htmlというファイルを作成し、その中に次のコードを配置します。
<!doctype html>
<html>
   <head>
      <title>Polymer Example</title>
      <script src = "bower_components/webcomponentsjs/webcomponents-lite.js"></script>
      <link rel = "import" href = "bower_components/polymer/polymer.html">
      <link rel = "import" href = "gesture-event.html">
   </head>

   <body>
      <gesture-event></gesture-event>
   </body>
</html>
次に、gesture-event.htmlという別のファイルを作成し、次のコードを含めます。
<link rel = "import" href = "bower_components/polymer/polymer-element.html">

//it specifies the start of an element's local DOM
<dom-module id = "gesture-event">
   <template>
      <style>
         #box {
            width: 200px;
            height: 200px;
            background: #D7D0B7;
         }
      </style>

      <h2>Gesture Event Types Example</h2>
      <div id = "box" on-track = "myClick">{{track_message}}</div>
   </template>

   <script>
      Polymer ({
         is: 'gesture-event', myClick: function(e) {
            switch(e.detail.state) {
               case 'start':
               this.track_message = 'Tracking event started...';
               break;
               case 'track':
                  this.track_message = 'Tracking event is in progress... ' +
                  e.detail.x + ', ' + e.detail.y;
               break;
               case 'end':
                  this.track_message = 'Tracking event ended...';
               break;
            }
         }
      });
   </script>
</dom-module>
出力
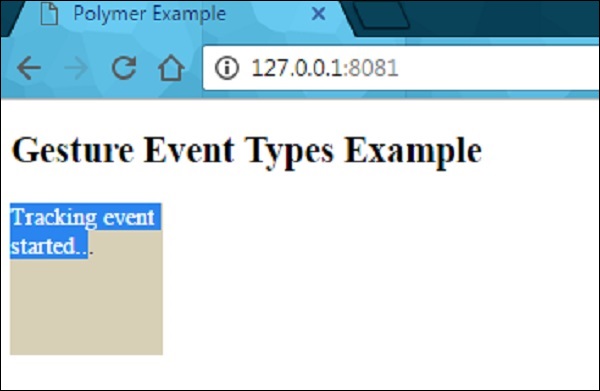
前の例に示されているようにアプリケーションを実行し、に移動します http://127.0.0.1:8081/。要素内でマウスのドラッグを開始すると、次のスクリーンショットに示すような状態が表示されます。

要素内でマウスをドラッグすると、次のスクリーンショットに示すように、イベント追跡の進行状況が表示されます。

次のスクリーンショットに示すように、マウスのドラッグを停止すると、要素の追跡イベントが終了します。
