NativeScript-위젯
NativeScript는 많은 사용자 인터페이스 구성 요소를 제공하며 '위젯'이라고합니다. 각 위젯은 특별한 작업을 수행하며 일련의 메소드와 함께 제공됩니다. 이 섹션에서 NativeScript 위젯을 자세히 이해해 보겠습니다.
단추
버튼은 탭 이벤트 동작을 실행하기위한 구성 요소입니다. 사용자가 버튼을 탭하면 해당 작업을 수행합니다. 아래에 정의되어 있습니다-
<Button text="Click here!" tap="onTap"></Button>다음과 같이 BlankNgApp에 버튼을 추가하겠습니다.
1 단계
열기 src\app\home\home.component.html. 홈 컴포넌트의 UI 디자인 페이지입니다.
2 단계
내부에 버튼을 추가 GirdLayout구성 요소. 완전한 코드는 다음과 같습니다.
<ActionBar>
   <Label text="Home"></Label>
</ActionBar>
<GridLayout>
   <button text="Click Here!"></button>
</GridLayout>
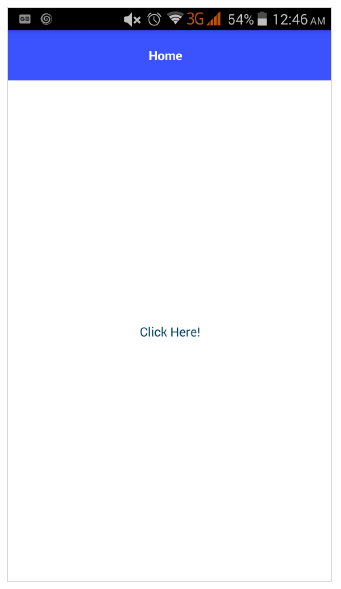
산출
아래는 버튼의 출력입니다.
3 단계
CSS를 사용하여 버튼 스타일을 지정할 수 있습니다.
<ActionBar>
   <Label text="Home"></Label>
</ActionBar>
<GridLayout>
   <button text="Click Here!" class="-primary"></button>
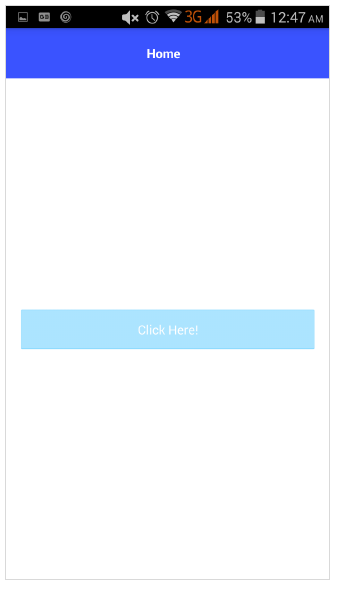
</GridLayout>여기,-primary 클래스는 기본 버튼을 나타내는 데 사용됩니다.
산출
아래는 ButtonPrimary −
4 단계
NativeScript는 버튼에 사용자 정의 아이콘을 제공하는 형식화 된 옵션을 제공합니다. 샘플 코드는 다음과 같습니다.
<GridLayout>
<Button class="-primary">
<FormattedString>
<Span text="" class="fa"></Span>
<Span text=" Button.-primary with icon"></Span>
</FormattedString>
</Button>
</GridLayout>
.fa {
font-family: "FontAwesome", "fontawesome-webfont";
}여기,
& # xf099는 FontAwesome 글꼴에서 아이콘의 위치를 지정합니다. 최신 Font Awesome 글꼴을 다운로드하고 fontawesome-webfont.ttf를 src \ fonts 폴더에 넣으십시오.
산출
아래는 ButtonPrimary −

5 단계
둥근 버튼은 아래 구문을 사용하여 만들 수 있습니다-
<Button text="Button.-primary.-rounded-sm" class="-primary -rounded-sm"></Button>산출
아래는 ButtonPrimary의 출력입니다-

상표
레이블 구성 요소 는 정적 텍스트를 표시하는 데 사용됩니다. 아래와 같이 홈페이지 변경-
<GridLayout>
   <Label text="NativeScript is an open source framework for creating native iOS and Android apps in TypeScript or JavaScript." textWrap="true">
   </Label>
</GridLayout>
여기서 textWrap은 레이블이 화면 너비를 넘어 확장되는 경우 레이블의 내용을 래핑합니다.
산출
아래는 Label-

TextField
TextField 구성 요소 는 사용자로부터 정보를 얻는 데 사용됩니다. 아래 명시된대로 홈페이지를 변경하겠습니다.
<GridLayout>
   <TextField hint="Username"
      color="lightblue"
      backgroundColor="lightyellow"
      height="75px">
   </TextField>
</GridLayout>
여기,
색상은 텍스트 색상을 나타냅니다.
backgroundColor는 텍스트 상자의 배경을 나타냅니다.
높이는 텍스트 상자의 높이를 나타냅니다.
산출
아래는 텍스트 필드의 출력입니다-

TextView
TextView Component 는 사용자로부터 여러 줄 텍스트 콘텐츠를 가져 오는 데 사용됩니다. 아래 명시된대로 홈페이지를 변경하겠습니다.
<GridLayout>
   <TextView loaded="onTextViewLoaded" hint="Enter text" returnKeyType="done" autocorrect="false" maxLength="100">
   </TextView>
</GridLayout>
여기서 maxLength는 TextView가 허용하는 최대 길이를 나타냅니다 .
산출
아래는 TextView의 출력입니다-

검색 창
이 구성 요소는 쿼리를 검색하거나 요청을 제출하는 데 사용됩니다. 아래에 정의되어 있습니다-
<StackLayout>
   <SearchBar id="bar" hint="click here to search ..."></SearchBar>
<StackLayout>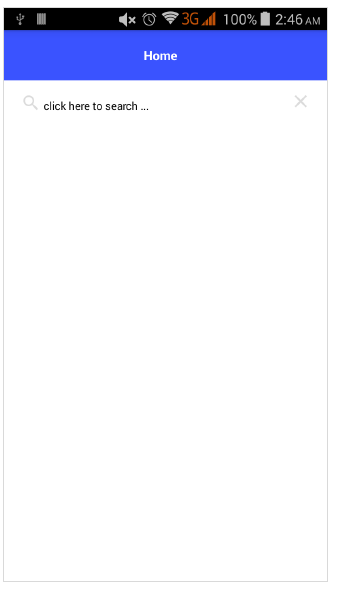
스타일을 적용 할 수 있습니다-
<StackLayout>
   <SearchBar id="bar" hint="click here to search ..." color="green" backgroundColor="green"></SearchBar>
</StackLayout>
아래는 SearchBarStyle의 출력입니다-

스위치
스위치는 토글을 기반으로 옵션을 선택합니다. 기본 상태는 거짓입니다. 아래에 정의되어 있습니다-
<StackLayout>
   <Switch checked="false" loaded="onSwitchLoaded"></Switch>
</StackLayout>
위 프로그램의 출력은 다음과 같습니다.

슬라이더
슬라이더는 숫자 범위를 선택하는 슬라이딩 구성 요소입니다. 아래에 정의되어 있습니다-
<Slider value="30" minValue="0" maxValue="50" loaded="onSliderLoaded"></Slider>위 프로그램의 출력은 다음과 같습니다.

진행
진행률 위젯은 작업 진행률을 나타냅니다. 현재 진행 상황은 막대로 표시됩니다. 아래에 정의되어 있습니다-
<StackLayout verticalAlign="center" height="50">
   <Progress value="90" maxValue="100" backgroundColor="red" color="green" row="0"></Progress>
</StackLayout>
다음은 진행률 위젯의 출력입니다.

ActivityIndicator
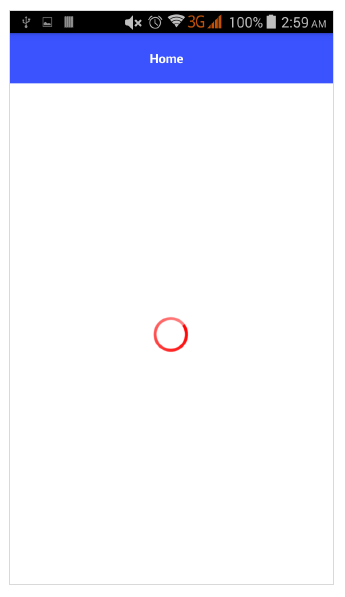
ActivityIndicator는 진행중인 작업을 보여줍니다. 아래에 정의되어 있습니다-
<StackLayout verticalAlign="center" height="50">
   <ActivityIndicator busy="true" color="red" width="50"
   height="50"></ActivityIndicator>
</StackLayout>
아래는 ActivityIndicator의 출력입니다-
영상
이미지 위젯은 이미지를 표시하는 데 사용됩니다. 'ImageSource'URL을 사용하여로드 할 수 있습니다. 아래에 정의되어 있습니다-
<StackLayout class="m-15" backgroundColor="lightgray">
   <Image src="~/images/logo.png" stretch="aspectFill"></Image>
</StackLayout>
이미지 위젯의 출력은 다음과 같습니다.

WebView
WebView는 웹 페이지를 보여줍니다. URL을 사용하여 웹 페이지를로드 할 수 있습니다. 아래에 정의되어 있습니다-
<WebView row="1" loaded="onWebViewLoaded" id="myWebView" src="http://www.google.com"></WebView>위 코드의 출력은 다음과 같습니다.

날짜 선택기
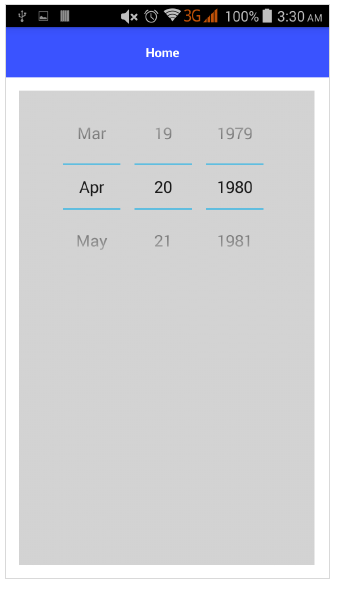
DatePicker 구성 요소는 날짜를 선택하는 데 사용됩니다. 아래에 정의되어 있습니다-
<StackLayout class="m-15" backgroundColor="lightgray">
   <DatePicker year="1980" month="4" day="20" verticalAlignment="center"></DatePicker>
</StackLayout>
DatePicker 구성 요소의 출력은 다음과 같습니다.
TimePicker
TimePicker 구성 요소는 시간을 선택하는 데 사용됩니다. 아래에 정의되어 있습니다-
<StackLayout class="m-15" backgroundColor="lightgray">
<TimePicker hour="9"
   minute="25"
   maxHour="23"
   maxMinute="59"
   minuteInterval="5">
</TimePicker>
</StackLayout>
아래는 TimePicker 구성 요소의 출력입니다.
