PhantomJS-예제
이 장에서는 PhantomJS의 몇 가지 중요한 기능을 이해하기위한 몇 가지 실용적인 예제를 제공합니다.
예 1-페이지 속도 찾기
이 예에서는 PhantomJS를 사용하여 page speed 주어진 페이지 URL에 대해.
var page = require('webpage').create(),
   system = require('system'),
   t, address;

if (system.args.length === 1) {
   console.log('Usage: loadspeed.js <some URL>');
   phantom.exit(1);
} else {
   t = Date.now();
   address = system.args[1];

   page.open(address, function (status) {
      if (status !== 'success') {
         console.log('FAIL to load the address');
      } else {
         t = Date.now() - t;

         console.log('Page title is ' + page.evaluate(function () {
            return document.title;
         }));
         console.log('Loading time ' + t + ' msec');
      }
      phantom.exit();
   });
}
위의 프로그램은 다음을 생성합니다. output.
Command − phantomjs pagespeed.js http://www.google.com
Page title is Google
Loading time 1396 msec
예 2-페이지에 클릭 이벤트 보내기
다음 예에서는 PhantomJS를 사용하여 click event 페이지에.
var page = require('webpage').create();
page.onConsoleMessage = function(str) {
   console.log(str);
}
page.open('http://phantomjs.org/api/phantom/', function(status) {
   page.render('beforeclick.png');
   console.log(page.url);

   var element = page.evaluate(function() {
      return document.querySelector('img[src = "http://phantomjs.org/img/phantomjslogo.png"]');
   });
   page.sendEvent('click', element.offsetLeft, element.offsetTop, 'left');

   window.setTimeout(function () {
      console.log(page.url);
      page.render('afterclick.png');
      phantom.exit();
   }, 5000);
   console.log('element is ' + element);
});
위의 프로그램은 다음을 생성합니다. output.
http://phantomjs.org/api/phantom/
element is [object Object]
http://phantomjs.org/
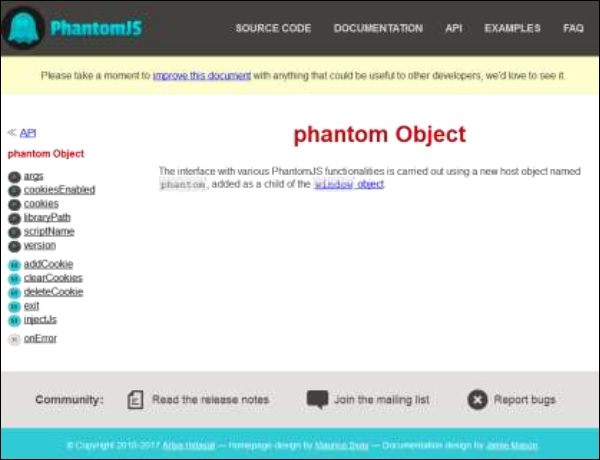
우리 프로그램은 다음 두 가지를 생성합니다 png 이미지 bin폴더. 이 두 이미지는 위의 프로그램 실행 전후의 차이를 보여줍니다.


예 3-양식 제출
다음 예제는 PhantomJS를 사용하여 양식을 제출하는 방법을 보여줍니다.
var wpage = require('webpage').create();
wpage.open("http://localhost/tasks/submitform.html", function(status) {
   console.log(status);
   wpage.uploadFile('input[name = fileToUpload]', 'output.png');
   wpage.render("sform.png");

   var element = wpage.evaluate(function() {
      return document.querySelector('input[type = "submit"]');
      // getting details of submit button using queryselector.
   });
   wpage.sendEvent('click', element.offsetLeft, element.offsetTop, 'left');

   // sendevent is used to send click event and also giving the left and top
      position of the submit button.

   window.setTimeout(function () {
      console.log(wpage.url);
      wpage.render("submit.png");  // screenshot is saved in submit.png
      phantom.exit();
   }, 5000);
   console.log('element is ' + element);
});
submitform.html
다음 코드는 submitform.html 파일.
<html>
   <head>
      <title>Window 2</title>
   </head>

   <body>
      <form action = "submitform.php" method = "post" enctype = "multipart/form-data"
         id = "form1">
         <input type = "file" name = "fileToUpload" id = "fileToUpload">
         <input type = "submit" value = "Upload Image" name = "submit">
      </form>
   </body>

</html>
양식이 제출되면 다음으로 이동합니다. submitform.php.
submitform.php
submitform.php는 파일의 세부 사항을 인쇄합니다.
<?php
   print_r($_FILES);
?>
위의 프로그램은 다음을 생성합니다. output.
Success
element is [object Object]
http://localhost/tasks/submitform.php
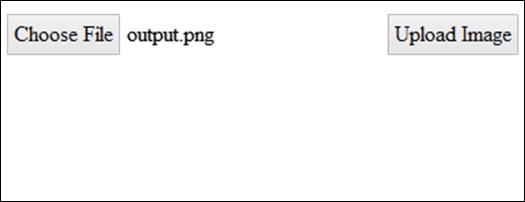
이미지
다음은 이미지입니다. file upload 과 form submit.

