SAPPI-ファイル間シナリオ
SAP PIファイル間シナリオでは、ソースシステムからターゲットシステムにファイルを転送します。コンポーネントがSAPPIに組み込まれると、Enterprise Service Builderでオブジェクトを作成することにより、SAPPIシステムでファイルを転送できます。
SAP PI —ファイル間シナリオの実行
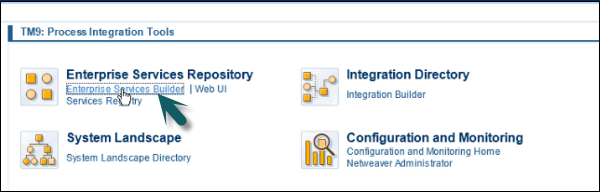
Step 1 −ESRの下のSAPPIToolsページ→EnterpriseServiceBuilderに移動します。
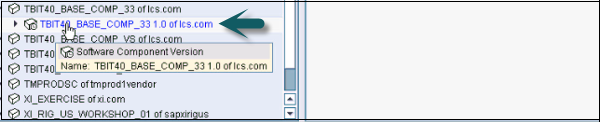
Step 2 −オブジェクトを作成する必要のあるコンポーネントの名前を見つけるには、コンポーネントを展開してソフトウェアコンポーネントのバージョンを見つけます。
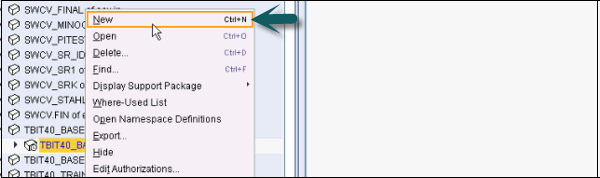
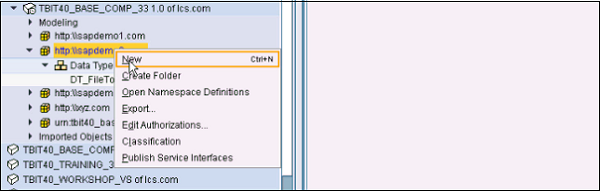
Step 3 −コンポーネントを選択→右クリック、クリック New このコンポーネントの下にオブジェクトを作成します。
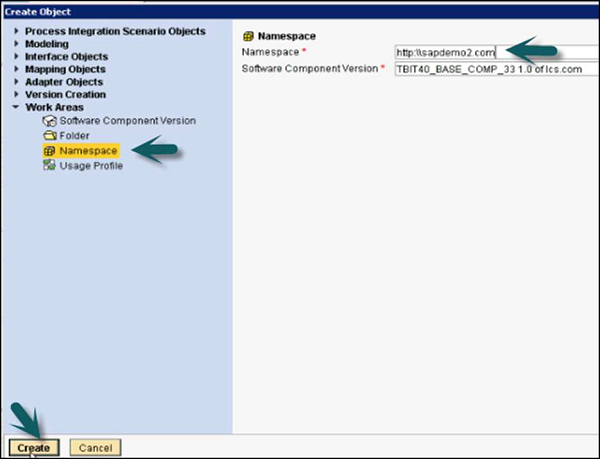
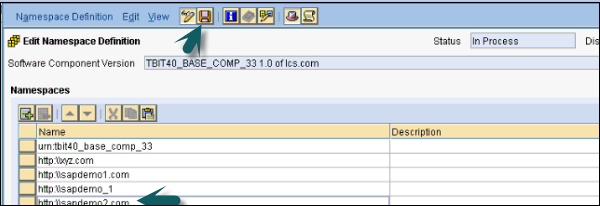
Step 4−最初に作成するオブジェクトは名前空間です。URLの形式で名前空間を入力し、をクリックしますCreate 下部のボタン。
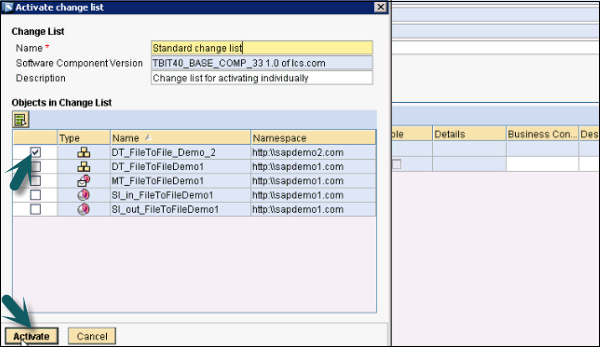
Step 5 −ソフトウェアコンポーネントでオブジェクトが作成されたら、オブジェクトを保存してアクティブ化します。
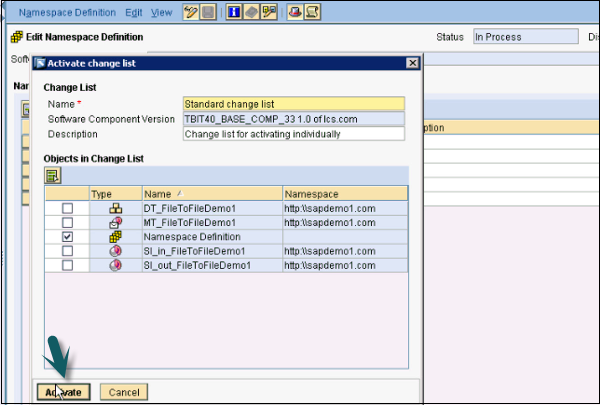
Step 6 −アクティブ化するには、をクリックします Activate 次のスクリーンショットに示すように-
Step 7−名前空間が保存されてアクティブ化されたら、データ型を作成します。ソフトウェアコンポーネント→右クリック→新規に移動します。次のウィンドウで、インタフェースオブジェクト→を選択します。data type。
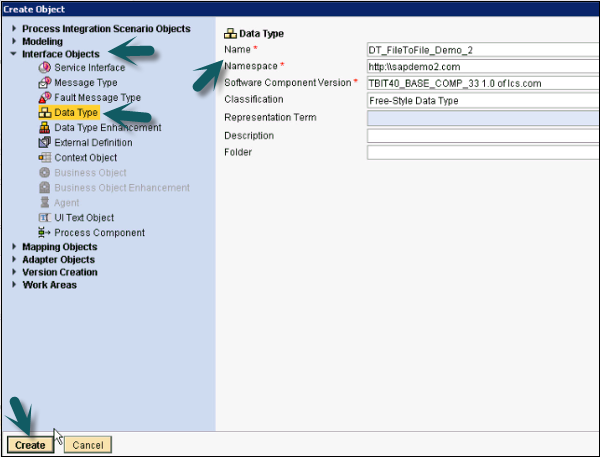
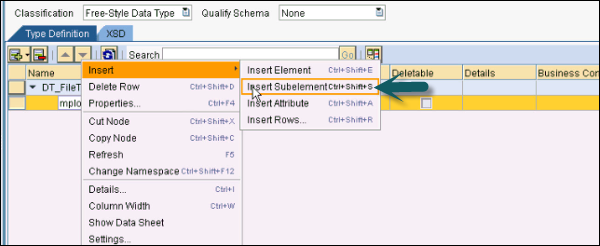
Step 8 −データ型と名前空間の名前を入力し、をクリックします Create上記のように。次に、サブ要素をデータ型に挿入します。
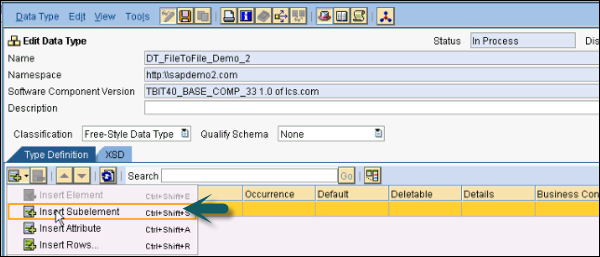
Step 9 −要素の名前を入力します。

Step 10 −サブ要素を挿入して、子の従業員IDと名前を追加します。
Step 11−タイプとオカレンスを定義します。オカレンスは、その要素がファイルに表示される回数を定義します。最小発生値と最大発生値を選択できます。
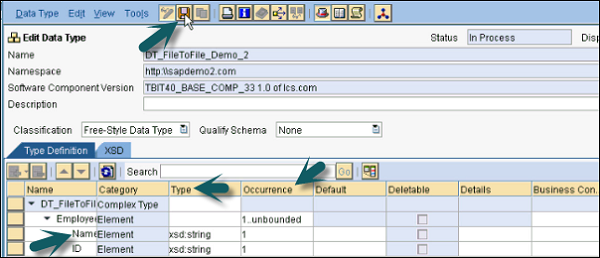
Step 12 −をクリックします Save ボタン。
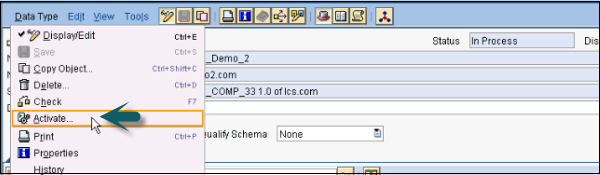
Step 13−データ型を有効化します。データタイプ→有効化に移動します。
メッセージタイプの作成
Step 1 −「ネームスペース」を右クリック→「新規」
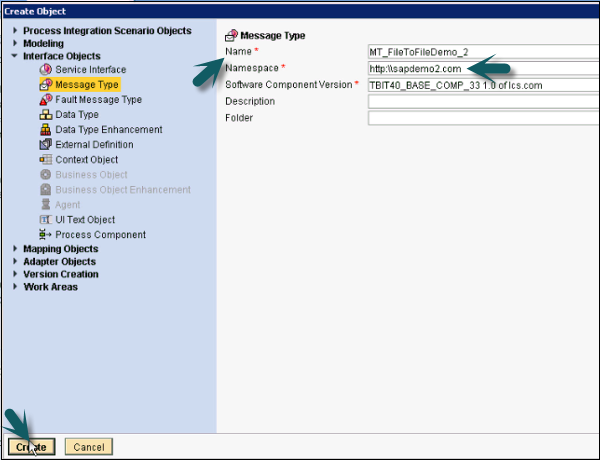
Step 2− [インターフェイスオブジェクト]で、[メッセージタイプ]を選択します。フィールドを入力します。
Step 3 −メッセージタイプの名前を入力します。
Step 4−デフォルトでは、名前空間およびソフトウェアコンポーネントの名前を取ります。そうでない場合は、手動で選択できます。次に、[作成]をクリックします。
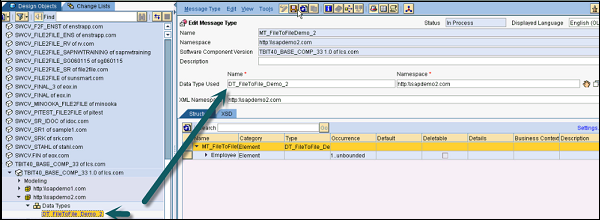
Step 5−ここで、メッセージタイプに使用するデータタイプを定義します。データ型を左側のバーからメッセージタイプ(

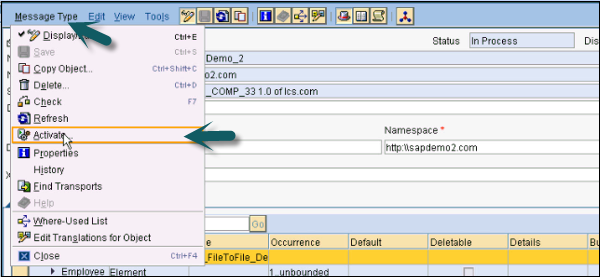
Step 6 −メッセージタイプの有効化→有効化。
Note−入力ファイルと出力ファイルの構造が同じである場合、1つのデータ型と1つのメッセージ型のみを使用できます。構造が異なる場合は、インバウンドとアウトバウンドの2つのデータ型とメッセージ型を作成する必要があります。この例では、入力ファイルと出力ファイルの両方に同じ構造を使用しています。