ES6-환경
이 장에서는 ES6의 환경 설정에 대해 설명합니다.
지역 환경 설정
JavaScript는 모든 브라우저, 호스트 및 모든 OS에서 실행할 수 있습니다. JavaScript 프로그램 표준을 작성하고 테스트하려면 다음이 필요합니다.
텍스트 에디터
텍스트 편집기는 소스 코드를 작성하는 데 도움이됩니다. 몇 가지 편집기의 예로는 Windows Notepad, Notepad ++, Emacs, vim 또는 vi 등이 있습니다. 사용되는 편집기는 운영 체제에 따라 다를 수 있습니다. 소스 파일은 일반적으로extension.js
Node.js 설치
Node.js서버 측 JavaScript를위한 오픈 소스 크로스 플랫폼 런타임 환경입니다. 브라우저 지원없이 JavaScript를 실행하려면 Node.js가 필요합니다. Google V8 JavaScript 엔진을 사용하여 코드를 실행합니다. Node.js 소스 코드 또는 플랫폼 용으로 미리 빌드 된 설치 프로그램을 다운로드 할 수 있습니다. 노드는https://nodejs.org/en/download
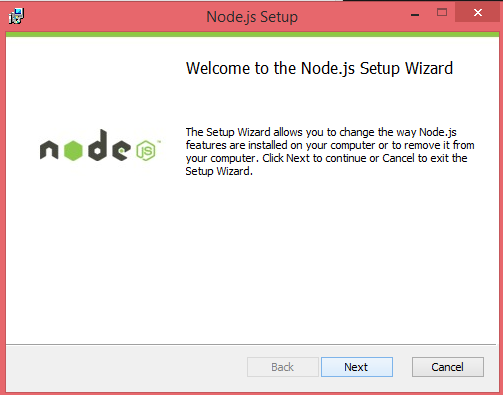
Windows에 설치
다운로드 및 실행 .msi installer 노드 용
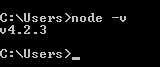
성공적으로 설치되었는지 확인하려면 다음 명령을 입력하십시오. node –v 터미널 창에서.
Mac OS X에 설치
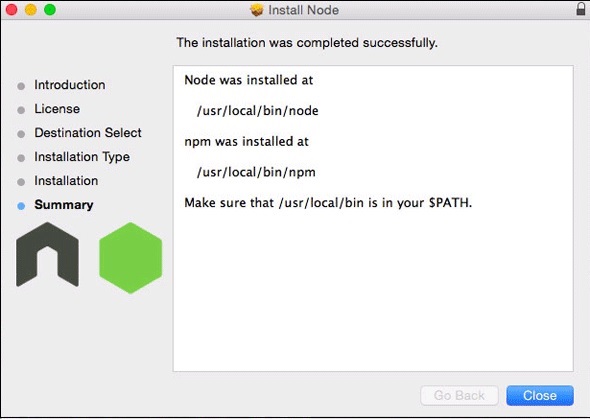
OS X에 node.js를 설치하려면 미리 컴파일 된 바이너리 패키지를 다운로드하여 멋지고 쉽게 설치할 수 있습니다. 로 향할 www.nodejs.org 최신 패키지를 다운로드하기 위해 설치 버튼을 클릭합니다.

다음에서 패키지를 설치합니다. .dmg 둘 다 설치할 설치 마법사를 따라 node 과 npm. npm은 Node.js 용 추가 패키지 설치를 용이하게하는 Node Package Manager입니다.
Linux에 설치
당신은 많은 것을 설치해야합니다 dependencies Node.js 및 npm을 설치하기 전에.
Ruby 과 GCC. Ruby 1.8.6 이상 및 GCC 4.2 이상이 필요합니다.
Homebrew.Homebrew는 원래 Mac 용 패키지 관리자이지만 Linuxbrew로 Linux에 이식되었습니다. Homebrew에 대한 자세한 내용은http://brew.sh/ ~에서 http://brew.sh/linuxbrew.
통합 개발 환경 (IDE) 지원
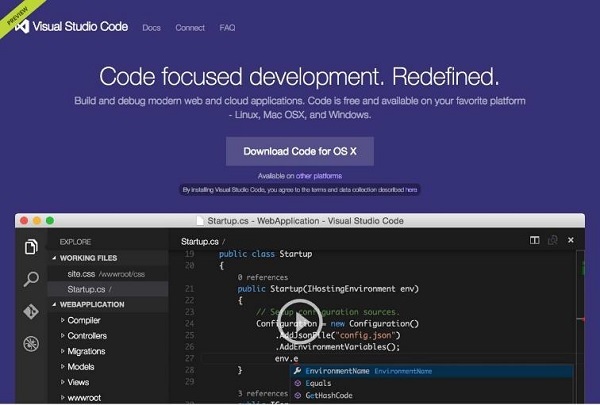
JavaScript는 Visual Studio, Sublime Text 2, WebStorm / PHPStorm, Eclipse, Brackets 등과 같은 수많은 개발 환경에서 빌드 할 수 있습니다.이 섹션에서는 Visual Studio 코드 및 브래킷 IDE에 대해 설명합니다. 여기에 사용 된 개발 환경은 Visual Studio Code (Windows 플랫폼)입니다.
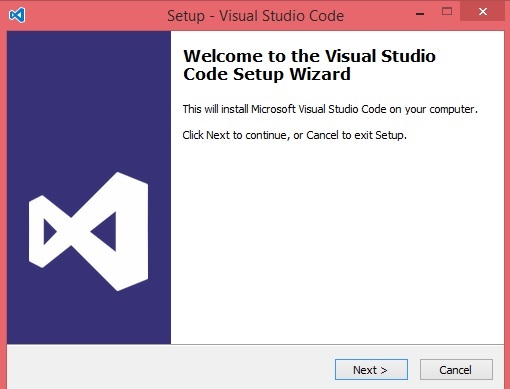
Visual Studio 코드
이것은 Visual Studio의 오픈 소스 IDE입니다. Mac OS X, Linux 및 Windows 플랫폼에서 사용할 수 있습니다. VScode는https://code.visualstudio.com.
Windows에 설치
Windows 용 Visual Studio Code를 다운로드합니다.
VSCodeSetup.exe

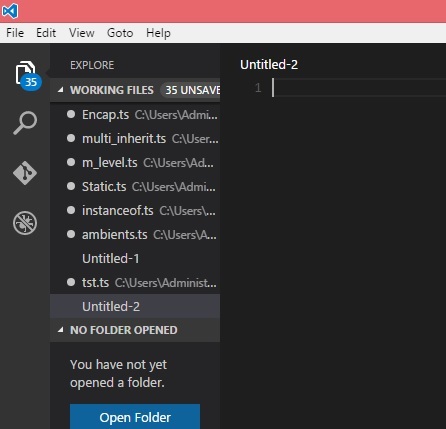
다음은 IDE의 스크린 샷입니다.
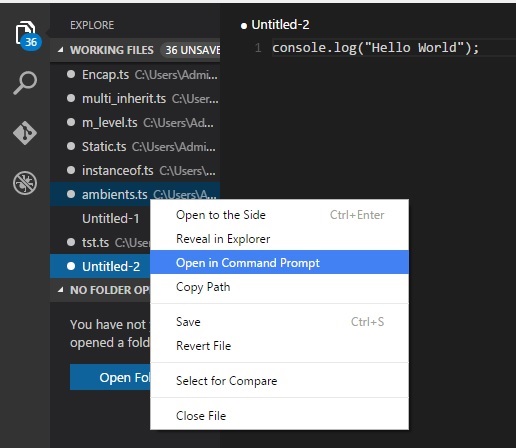
파일을 마우스 오른쪽 버튼으로 클릭 → 명령 프롬프트에서 열기로 파일 경로로 직접 이동할 수 있습니다. 마찬가지로Reveal in Explorer 옵션은 파일 탐색기에 파일을 표시합니다.
Mac OS X에 설치
Visual Studio Code의 Mac OS X 특정 설치 가이드는 다음에서 찾을 수 있습니다. https://code.visualstudio.com/docs/setup/setup-overview
Linux에 설치
Visual Studio Code에 대한 Linux 특정 설치 가이드는 다음에서 찾을 수 있습니다. https://code.visualstudio.com/Docs/editor/setup.
브래킷
Brackets는 Adobe Systems에서 만든 웹 개발 용 무료 오픈 소스 편집기입니다. Linux, Windows 및 Mac OS X에서 사용할 수 있습니다. 브래킷은http://brackets.io.

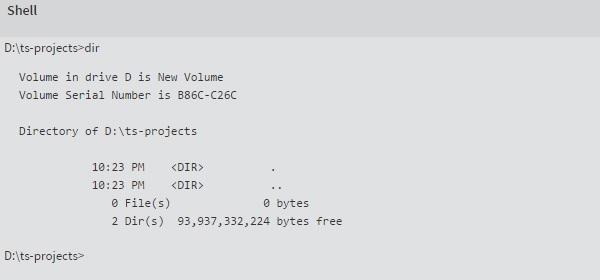
하나 이상의 확장 브래킷 쉘을 추가하여 브래킷 자체 내에서 DOS 프롬프트 / 쉘을 실행할 수 있습니다.

설치시 편집기 오른쪽에 쉘 아이콘이

당신 준비 다 됐어요!!!