Watir - Web Elements
Neste capítulo, discutiremos como trabalhar com o seguinte em Watir -
- Trabalho com caixas de texto
- Trabalhando com Combos
- Trabalhando com botões de rádio
- Trabalho com caixas de seleção
- Trabalhando com botões
- Trabalhando com Links
- Trabalhando com Div's
Trabalho com caixas de texto
Sintaxe
browser.text_field id: 'firstname' // will get the reference of the textboxAqui, tentarei entender como trabalhar com caixas de texto na IU.
Considere a página Textbox.html conforme mostrado abaixo -
<html>
   <head>
      <title>Testing UI using Watir</title>
   </head>

   <body>
      <script type = "text/javascript">
         function wsentered() {
            console.log("inside wsentered");
            var firstname = document.getElementById("firstname");
            if (firstname.value != "") {
               document.getElementById("displayfirstname").innerHTML =
                  "The name entered is : " + firstname.value;

               document.getElementById("displayfirstname").style.display = "";
            }
         }
      </script>

      <div id = "divfirstname">
         Enter First Name :
         <input type = "text" id = "firstname" name = "firstname" onchange = "wsentered()" />
      </div>
      <br/>
      <br/>
      <div style = "display:none;" id = "displayfirstname"></div>
   </body>
</html>
A saída correspondente é mostrada abaixo -
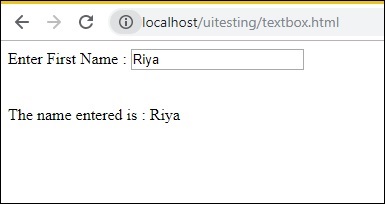
Estamos tendo uma caixa de texto, quando você insere o nome onchange, o evento é disparado e o nome é exibido abaixo.
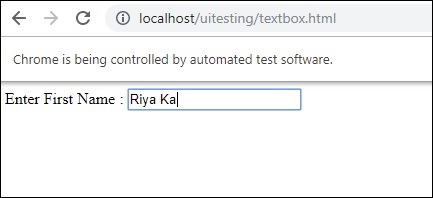
Agora, vamos escrever o código, no qual vamos localizar a caixa de texto e inserir o nome e disparar o evento onchange.
Código Watir
require 'watir'
b = Watir::Browser.new :chrome
b.goto('http://localhost/uitesting/textbox.html')
t = b.text_field id: 'firstname'
t.exists?
t.set 'Riya Kapoor'
t.value
t.fire_event('onchange')
Estamos usando o navegador Chrome e recebemos o pageurl como http://localhost/uitesting/textbox.html.
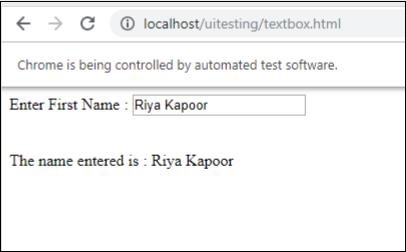
Usar o navegador goto api abrirá o pageurl e encontraremos text_field com id: firstname. Se isso existir, definiremos o valor como Riya Kapoor e usaremos a api fire_event para disparar o evento onchange.
Agora, vamos executar o código para exibir a saída conforme mostrado abaixo -
Trabalhando com Combos
Sintaxe
browser.select_list id: 'months' // will get the reference of the dropdownA página de teste que vamos testar agora é mostrada aqui -
<html>
   <head>
      <title>Dropdown</title>
   </head>

   <body>
      <script type = "text/javascript">
         function wsselected() {
            var months = document.getElementById("months");

            if (months.value != "") {
               document.getElementById("displayselectedmonth").innerHTML =
                  "The month selected is : " + months.value;

               document.getElementById("displayselectedmonth").style.display = "";
            }
         }
      </script>
      <form name = "myform" method = "POST">
         <div>
            Month is :
            <select name = "months" id = "months" onchange = "wsselected()">
               <option value = "">Select Month</option>
               <option value = "Jan">January</option>
               <option value = "Feb">February</option>
               <option value = "Mar">March</option>
               <option value = "Apr">April</option>
               <option value = "May">May</option>
               <option value = "Jun">June</option>
               <option value = "Jul">July</option>
               <option value = "Aug">August</option>
               <option value = "Sept">September</option>
               <option value = "Oct">October</option>
               <option value = "Nov">November</option>
               <option value = "Dec">December</option>
            </select>
         </div>
         <br/>
         <br/>

         <div style = "display:none;" id = "displayselectedmonth">
         </div>
   </body>
</html>
Resultado

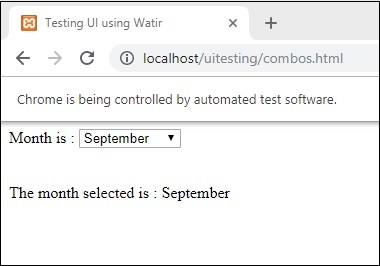
Quando você seleciona o mês no menu suspenso, o mesmo é exibido abaixo.
Vamos agora testar o mesmo usando Watir.
Código Watir para seleção de combinação
require 'watir'
b = Watir::Browser.new :chrome
b.goto('http://localhost/uitesting/combos.html')
t = b.select_list id: 'months'
t.exists?
t.select 'September'
t.selected_options
t.fire_event('onchange')
Para trabalhar com combos, você precisa localizar o elemento select usando b.select_list api seguido pelo id do menu suspenso. Para selecionar o valor da lista suspensa, você precisa usar t.select e o valor desejado.
A saída na execução é a seguinte -
Trabalhando com botões de rádio
Sintaxe
browser.radio value: 'female'
// will get the reference of the radio button with value “female”
Aqui está uma página de teste que usaremos para trabalhar com botões de opção -
<html>
   <head>
      <title>Testing UI using Watir</title>
   </head>

   <body>
      <form name = "myform" method = "POST">
         <b>Select Gender?</b>
         <div>
            <br/>
            <input type = "radio" name = "gender" value = "male" checked> Male
            <br/>
            <input type = "radio" name = "gender" value = "female"> Female
            <br/>
         </div>
      </form>
   </body>

</html>
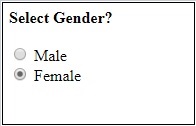
Selecionaremos o botão de opção com o valor Feminino, conforme mostrado no código Watir -
require 'watir'
b = Watir::Browser.new
b.goto('http://localhost/uitesting/radiobutton.html')
t = b.radio value: 'female'
t.exists?
t.set
b.screenshot.save 'radiobutton.png'
Para trabalhar com o botão de opção, precisamos informar ao navegador o valor que estamos selecionando, ou seja, b.radio value:”female”
Também estamos tirando a captura de tela e salvando-a como radiobutton.png e a mesma é exibida abaixo -
Trabalho com caixas de seleção
Sintaxe
browser. checkbox value: 'Train'
// will get the reference of the checkbox with value “Train”
Aqui está a página de teste para as caixas de seleção -
<html>
   <head>
      <title>Testing UI using Watir</title>
   </head>

   <body>
      <form name = "myform" method = "POST">
         <b>How would you like to travel?</b>
         <div>
            <br>
            <input type = "checkbox" name = "option1" value = "Car"> Car<br>
            <input type = "checkbox" name = "option2" value = "Bus"> Bus<br>
            <input type = "checkbox" name = "option3" value = "Train"> Train<br>
            <input type = "checkbox" name = "option4" value = "Air"> Airways<br>
            <br>
         </div>
      </form>
   </body>

</html>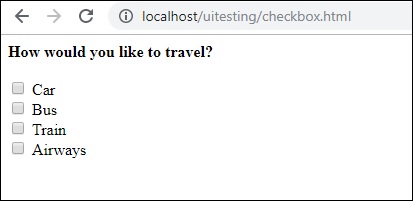
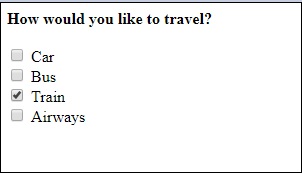
Agora, vamos usar o Watir para localizar a caixa de seleção no navegador, conforme mostrado abaixo -
require 'watir'
b = Watir::Browser.new
b.goto('http://localhost/uitesting/checkbox.html')
t = b.checkbox value: 'Train'
t.exists?
t.set
b.screenshot.save 'checkbox.png'
Para localizar a caixa de seleção no navegador, use b.checkbox com o valor que deseja selecionar.
Trabalhando com botões
Sintaxe
browser.button(:name => "btnsubmit").click
// will get the reference to the button element with has name “btnsubmit”
Aqui está a página de teste do botão -
<html>
   <head>
      <title>Testing UI using Watir</title>
   </head>

   <body>
      <script type = "text/javascript">
         function wsclick() {
            document.getElementById("buttondisplay").innerHTML = "Button is clicked";
            document.getElementById("buttondisplay").style.display = "";
         }
      </script>

      <form name = "myform" method = "POST">
         <div>
            <br>
            <input type = "button" id = "btnsubmit" name = "btnsubmit"
               value = "submit" onclick = "wsclick()"/>
            <br>
         </div>
      </form>
      <br/>

      <div style = "display:none;" id = "buttondisplay"></div>
   </body>

</html>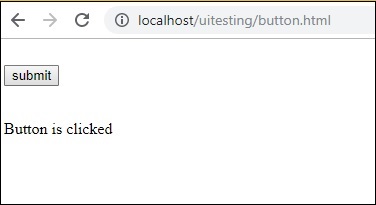
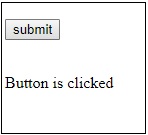
Aqui está o código watir para localizar o botão em determinada página -
require 'watir'
b = Watir::Browser.new
b.goto('http://localhost/uitesting/button.html')
b.button(:name => "btnsubmit").click
b.screenshot.save 'button.png'
Aqui está o screenshot button.png
Trabalhando com Links
Sintaxe
browser.link text: 'Click Here'
// will get the reference to the a tag with text ‘Click Here’
Usaremos a seguinte página de teste para testar links -
<html>
   <head>
      <title>Testing UI using Watir</title>
   </head>
   <body>
      <br/>
      <br/>
      <a href = "https://www.google.com">Click Here</a>
      <br/>
   </body>
</html>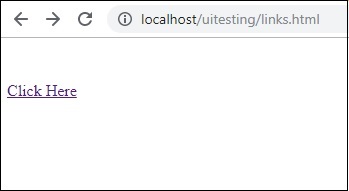
Os detalhes do Watir necessários para testar os links são os fornecidos abaixo -
require 'watir'
b = Watir::Browser.new
b.goto('http://localhost/uitesting/links.html')
l = b.link text: 'Click Here'
l.click
b.screenshot.save 'links.png'
Resultado

Trabalhando com Div's
Sintaxe
browser.div class: 'divtag'
// will get the reference to div with class “divtag”
Página de teste onde podemos testar div.
<html>
   <head>
      <title>Testing UI using Watir</title>
      <style>
         .divtag {
            color: blue;
            font-size: 25px;
         }
      </style>
   </head>

   <body>
      <br/>
      <br/>
      <div class = "divtag"> UI Testing using Watir </div>
      <br/>
   </body>
</html>
Resultado
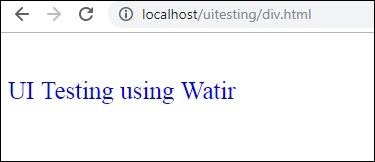
O código Watir para testar o div é mostrado aqui -
require 'watir'
b = Watir::Browser.new
b.goto('http://localhost/uitesting/div.html')
l = b.div class: 'divtag'
l.exists?
l.text
b.screenshot.save 'divtag.png'
Resultado
