Spring MVC - Dosya Yükleme Örneği
Aşağıdaki örnek, Spring Web MVC çerçevesini kullanan formlarda Dosya Yükleme Denetimi'nin nasıl kullanılacağını gösterir. Başlangıç olarak, çalışan bir Eclipse IDE'ye sahip olalım ve Spring Web Framework kullanarak Dinamik Form tabanlı bir Web Uygulaması geliştirmek için aşağıdaki adımlara uyalım.
| Adım | Açıklama |
|---|---|
| 1 | Spring MVC - Hello World bölümünde açıklandığı gibi com.tutorialspoint paketinin altında HelloWeb adıyla bir proje oluşturun. |
| 2 | Com.tutorialspoint paketi altında FileModel, FileUploadController Java sınıfları oluşturun. |
| 3 | Jsp alt klasörü altında fileUpload.jsp, success.jsp görünüm dosyalarını oluşturun. |
| 4 | Bir klasör oluşturun temp WebContent alt klasörü altında. |
| 5 | Apache Commons FileUpload kitaplığı commons-fileupload.jar ve Apache Commons IO kitaplığı commons-io.jar'ı indirin . Bunları CLASSPATH'ınıza koyun. |
| 6 | Son adım, kaynak ve yapılandırma dosyalarının içeriğini oluşturmak ve uygulamayı aşağıda açıklandığı gibi dışa aktarmaktır. |
FileModel.java
package com.tutorialspoint;

import org.springframework.web.multipart.MultipartFile;

public class FileModel {
   private MultipartFile file;

   public MultipartFile getFile() {
      return file;
   }

   public void setFile(MultipartFile file) {
      this.file = file;
   }
}
FileUploadController.java
package com.tutorialspoint;

import java.io.File;
import java.io.IOException;

import javax.servlet.ServletContext;

import org.springframework.beans.factory.annotation.Autowired;
import org.springframework.stereotype.Controller;
import org.springframework.ui.ModelMap;
import org.springframework.util.FileCopyUtils;
import org.springframework.validation.BindingResult;
import org.springframework.validation.annotation.Validated;
import org.springframework.web.bind.annotation.RequestMapping;
import org.springframework.web.bind.annotation.RequestMethod;
import org.springframework.web.multipart.MultipartFile;
import org.springframework.web.servlet.ModelAndView;

@Controller
public class FileUploadController {

   @Autowired
   ServletContext context;

   @RequestMapping(value = "/fileUploadPage", method = RequestMethod.GET)
   public ModelAndView fileUploadPage() {
      FileModel file = new FileModel();
      ModelAndView modelAndView = new ModelAndView("fileUpload", "command", file);
      return modelAndView;
   }

   @RequestMapping(value="/fileUploadPage", method = RequestMethod.POST)
   public String fileUpload(@Validated FileModel file, BindingResult result, ModelMap model) throws IOException {
      if (result.hasErrors()) {
         System.out.println("validation errors");
         return "fileUploadPage";
      } else {
         System.out.println("Fetching file");
         MultipartFile multipartFile = file.getFile();
         String uploadPath = context.getRealPath("") + File.separator + "temp" + File.separator;
         //Now do something with file...
         FileCopyUtils.copy(file.getFile().getBytes(), new File(uploadPath+file.getFile().getOriginalFilename()));
         String fileName = multipartFile.getOriginalFilename();
         model.addAttribute("fileName", fileName);
         return "success";
      }
   }
}
HelloWeb-servlet.xml
<beans xmlns = "http://www.springframework.org/schema/beans"
   xmlns:context = "http://www.springframework.org/schema/context"
   xmlns:xsi = "http://www.w3.org/2001/XMLSchema-instance"
   xsi:schemaLocation = "
   http://www.springframework.org/schema/beans
   http://www.springframework.org/schema/beans/spring-beans-3.0.xsd
   http://www.springframework.org/schema/context
   http://www.springframework.org/schema/context/spring-context-3.0.xsd">

   <context:component-scan base-package = "com.tutorialspoint" />

   <bean class = "org.springframework.web.servlet.view.InternalResourceViewResolver">
      <property name = "prefix" value = "/WEB-INF/jsp/" />
      <property name = "suffix" value = ".jsp" />
   </bean>

   <bean id = "multipartResolver"
      class = "org.springframework.web.multipart.commons.CommonsMultipartResolver" />
</beans>
Burada ilk servis yöntemi için fileUploadPage(), bir boşluk geçtik FileModelJSP dosyanızda <form: form> etiketleri kullanıyorsanız, yay çerçevesi "command" adında bir nesne beklediğinden, ModelAndView nesnesindeki "command" adındaki nesne. Öyleyse ne zamanfileUploadPage() yöntem denir, geri döner fileUpload.jsp görünüm.
İkinci hizmet yöntemi fileUpload() bir POST yöntemine karşı çağrılacak HelloWeb/fileUploadPageURL. Dosyayı gönderilen bilgilere göre yüklenecek şekilde hazırlayacaksınız. Son olarak, servis yönteminden bir "başarılı" görünümü döndürülür ve bu da, success.jsp oluşturulmasına neden olur.
fileUpload.jsp
<%@ page contentType="text/html; charset = UTF-8" %>
<%@ taglib prefix = "form" uri = "http://www.springframework.org/tags/form"%>
<html>
   <head>
      <title>File Upload Example</title>
   </head>

   <body>
      <form:form method = "POST" modelAttribute = "fileUpload"
         enctype = "multipart/form-data">
         Please select a file to upload :
         <input type = "file" name = "file" />
         <input type = "submit" value = "upload" />
      </form:form>
   </body>
</html>
Burada kullanıyoruz modelAttribute Dosya Yükleme denetimini sunucu modeliyle eşlemek için value = "fileUpload" özniteliğini kullanın.
success.jsp
<%@ page contentType = "text/html; charset = UTF-8" %>
<html>
   <head>
      <title>File Upload Example</title>
   </head>
   <body>
      FileName :
      lt;b> ${fileName} </b> - Uploaded Successfully.
   </body>
</html>
Kaynak ve yapılandırma dosyalarını oluşturmayı tamamladığınızda, uygulamanızı dışa aktarın. Uygulamanıza sağ tıklayın, kullanınExport → WAR File seçeneğini belirleyin ve HelloWeb.war dosyasını Tomcat'in webapps klasörüne kaydedin.
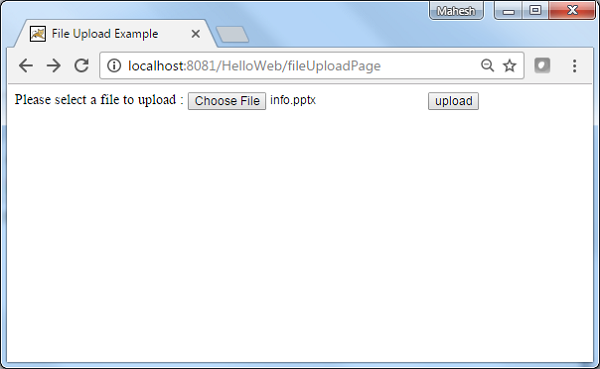
Şimdi Tomcat sunucunuzu başlatın ve diğer web sayfalarına standart bir tarayıcı kullanarak webapps klasöründen erişebildiğinizden emin olun. Bir URL deneyin–http://localhost:8080/HelloWeb/fileUploadPage Spring Web Uygulaması ile her şey yolundaysa aşağıdaki ekranı göreceğiz.
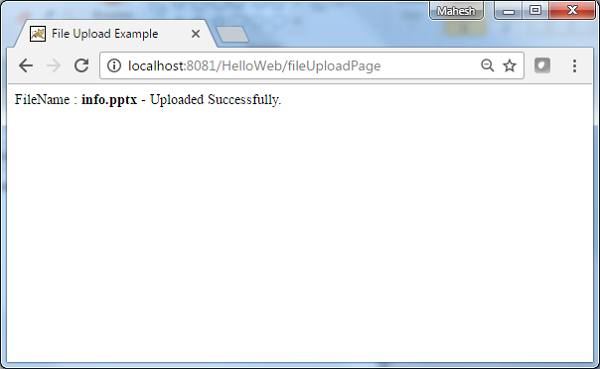
Gerekli bilgileri gönderdikten sonra, formu göndermek için gönder düğmesine tıklayın. Spring Web Uygulaması ile her şey yolundaysa aşağıdaki ekranı görmelisiniz.