TestLink-データのインポート
TestLinkは、データをインポートするためのXMLおよびCVSファイルをサポートしています。テストスイート、テストケース、要件、テスト実行結果、キーワードなどのデータのインポートをサポートします。ただし、XMLのみをサポートする場合もあれば、XMLとCVSの両方をサポートする場合もあります。
次の表に、インポートをサポートする機能とファイル形式をサポートする機能を示します。
| 項目 | ファイル形式 | インポート |
|---|---|---|
| テストプロジェクト | XML | はい |
| テストスイート | XML | はい |
| テストケース | XML、XLS | はい |
| キーワード | CSV、XML | はい |
| 要件 | CSV、XML | はい |
| 結果 | XML | はい |
| プラットフォーム | XML | はい |
| カスタムフィールド | XML | はい |
テストスイートとケースをインポートする
Sample File −以下は、テストスイートのインポートに使用できるキーワードを含むXMLファイルです。
<testsuite name = "Child Suite2">
   <details>abc</details>
   <testcase name = "Sample test case2">
      <summary>test case sample- update</summary>
      <preconditions>1. TestLink should be installed</preconditions>

      <steps>
         <step>
            <step_number>1</step_number>
            <actions>Go to www.google.com</actions>
            <expectedresults>Google Home page should display</expectedresults>
         </step>
      </steps>

      <keywords>
         <keyword name = "Sample Test">
            <notes>abc</notes>
         </keyword>
      </keywords>
   </testcase>
</testsuite>
キーワードを追加したくない場合は、XMLファイルからキーワードセクションを削除できます。
複数のテストケースをインポートする場合は、すべてのサブノードで<testcase>セクションを複数回追加します。
テストケースのみを既存のテストスイートにインポートする必要がある場合は、<testsuite>タグを削除し、XMLファイルを<testcase>で開始します。
テストスイートをインポートする
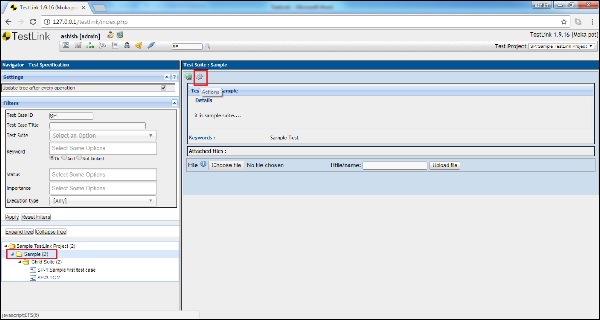
Step 1 −テストスイートをインポートするには、ダッシュボードから「テスト仕様」→「テスト仕様」に移動します。
Step 2 −テストスイートをインポートするプロジェクトとフォルダを左側のペインで選択します。
OR
テストケースのみをインポートするには、テストケースをインポートする必要がある最も近いテストスイートフォルダーを選択します。
Step 3 −以下に示すように、右側のペインの[アクション]アイコンをクリックします。
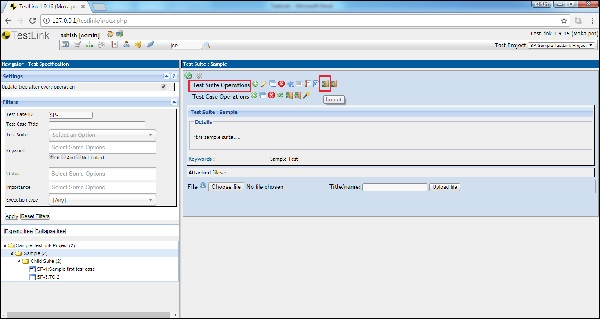
テストスイートの操作が表示されます。
Step 4 −以下に示すように、インポートアイコンをクリックします−
OR
テストケースのみをアップロードするには、テストケース操作(テストスイート操作の下)にあるインポートアイコンをクリックします。
[TestSuiteのインポート]ページが開きます。デフォルトでは、ファイルタイプはXMLとして選択されています。
Step 5 −以下の詳細を記入してください−
ファイル-XMLファイルを選択してアップロードします。ファイルの最大サイズは400KBである必要があります。
次の場合は、テストケースを重複と見なします。リストから適切なオプションを選択します。
重複に対するアクション:リストから適切なオプションを選択します。
Step 6 −以下に示すように、[ファイルのアップロード]ボタンをクリックします−

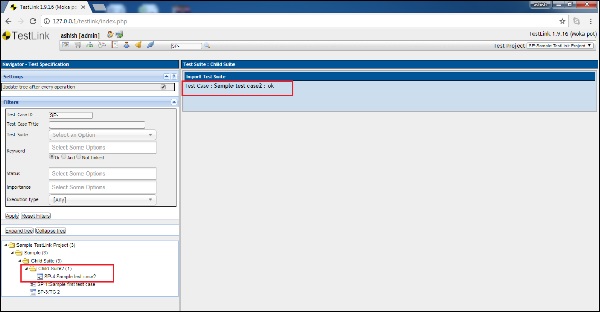
Step 7 −インポート後、以下のように成功メッセージが表示されます。
XLSを使用してテストケースをインポートする
次のように複数のテストケースをインポートするためのサンプルXLSファイル-
| 名前 | 概要 | ステップ | 期待される結果 |
|---|---|---|---|
| エンジンの高速起動 | 5秒で起動 | ステップを書くには速すぎる | エンジンが始動するはずです |
| エンジンの緊急停止 | Engine stop due to panic button |
|
Engine should stop instantly |
The first row won’t be imported. It is supposed to have a column description.
Step 1 − To import test cases, go to Test Specifications → Test Specification from the dashboard.
Step 2 − Select the nearest test suite folders, where the test cases should be imported.
Step 3 − Click the Actions icon on the right pane.
It displays Test Case Operations.
Step 4 − Click the Import icon as shown below.

It opens the Import test case page.
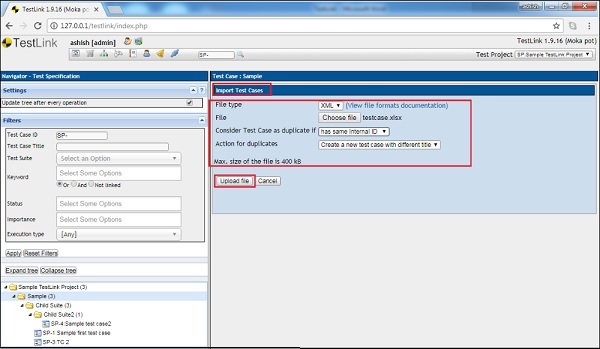
Step 5 − By default, the file type selected is XML. Change it to XLS/CSV and enter the following details −
File − Select the file and upload it. Max size of the file should be 400KB.
Consider test case as duplicate if − Select the appropriate option from the list.
Action for duplicate − Select the appropriate option from the list.
Step 6 − Click the Upload file button as shown below.
Import Requirements
TestLink supports XML and CSV file to import the requirements.
Sample XML file for Requirement would be as follows −
<requirements>
   <requirement>
      <docid>ENG-0001</docid>
      <title>Add a product</title>
      <description>ABC</description>
   </requirement>

   <requirement>
      <docid>ENG-0002</docid>
      <title>Add price </title>
      <description>Price</description>
   </requirement>
</requirements>
Sample CSV file for Requirement would be as follows −
ENG-0001,Add a product,ABC

ENG-0002,Add price,Price
Step 1 − To import the requirements, go to Requirement Specification → Requirement Specification from the dashboard.
Step 2 − Select the Requirement Specification folder where the requirements should be imported on the left panel.
Step 3 − Click the Action icon present on the top of the right pane.
It displays the Requirement Operations page.
Step 4 − Click the Import button as shown below.

It displays the requirement import page.
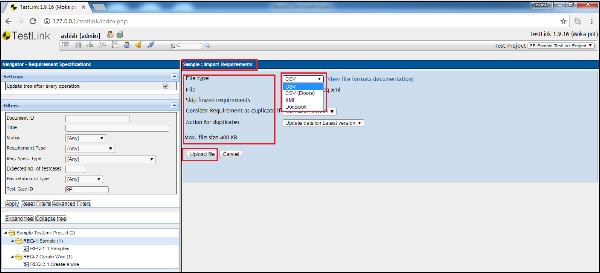
Step 5 − Enter the following details.
File Type − You can select CSV, XML or other forms of CSV and XML files as listed.
File − Upload the corresponding file.
Consider test case as duplicate if − Select the appropriate option from the list.
Action for duplicate − Select the appropriate option from the list.
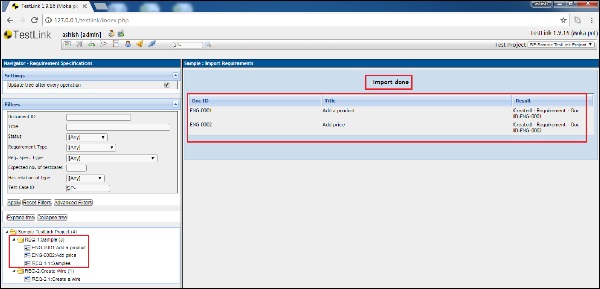
Step 6 − Click the Upload file button as shown below.
After upload, it displays Import done message along with the imported details.
After upload, it displays Import done message along with the imported details.
Similarly, keywords, platforms, and results can be imported using supported file and the respective section accessing the dashboard.