Ubuntu-サーバーのインストール
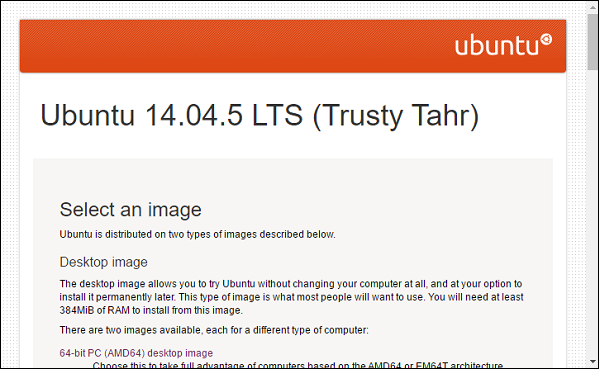
Ubuntuにはサーバーバージョンもあります。このバージョンは、Webベースのアプリケーションなどのアプリケーションをホストするために使用されます。サーバーバージョンは、デスクトップバージョンのUbuntuと同じ方法でUbuntuサイトからダウンロードできます。
このチュートリアルの目的のために、Ubuntuの最も人気のあるバージョンの1つであるサーバーバージョン14.04のインストールを見てみましょう。インストールの手順は次のとおりです。
Step 1 −リンクからサーバーバージョンをダウンロードします− http://releases.ubuntu.com/14.04/
Step 2−サーバーバージョンのダウンロードが完了したら、USBデバイスまたはブータブルDVDに入れます。起動可能なデバイスからハードウェアを起動します。
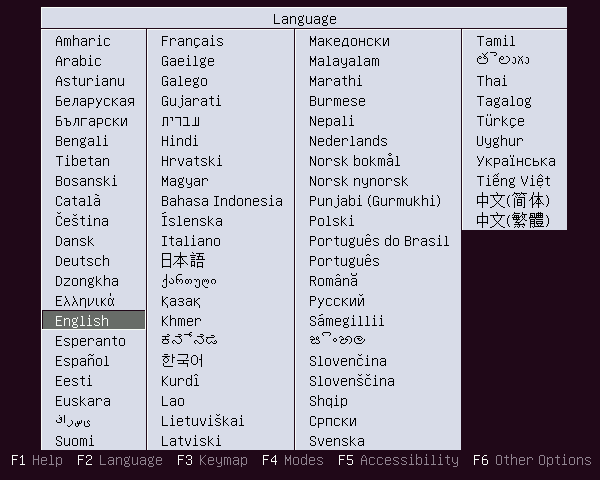
Step 3−インストールの言語を選択するように求められます。英語を選択し、Enterボタンを押します。
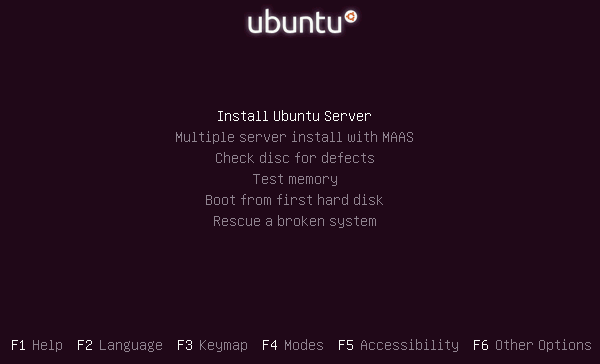
Step 4 −次のステップで、Ubuntuサーバーをインストールするオプションを選択し、Enterボタンを押します。
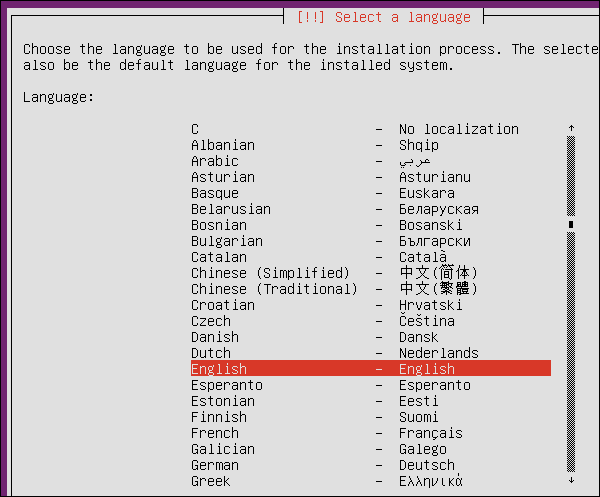
Step 5−システムは、インストールする言語を選択するように再度プロンプトを出します。英語を選択し、Enterボタンを押します。
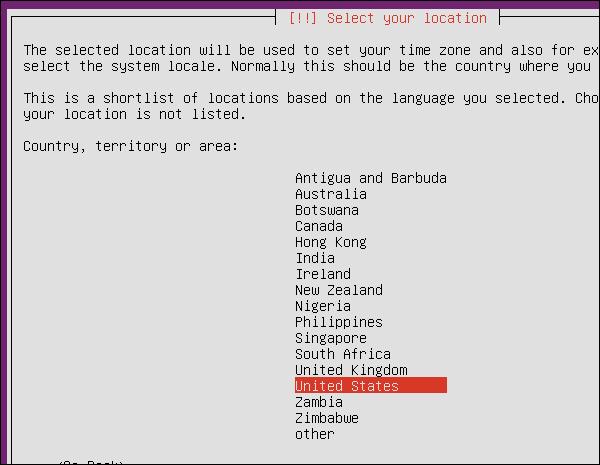
Step 6 −次の画面で、目的の地域を選択し、Enterボタンを押します。
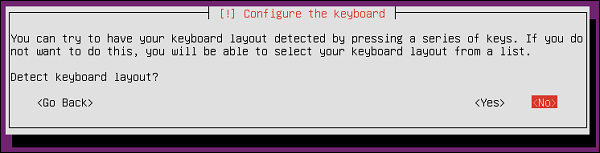
Step 7−次のステップには、キーボードレイアウトの検出が含まれます。「いいえ」オプションを選択し、Enterボタンを押します。
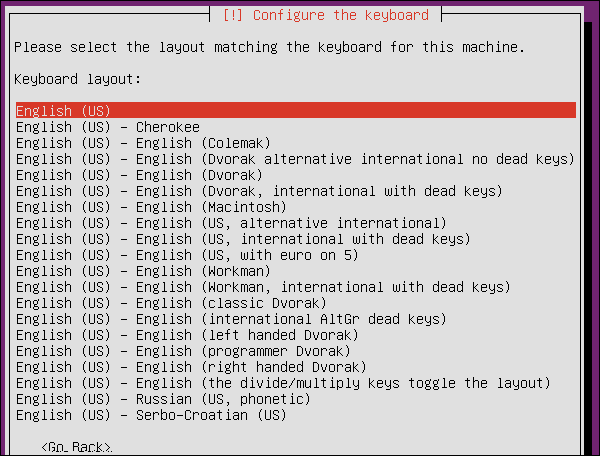
Step 8 −次の画面で、キーボードレイアウトとして英語(US)をクリックし、Enterボタンを押します。
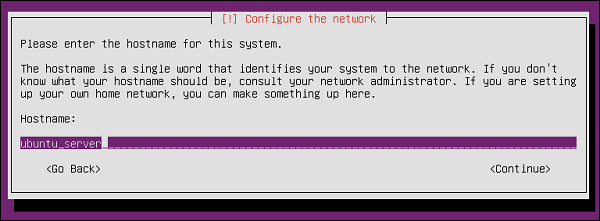
Step 9−一連の初期構成手順を実行した後、システムの名前を入力するように求められます。Ubuntuserverに入り、Enterキーを押します。
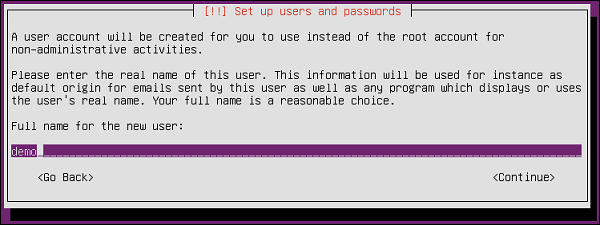
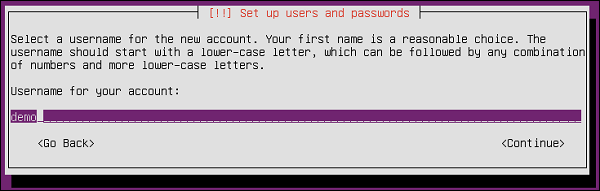
Step 10−次に、作成するアカウントの本名とユーザー名を入力するように求められます。名前「デモ」を入力し、両方の画面でEnterキーを押します。
Step 11−次に、新しいアカウントのパスワードを入力する必要があります。パスワードを入力し、Enterボタンを押します。システムはパスワードの確認を求めます。

Step 12−次に、システムはホームディレクトリを暗号化するかどうかを尋ねます。とりあえず、「いいえ」と言って、Enterキーを押して続行します。暗号化は、誰かがシステムにハッキングした場合、暗号化されているためデータを盗むことができないようになっています。
Ubuntuサーバーの上級ユーザーになると、オプションとして「はい」を選択できます。しかし今のところ、これは暗号化されていないままにしておきましょう。

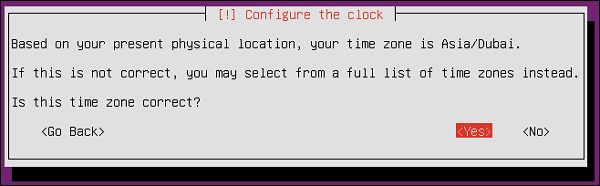
Step 13−次に、Ubuntuサーバーのインストールにより時間設定が設定されます。「はい」を選択し、Enterボタンを押して続行します。
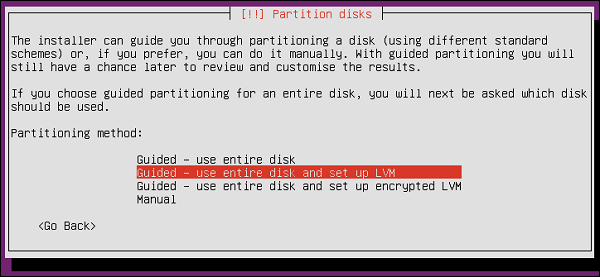
Step 14−次に、ディスクのセットアップが行われます。[ガイド付き–ディスク全体を使用してLVMをセットアップする]オプションを選択し、Enterボタンを押して続行します。
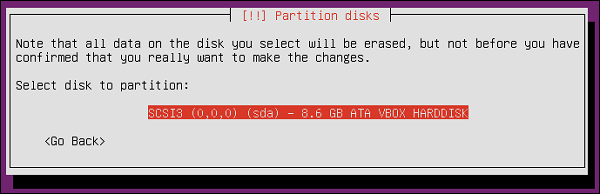
Step 15−インストールすると、ディスク上のすべてのデータが消去されます。これは新規インストールであるため、これは問題ではありません。[Enter]ボタンをクリックして続行します。
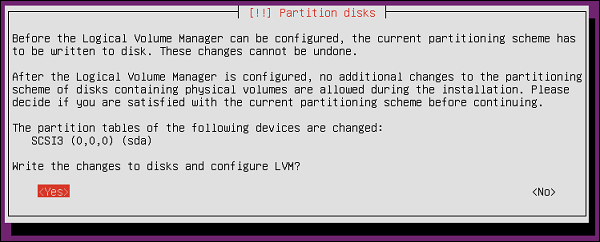
Step 16−ディスクへのすべての変更を確認するように求められます。「はい」オプションを選択し、Enterボタンを押して続行します。
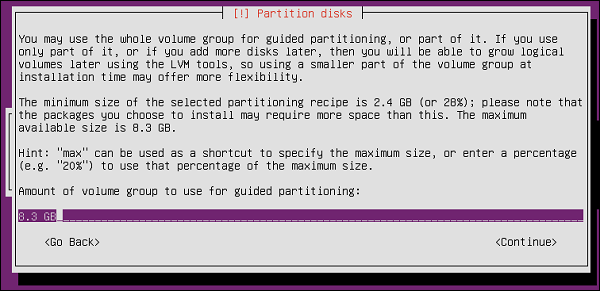
Step 17−インストールにより、ハードディスクのサイズが検出されます。続行するには、Enterボタンを押してください。
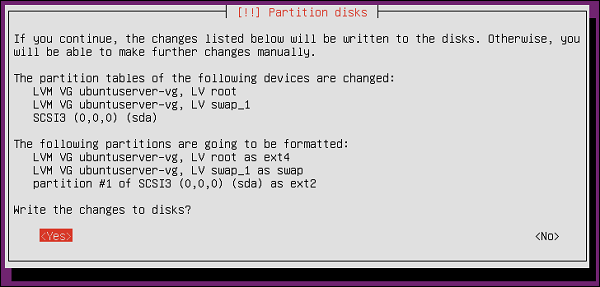
Step 18−次に、システムはディスクへの変更を確定するように要求します。「はい」オプションを選択し、「Enter」ボタンを押して続行します。
その後、システムはインストールの一連の手順の実行を開始します。

Step 19−次に、プロキシ設定を構成するように求められます。この設定をそのままにして、Enterボタンを押すことができます。

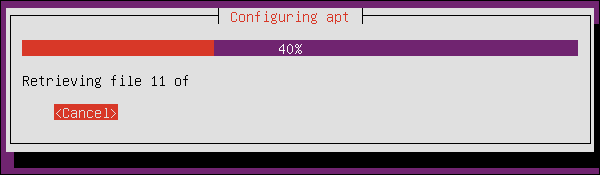
その後、インストールはaptパッケージマネージャーの構成を開始します。
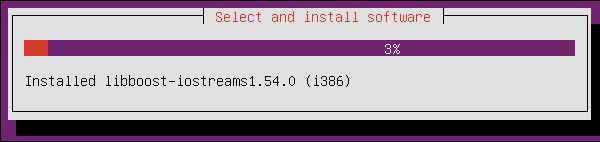
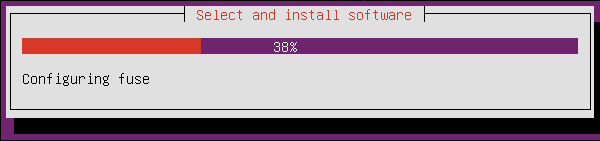
その後、必要なソフトウェアのインストールが開始されます。
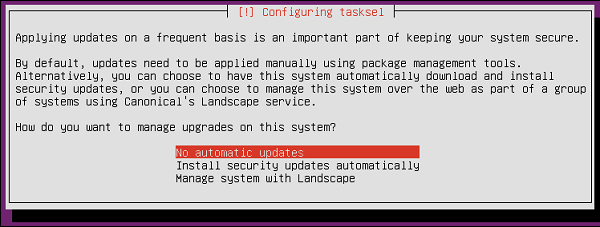
Step 20−次に、システムは自動更新を構成するかどうかを尋ねます。今のところ、「自動更新なし」を選択し、Enterボタンを押します。
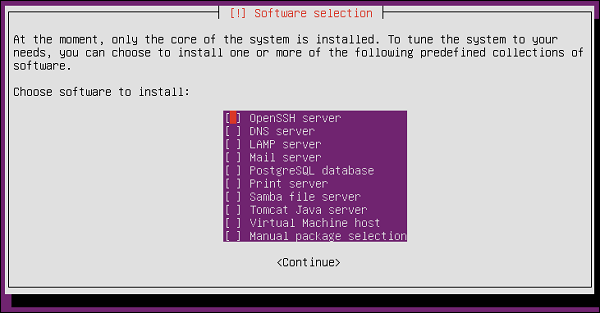
Step 21−次のステップは、追加のソフトウェアをインストールすることです。サーバーにリモート接続できる「OpenSSH」サーバーを選択します。Enterボタンを押して続行します。
システムは、残りのソフトウェアのシステムへのインストールを開始します。
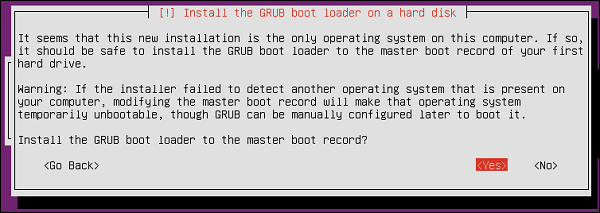
Step 22−システムはGRUBブートローダーのインストールを要求します。「はい」オプションを選択し、Enterボタンを押して続行します。
Step 23 −インストールが完了したら、[続行]オプションを押して続行します。
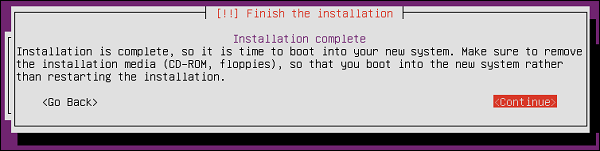
インストール後、システムは再起動します。
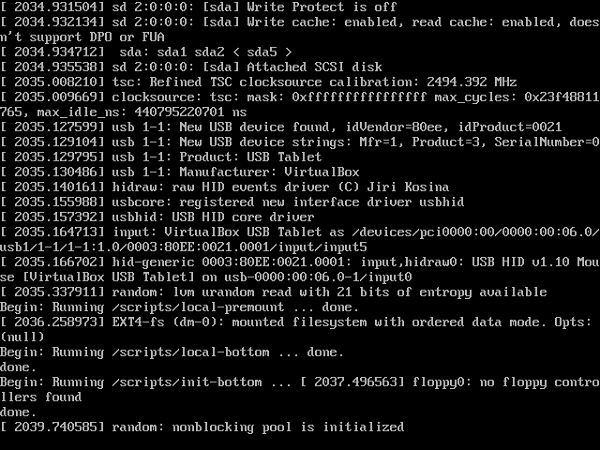
Step 24−その後、システムへのログインを要求されます。インストール時に入力した資格情報を入力します。

最終的にシステムにログインします。

Ubuntuのサーバーバージョンが正常にインストールされました。