Ubuntu-仮想マシン
Ubuntuは仮想マシンとしてインストールすることもできます。仮想マシンをサポートするソフトウェアのいくつかは次のとおりです。
- Microsoft Hyper-V
- VMWareワークステーション
- Oracle VirtualBox
OracleVirtualBoxを使用してUbuntu仮想マシンを作成しましょう。Oracle VirtualBoxは、Oracleの無料ツールです。以下は、仮想マシンを配置するための手順です。
Step 1 −オラクルサイトからOracle VirtualBoxをダウンロードします− https://www.virtualbox.org/
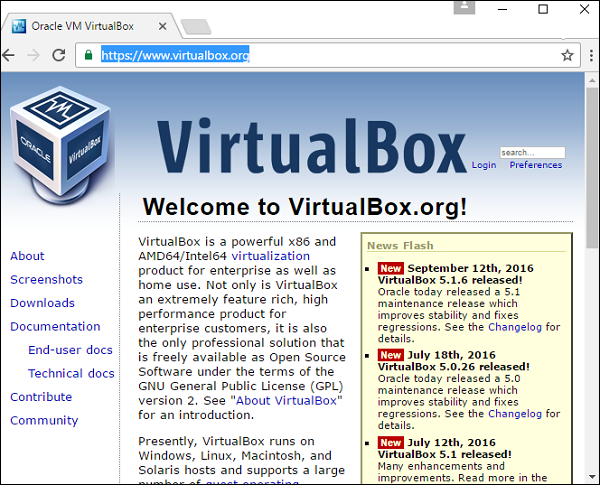
Step 2 −ダウンロードセクションに移動し、Windowsバージョンをダウンロードします。

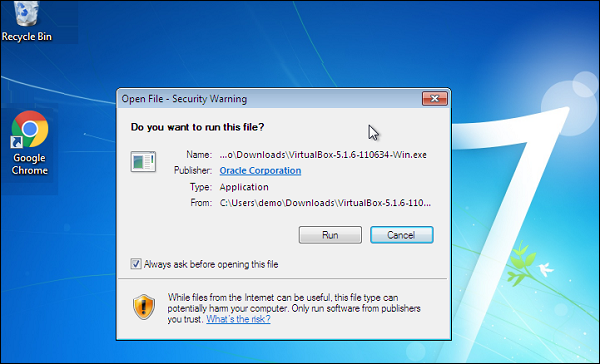
Step 3−ダウンロードが完了したら、VirtualBoxをインストールします。インストーラーを起動します。次の画面で[実行]ボタンをクリックします。
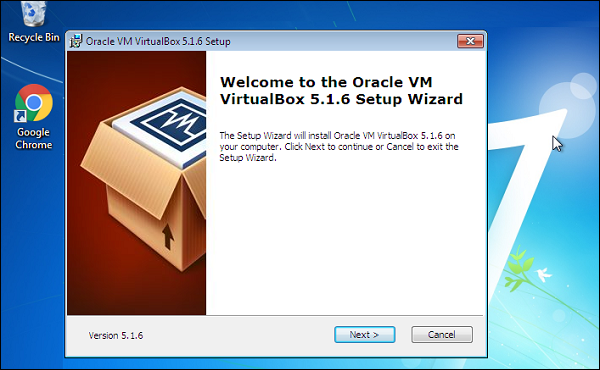
Step 4 −次の画面で[次へ]ボタンをクリックします。
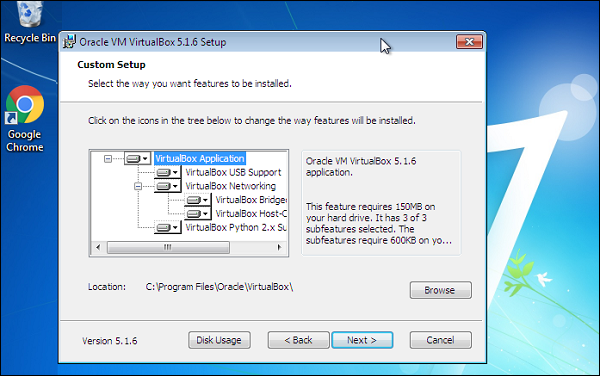
Step 5 −適切なフォルダの場所を選択し、[次へ]ボタンをクリックします。
Step 6 −次の画面で[次へ]をクリックします。

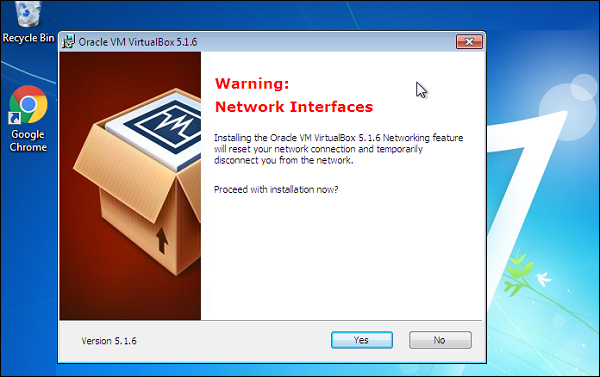
Step 7 −次の画面で[はい]ボタンをクリックして、インストールを続行します。
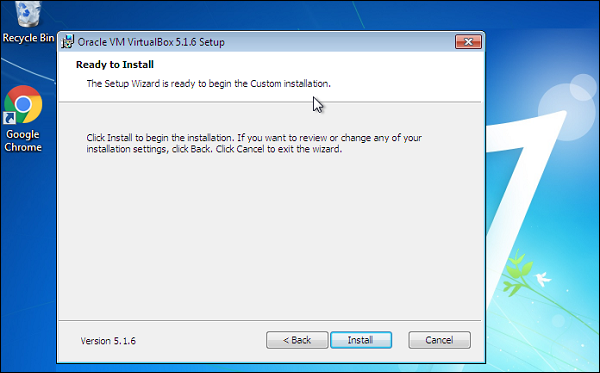
Step 8 −次の画面で[インストール]をクリックします。
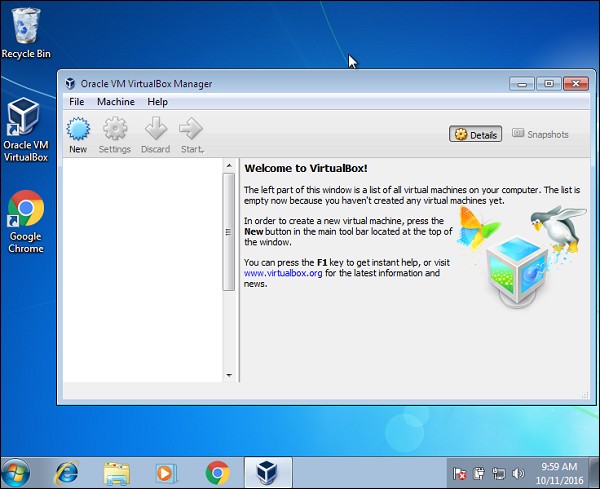
Step 9−インストールが完了したら、OracleVirtualBoxを起動します。[起動]画面で、[新規]メニューオプションをクリックします。
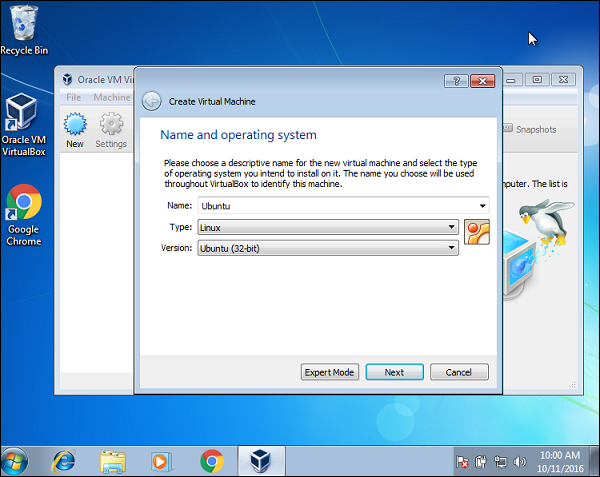
Step 10 −仮想マシンに名前を付け、タイプをUbuntuとして指定し、[次へ]ボタンをクリックします。
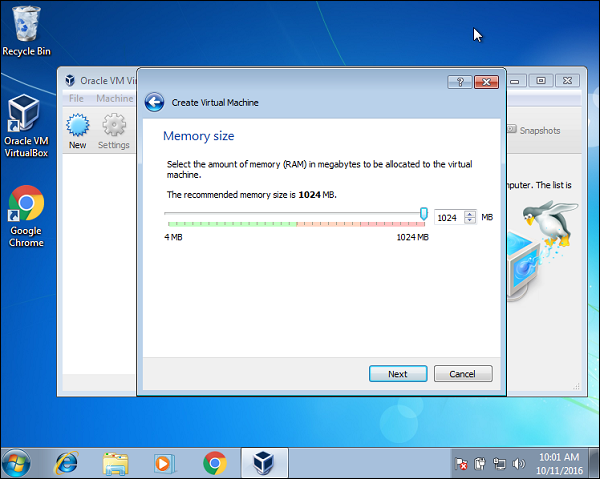
Step 11 −次の画面で、推奨RAMをそのままにして、[次へ]ボタンをクリックします。
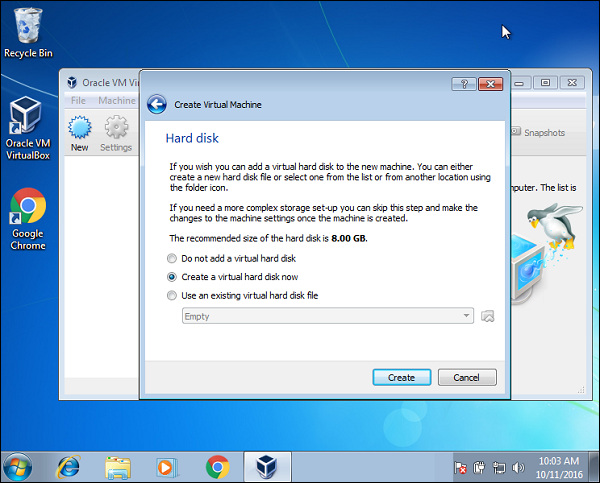
Step 12 −仮想ハードディスクのデフォルト設定を受け入れて、「作成」ボタンをクリックします。
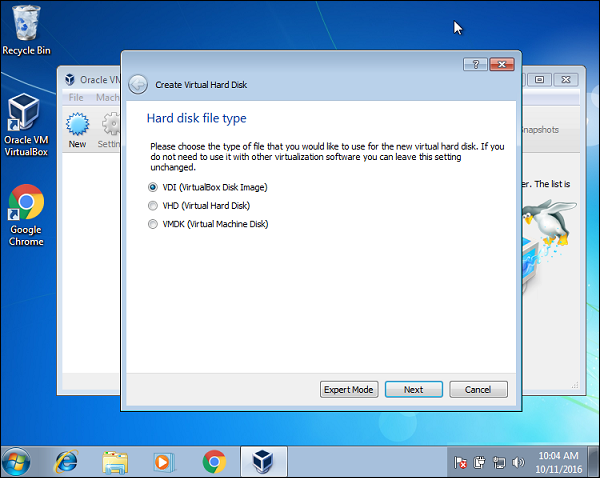
Step 13 −ハードディスクの種類を受け入れ、[次へ]ボタンをクリックします。
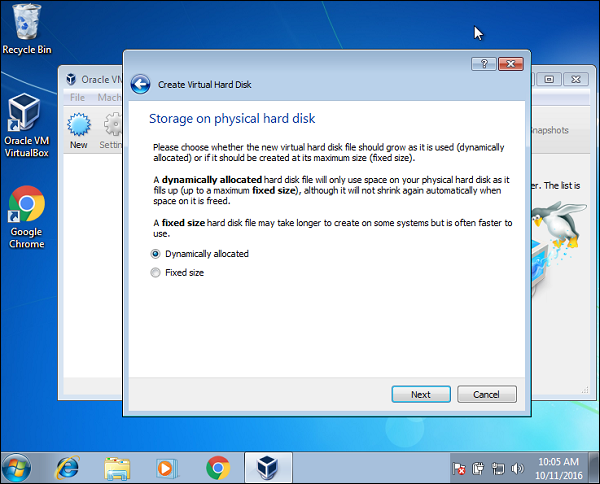
Step 14 −デフォルトのタイプの物理ハードディスク割り当てを受け入れて、「次へ」ボタンをクリックします。
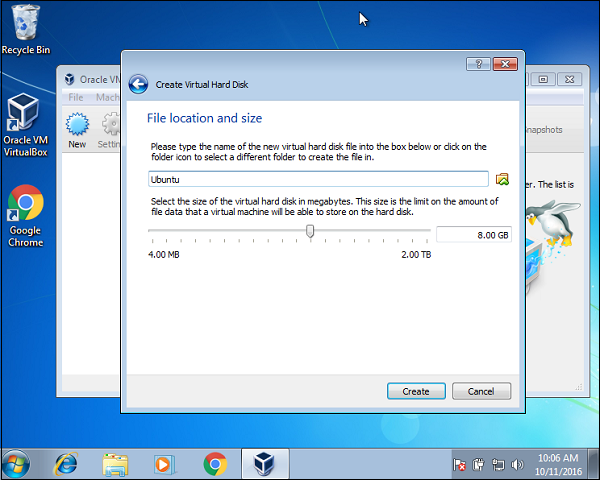
Step 15 −デフォルトのファイルの場所を受け入れて、「作成」ボタンをクリックします。
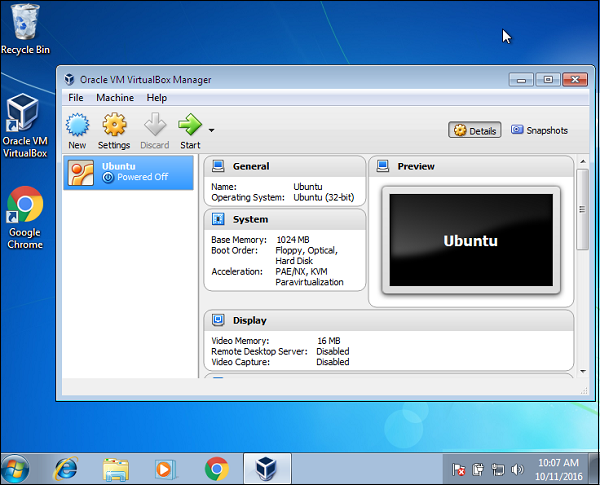
Step 16 −仮想マシンが作成されたので、[設定メニュー]オプションをクリックします。
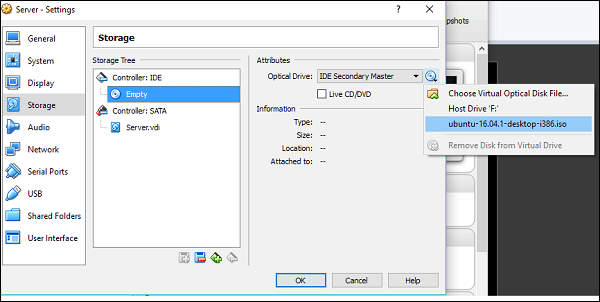
Step 17− [ストレージ]オプションに移動し、[空のディスク]アイコンをクリックして、UbuntuISOイメージを参照します。次に、[OK]ボタンをクリックします。
最後に[スタート]ボタンをクリックします。システムはUbuntuをインストールするように促します。インストールの章の手順に従うと、Ubuntuをホストする仮想マシンができます。
