Amazon API Gateway 작업
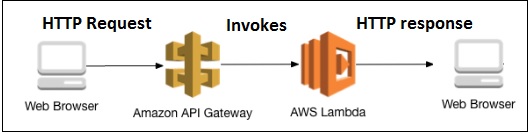
AWS Lambda 함수는 다음에서 호출 할 수 있습니다. HTTPSurl. GET, POST, PUT에서 수행 할 수 있습니다. HTTPS URL이 호출되면 AWS Lambda 함수도 트리거 될 수 있으며 데이터는 다음을 사용하여 HTTPS로 전달됩니다.get/post DynamoDB에 삽입하거나 메일을 보내는 데 사용하기 위해 AWS Lambda 내에서 사용할 수 있습니다.
이 장에서는 AWS Lambda 및 API Gateway 작업과 관련된 다양한 프로세스에 대해 자세히 설명합니다.
관련된 프로세스
다음은 AWS lambda 및 API Gateway 작업과 관련된 프로세스입니다.
- 권한을위한 IAM 역할 생성
- AWS Lambda 함수 생성
- API 게이트웨이 생성
- 람다 함수를 API 게이트웨이에 연결
- API 게이트웨이로 데이터 전달
API 게이트웨이와 AWS Lambda의 작동을 설명하는 기본 다이어그램이 여기에 있습니다.
이러한 프로세스는 관련 스크린 샷과 함께이 장에서 자세히 설명합니다.
권한을위한 IAM 역할 생성
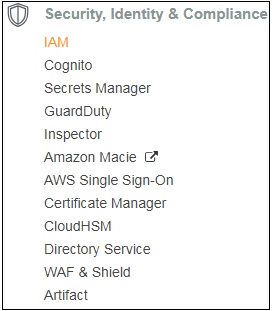
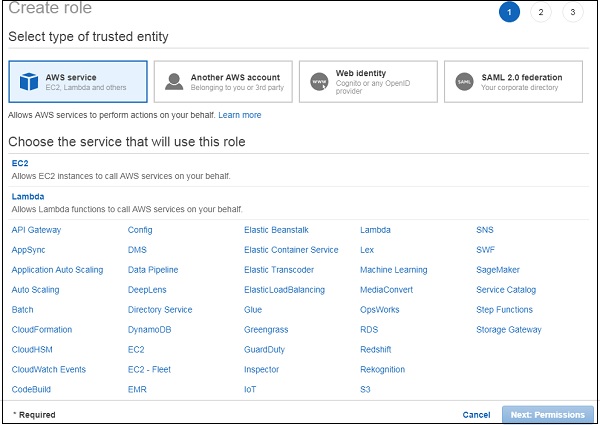
아래와 같이 Amazon 서비스에서 Lambda 함수에서 사용할 역할을 생성하기 위해 IAM을 선택합니다.
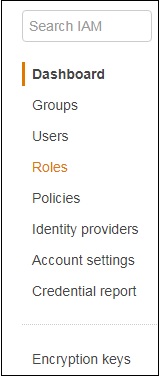
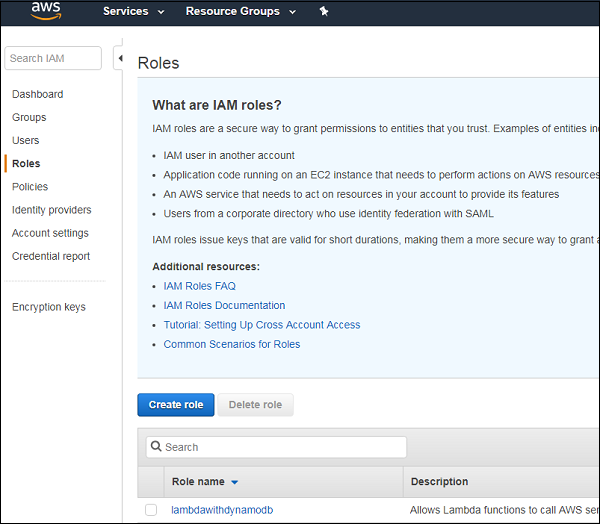
IAM으로 이동하여 Roles 아래 그림과 같이 왼쪽 섹션에서-
딸깍 하는 소리 Create role Lambda 함수용.
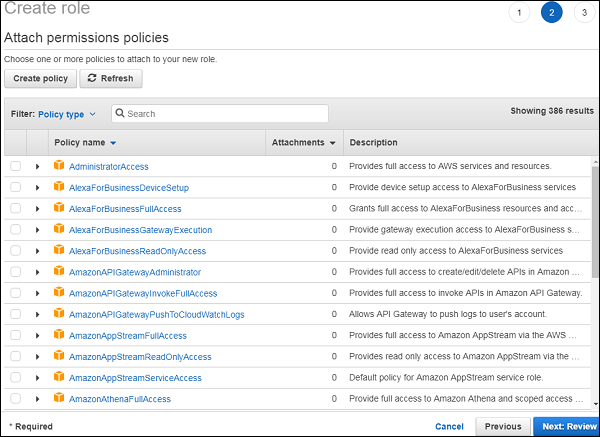
Lambda를 선택하고 Permissions하단에. API Gateway 및 Lambda에 필요한 권한을 선택합니다.
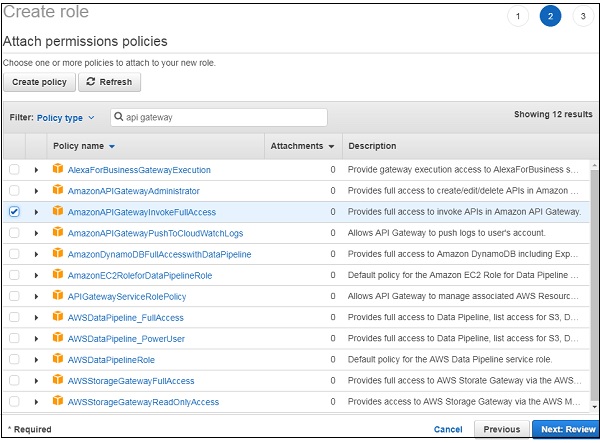
검색에서 API 게이트웨이를 검색하면 모든 관련 권한이 나열됩니다. 여기에서는 아래와 같이 API 게이트웨이에 대한 전체 액세스 권한을 선택했습니다.
이제 API 게이트웨이를 검색하면 모든 관련 권한이 나열됩니다. 여기에서는 아래와 같이 API 게이트웨이에 대한 전체 액세스 권한을 선택했습니다.
정책에 대해서도 동일한 프로세스를 반복해야합니다.
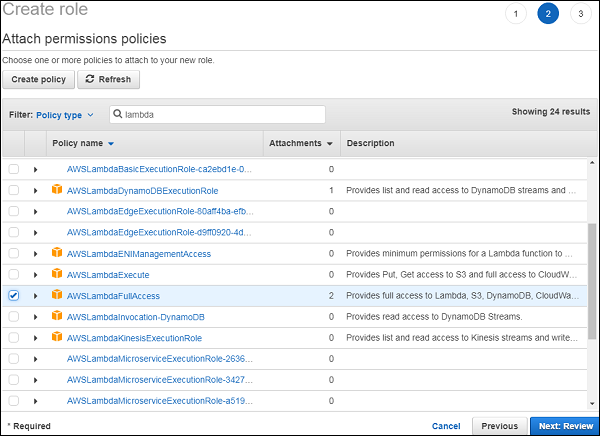
필요한 정책 선택을 마쳤 으면 Review다음 단계를 위해. 아래와 같이 선택에 따라 역할 이름을 입력하십시오-
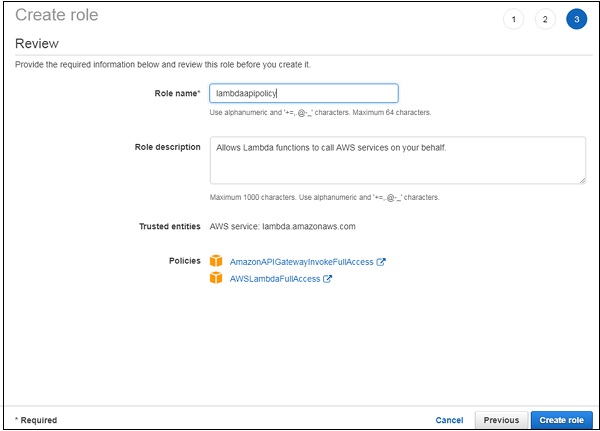
역할에 연결된 정책이 표시됩니다. 딸깍 하는 소리Create role 역할 생성이 완료되었으며 람다 함수를 진행할 수 있습니다.
AWS Lambda 함수 생성
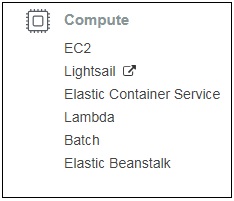
AWS 서비스로 이동하고 lambda 서비스를 클릭하여 API 게이트웨이와 연결하기위한 함수를 생성합니다.
Lambda 함수의 UI 화면은 아래와 같습니다. 딸깍 하는 소리Create function 버튼을 눌러 Lambda 함수 생성을 진행합니다.

기능의 이름을 입력하고 위에서 생성 한 기존 역할을 선택합니다.

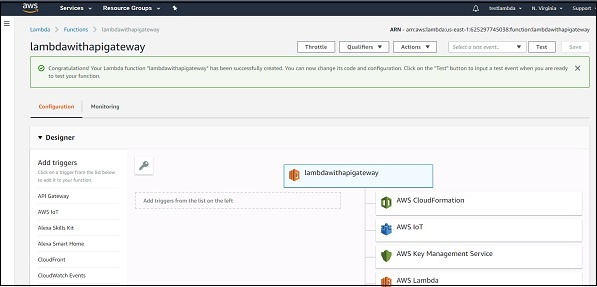
이름이있는 기능이 lambdawithapigateway 성공적으로 생성되었습니다.
여기서 우리는 nodejs코드를 작성하는 런타임. AWS 코드helloworld 메시지는 다음과 같습니다-
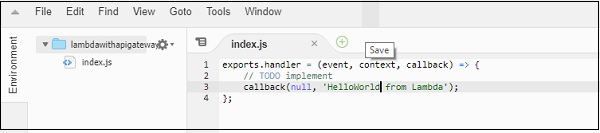
AWS Lambda 코드는 index.js파일. 핸들러라는 함수에는 매개 변수가 있습니다.events, context 과 callback.
콜백 함수에는 기본적으로 오류와 성공 메시지가 있습니다. 여기에는 오류 관련 코드가 없으므로 null이 전달되고 성공 메시지는HelloWorld from lambda.
마지막으로 추가 된 변경 사항을 저장하고 API 게이트웨이에 Lambda 함수를 추가해 보겠습니다.
API 게이트웨이 생성
AWS 계정에 로그인하고 아래와 같이 API Gateway를 엽니 다.
API Gateway를 클릭하면 새 API 게이트웨이를 생성 할 수있는 화면으로 이동합니다.
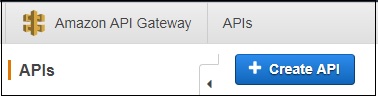
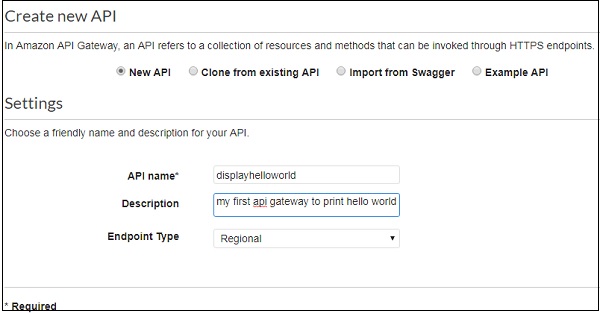
딸깍 하는 소리 Create API 다음과 같이 세부 정보를 추가하십시오-
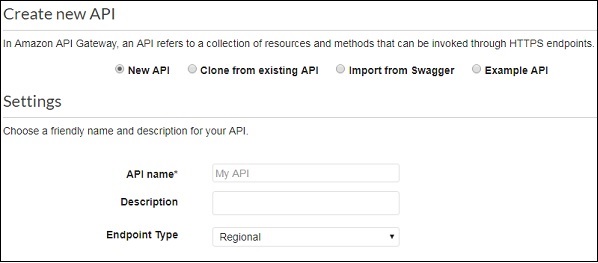
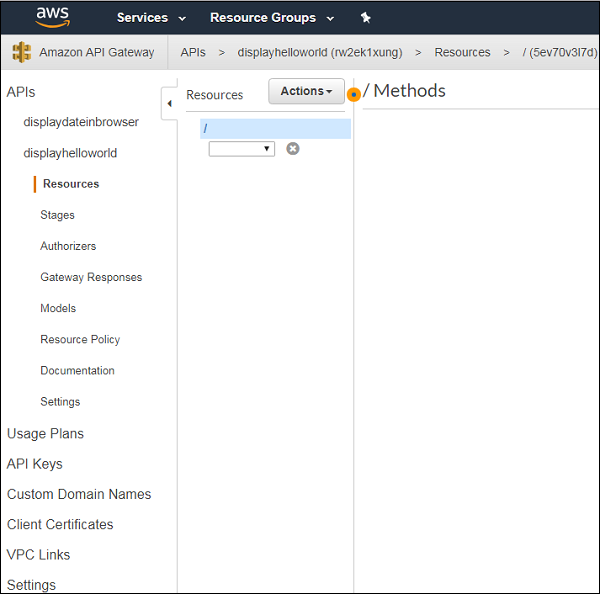
클릭 Create API화면 오른쪽에있는 버튼을 클릭합니다. 그러면 화면 왼쪽에 새로 생성 된 API가 표시됩니다.
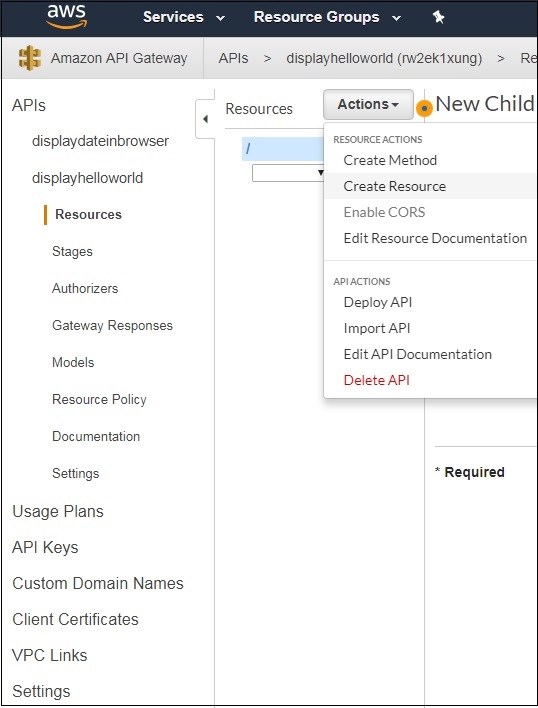
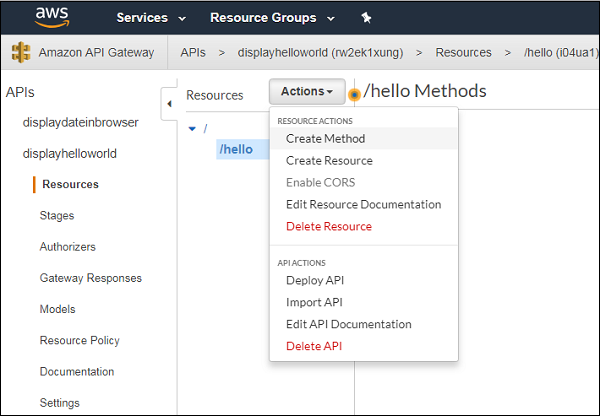
클릭 Actions 드롭 다운을 클릭하여 API에 대한 새 리소스를 만듭니다.
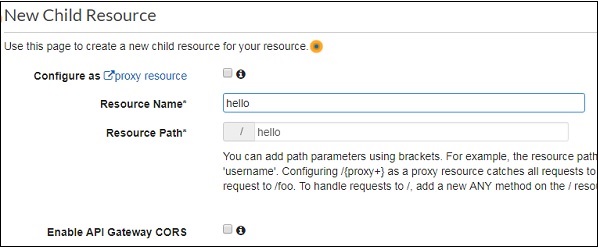
이제 아래와 같이 새 리소스를 만듭니다.
들어가다 Resource Name아래 그림과 같이. 마지막에 생성 된 URL에 입력 된 리소스의 이름이 표시됩니다. 딸깍 하는 소리Create Resource 다음과 같이 화면에 표시됩니다.
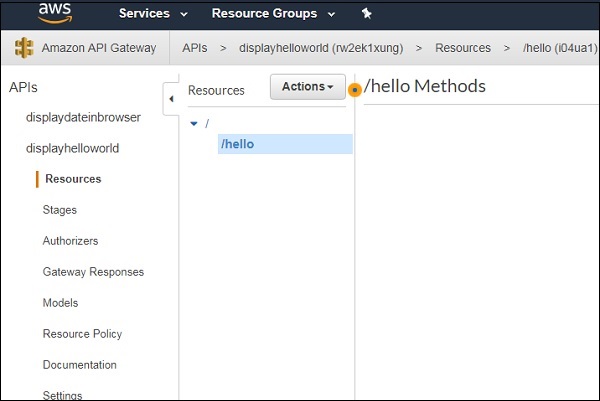
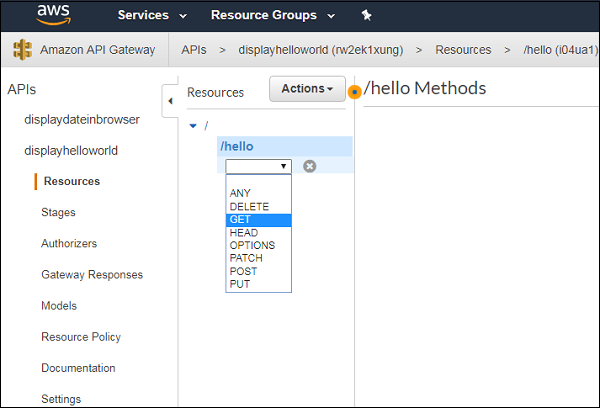
더하다 GET/POST아래와 같이 생성 된 리소스에 대한 메서드. 방법을 선택하십시오Actions 쓰러지 다.
클릭 GET 메소드를 API에 추가합니다.
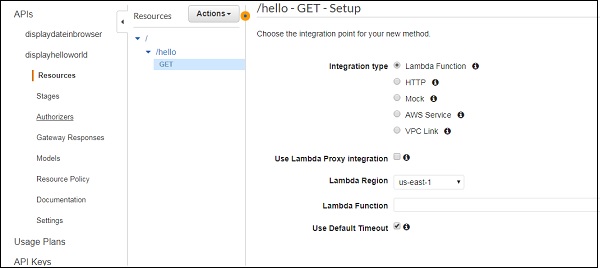
다음 단계는 Lambda 기능과 통합하는 통합입니다. 이제 아래와 같이 Lambda 함수를 추가하십시오.
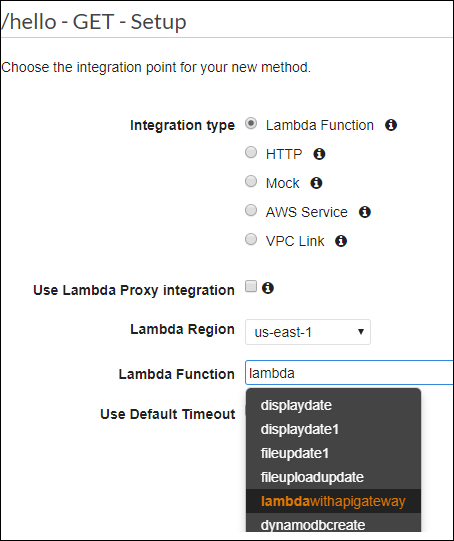
Lambda 함수를 API Gateway에 연결
앞서 만든 람다 함수를 선택합니다.
변경 사항을 저장하면 아래와 같이 권한을 요청하는 대화 상자를 볼 수 있습니다.
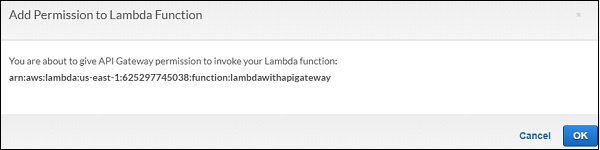
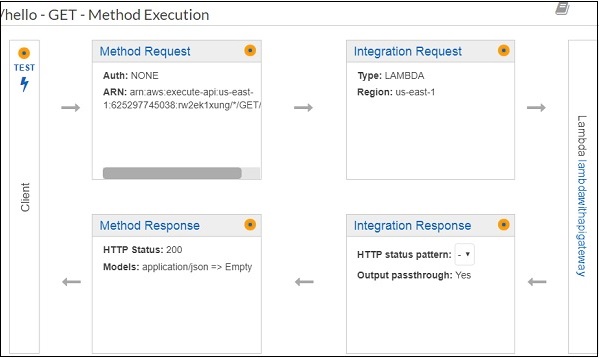
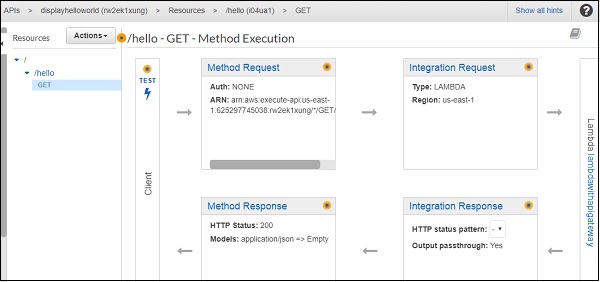
딸깍 하는 소리 OK허가를 위해. 이것은 API 게이트웨이 HTTP 요청과 Lambda 함수 사이의 실행 세부 정보입니다.
이제 API 게이트웨이 변경 사항을 배포하겠습니다. 이를 위해 우리는Deploy API ...에서 Actions 아래에 표시된대로 드롭 다운-
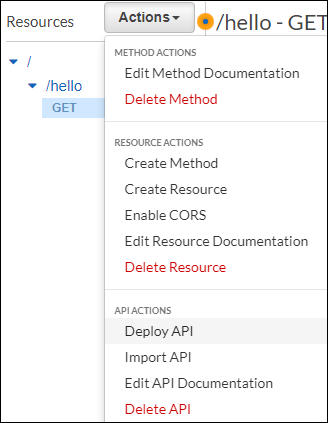
고르다 Deploy API. 배포 상태를 묻습니다. 고르다New Stage 배포 단계 드롭 다운에서 단계 이름을 다음과 같이 추가합니다. Production.

딸깍 하는 소리 Deploy 버튼을 누르면 아래와 같이 URL로 리디렉션됩니다.

선택 GET왼쪽에서 URL을 가져옵니다. Lambda 함수의 메시지를 보려면 새 탭에서 URL을 엽니 다.

이것은 AWS Lambda 및 AWS API Gateway 작업의 기본 예입니다. 위의 예에서는 Lambda 함수에 메시지를 하드 코딩했습니다.
이제 API Gateway에서 메시지 세부 정보를 가져 오겠습니다. HTTPS 호출이 다른 도메인에서 호출되어야하는 경우 (예 : API에 대한 AJAX 호출) 생성 된 API 게이트웨이에 대해 CORS를 활성화해야합니다.
API 용으로 생성 된 reSource를 선택하고 Actions 드롭 다운-
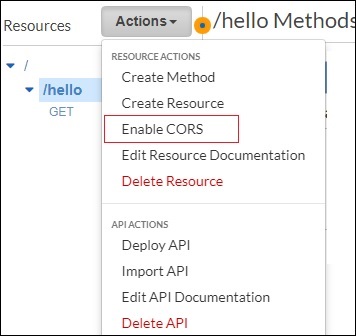
지금, Enable CORS 다음 화면이 열립니다-
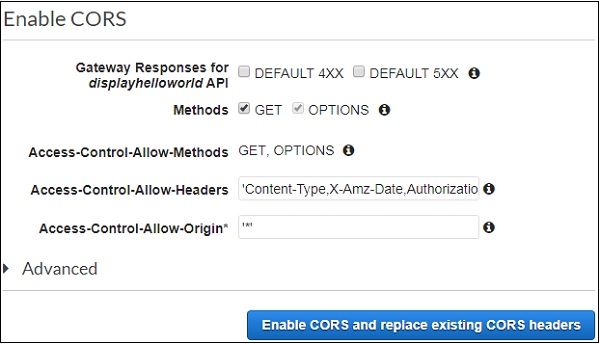
CORS를 활성화하는 데 몇 가지 방법을 사용할 수 있습니다. Access-Control-Allow-Origin *로 표시되어 있으면 모든 도메인의 API 게이트웨이에서 콘텐츠를 가져올 수 있습니다.
API로 작업 할 도메인 이름을 지정할 수도 있습니다. 딸깍 하는 소리Enable CORS and replace existing CORS headers 버튼을 누르면 아래와 같이 확인 메시지가 표시됩니다.
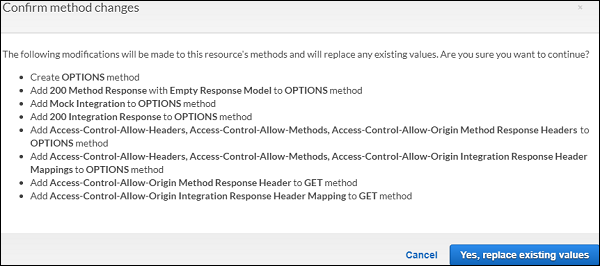
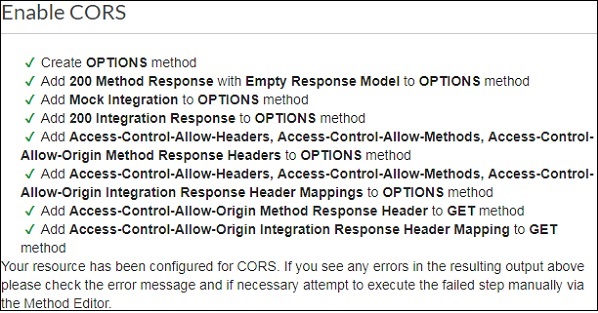
딸깍 하는 소리 Yes, replace existing values활성화하려면 버튼을 누르십시오. 그만큼Enable CORS 화면은 아래와 같이 보입니다-
API Gateway에 데이터 전달
API Gateway에서 생성 된 API 열기 displayhelloworld 아래와 같이-
딸깍 하는 소리 Integration Request 아래와 같이 데이터를 보내려면-
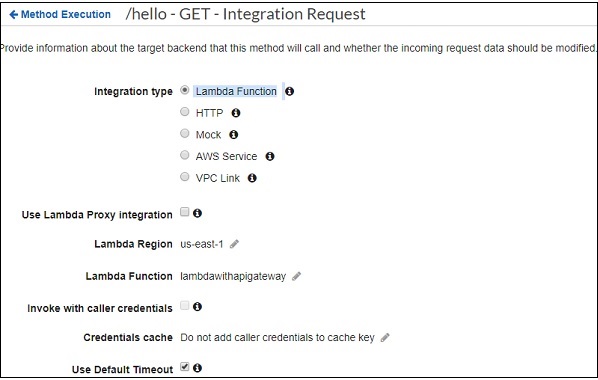
고르다 Body Mapping Templates 그리고 추가 Content-Type 이 예에서는 application/json. 추가 된 콘텐츠 유형을 클릭하여 다음과 같이 세부 정보를 추가합니다.
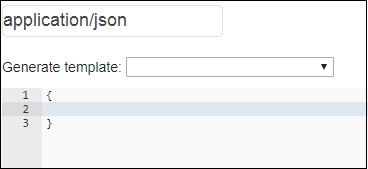
이제 아래와 같이 JSON 형식으로 템플릿을 추가합니다.
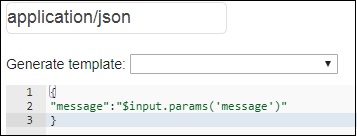
API Gateway에서 데이터를 가져와 AWS Lambda와 공유하기 위해 메시지를 파라미터로 가져 왔는지 확인합니다. 세부 정보를 가져 오는 구문은 위와 같습니다.
이제 API를 배포하여 API Gateway URL에서 변경 사항을 사용할 수 있도록합니다. 이를 위해 API Gateway URL을 기반으로 데이터를 표시하도록 Lambda 함수를 변경해야합니다. Lambda 함수의 코드는 아래 givn입니다. 이벤트에서 메시지를 가져와 콜백으로 전달합니다.
exports.handler = (event, context, callback) => {
   let message = event.message;
   callback(null, message);
};
이제 Lambda에 변경 사항을 저장하고 URL을 눌러 변경 사항을 확인합니다. 아래 주어진 스크린 샷을 관찰하십시오-
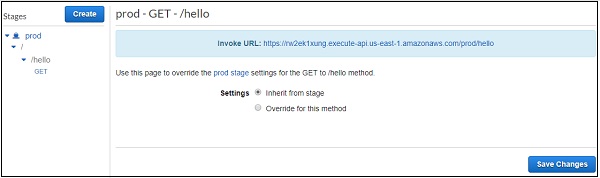
아래와 같이 URL을 클릭하십시오-
https://rw2ek1xung.execute-api.us-east-
1.amazonaws.com/prod/hello?message=hello%20from%20api%20gateway
여기에서 GET URL에 쿼리 문자열로 메시지를 전달하고 있음을 확인하십시오. 그런 다음 아래와 같이 출력을 관찰 할 수 있습니다.

URL에서 메시지로 보낸 세부 정보를 읽고 브라우저에 동일하게 표시합니다.