OpenCV - skala szarości do binarnego
Możesz użyć tej samej metody, co w poprzednim rozdziale, aby przekonwertować obraz w skali szarości na obraz binarny. Po prostu podaj ścieżkę do obrazu w skali szarości jako dane wejściowe do tego programu.
Przykład
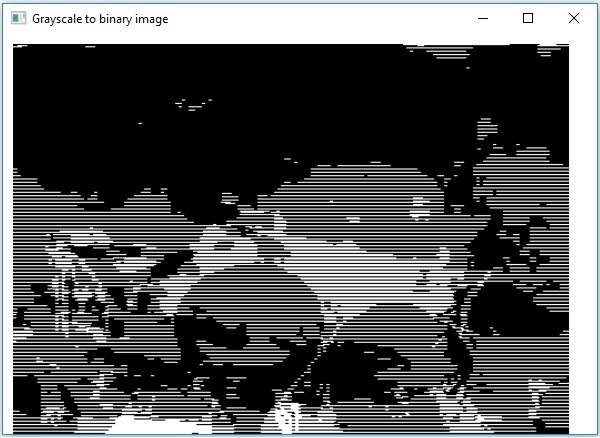
Poniższy program demonstruje, jak odczytać obraz w skali szarości jako obraz binarny i wyświetlić go za pomocą okna JavaFX.
import java.awt.image.BufferedImage;

import org.opencv.core.Core;
import org.opencv.core.Mat;
import org.opencv.imgcodecs.Imgcodecs;
import org.opencv.imgproc.Imgproc;

import javafx.application.Application;
import javafx.embed.swing.SwingFXUtils;
import javafx.scene.Group;
import javafx.scene.Scene;
import javafx.scene.image.ImageView;
import javafx.scene.image.WritableImage;
import javafx.stage.Stage;

public class GrayScaleToBinary extends Application {
   @Override
   public void start(Stage stage) throws Exception {
      WritableImage writableImage = loadAndConvert();

      // Setting the image view
      ImageView imageView = new ImageView(writableImage);

      // Setting the position of the image
      imageView.setX(10);
      imageView.setY(10);

      // Setting the fit height and width of the image view
      imageView.setFitHeight(400);
      imageView.setFitWidth(600);

      // Setting the preserve ratio of the image view
      imageView.setPreserveRatio(true);

      // Creating a Group object
      Group root = new Group(imageView);

      // Creating a scene object
      Scene scene = new Scene(root, 600, 400);

      // Setting title to the Stage
      stage.setTitle("Grayscale to binary image");

      // Adding scene to the stage
      stage.setScene(scene);

      // Displaying the contents of the stage
      stage.show();
   }
   public WritableImage loadAndConvert() throws Exception {
      // Loading the OpenCV core library
      System.loadLibrary( Core.NATIVE_LIBRARY_NAME );

      // Instantiating the imagecodecs class
      Imgcodecs imageCodecs = new Imgcodecs();

      String input = "E:/OpenCV/chap7/grayscale.jpg";

      // Reading the image
      Mat src = imageCodecs.imread(input);

      // Creating the destination matrix
      Mat dst = new Mat();

      // Converting to binary image...
      Imgproc.threshold(src, dst, 200, 500, Imgproc.THRESH_BINARY);

      // Extracting data from the transformed image (dst)
      byte[] data1 = new byte[dst.rows() * dst.cols() * (int)(dst.elemSize())];
      dst.get(0, 0, data1);

      // Creating Buffered image using the data
      BufferedImage bufImage = new BufferedImage(dst.cols(),dst.rows(),
         BufferedImage.TYPE_BYTE_BINARY);

      // Setting the data elements to the image
      bufImage.getRaster().setDataElements(0, 0, dst.cols(), dst.rows(), data1);

      // Creating a Writable image
      WritableImage writableImage = SwingFXUtils.toFXImage(bufImage, null);

      System.out.println("Converted to binary");
      return writableImage;
   }
   public static void main(String args[]) throws Exception {
      launch(args);
   }
}
Obraz wejściowy
Załóżmy, że poniżej jest obraz wejściowy sample.jpg określone w powyższym programie.

Obraz wyjściowy
Podczas wykonywania programu otrzymasz następujące dane wyjściowe.
