Microsoft Expression Web - Nouveau site Web
Dans le chapitre précédent, nous avons installé Microsoft Expression Web et nous sommes maintenant prêts à commencer à travailler dessus. Dans ce chapitre, nous allons apprendre à créer un nouveau site Web à partir de zéro.
Créer un site Web
Pour créer un nouveau site Web, ouvrons Microsoft Expression Web.
Ensuite, vous devez suivre les étapes ci-dessous.
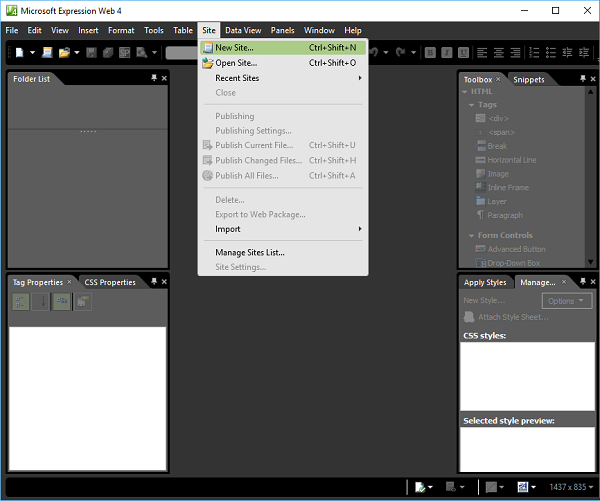
Step 1 - Sélectionnez Site → New Site… option de menu.
Step 2 - Il ouvrira la boîte de dialogue suivante à partir de laquelle vous pouvez créer ou importer différents types de site Web.
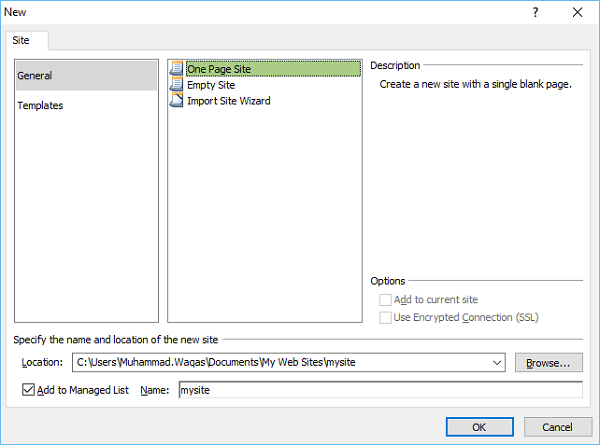
Step 3 - Pour plus de simplicité, sélectionnons General → One Page Site.
Spécifiez l'emplacement ou vous pouvez accéder à l'emplacement où vous souhaitez que le nouveau site Web soit créé.
Tapez le nom de votre site Web dans le champ de nom et cliquez sur OK.
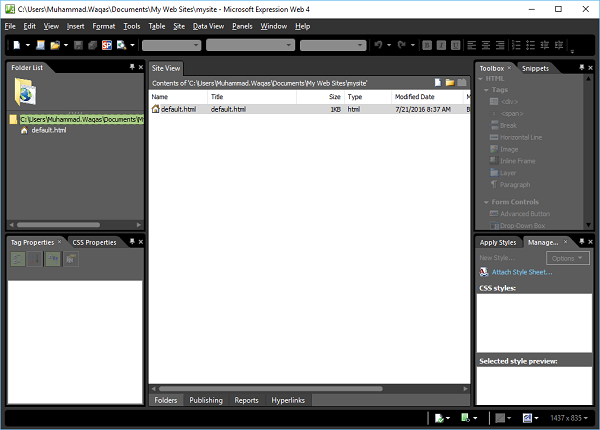
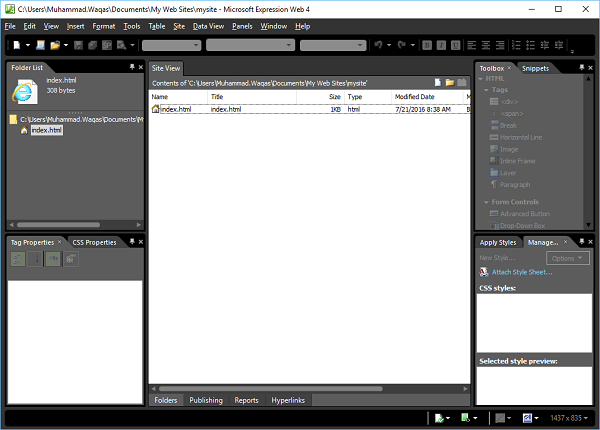
Step 4 - Le nouveau site Web sera créé avec une page nommée default.htm. Renommons-le enindex.html avec un clic droit sur le fichier et en cliquant sur l'option Renommer.
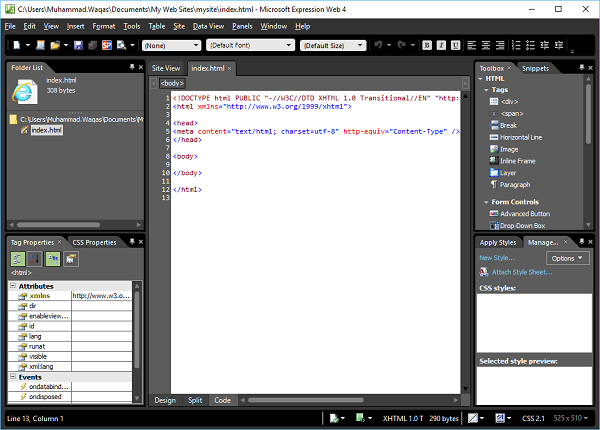
Step 5 - La valeur par défaut doctype utilisé dans Expression Web est -
<!DOCTYPE html PUBLIC "-//W3C//DTD XHTML 1.0 Transitional//EN"
   "http://www.w3.org/TR/xhtml1/DTD/xhtml1-transitional.dtd">

<html xmlns = "http://www.w3.org/1999/xhtml">
Vous pouvez le voir en passant simplement au code view.
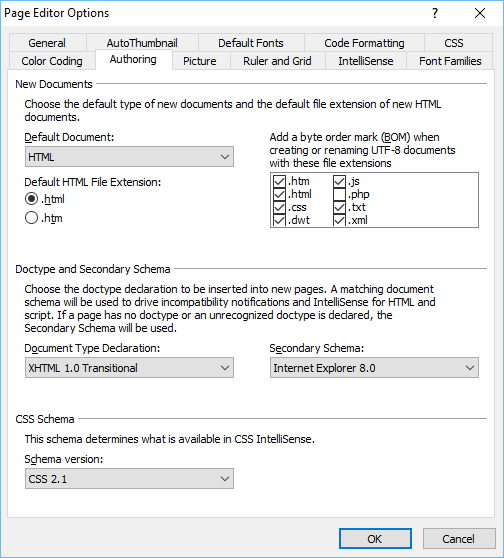
Vous pouvez changer le doctype de Tools → Page Editor Options → Authoring.
Step 6 - Maintenant, ajoutons <h1> étiquette à l'intérieur du body et du texte comme indiqué dans le code suivant.
<!DOCTYPE html PUBLIC "-//W3C//DTD XHTML 1.0 Transitional//EN"
   "http://www.w3.org/TR/xhtml1/DTD/xhtml1-transitional.dtd">

<html xmlns = "http://www.w3.org/1999/xhtml">
   <head>
      <meta content = "text/html; charset = utf-8" http-equiv = "Content-Type" />
   </head>

   <body>
      <h1>
         This my first Web page
      </h1>
   </body>
</html>
Step 7 - Pour voir notre site Web dans un navigateur, allons dans le menu Fichier et sélectionnez le Preview in Browser → Any browser, disons, Internet Explorer.

Cela ouvrira notre site Web dans Internet Explorer.
