WPF-データバインディング
データバインディングは、Windowsランタイムアプリがデータを表示および操作するためのシンプルで簡単な方法を提供するWPFアプリケーションのメカニズムです。このメカニズムでは、データの管理はデータの方法から完全に分離されています。
データバインディングにより、UI要素とユーザーインターフェイス上のデータオブジェクト間のデータフローが可能になります。バインディングが確立され、データまたはビジネスモデルが変更されると、更新がUI要素に自動的に反映されます。その逆も同様です。標準のデータソースではなく、ページ上の別の要素にバインドすることもできます。
データバインディングには2つのタイプがあります- one-way data binding そして two-way data binding。
一方向のデータバインディング
一方向バインディングでは、データはソース(データを保持するオブジェクト)からターゲット(データを表示するオブジェクト)にバインドされます。
一方向のデータバインディングを詳細に理解するために、簡単な例を見てみましょう。まず、次の名前で新しいWPFプロジェクトを作成しますWPFDataBinding。
次のXAMLコードは、2つのラベル、2つのテキストボックス、および1つのボタンを作成し、いくつかのプロパティでそれらを初期化します。
<Window x:Class = "WPFDataBinding.MainWindow"
   xmlns = "http://schemas.microsoft.com/winfx/2006/xaml/presentation"
   xmlns:x = "http://schemas.microsoft.com/winfx/2006/xaml"
   xmlns:d = "http://schemas.microsoft.com/expression/blend/2008"
   xmlns:mc = "http://schemas.openxmlformats.org/markup-compatibility/2006"
   xmlns:local = "clr-namespace:WPFDataBinding"
   mc:Ignorable = "d" Title = "MainWindow" Height = "350" Width = "604">

   <Grid>

      <Grid.RowDefinitions>
         <RowDefinition Height = "Auto" />
         <RowDefinition Height = "Auto" />
         <RowDefinition Height = "*" />
      </Grid.RowDefinitions>

      <Grid.ColumnDefinitions>
         <ColumnDefinition Width = "Auto" />
         <ColumnDefinition Width = "200" />
      </Grid.ColumnDefinitions>

      <Label Name = "nameLabel" Margin = "2">_Name:</Label>

      <TextBox Name = "nameText" Grid.Column = "1" Margin = "2"
         Text = "{Binding Name, Mode = OneWay}"/>

      <Label Name = "ageLabel" Margin = "2" Grid.Row = "1">_Age:</Label>

      <TextBox Name = "ageText" Grid.Column = "1" Grid.Row = "1" Margin = "2"
         Text = "{Binding Age, Mode = OneWay}"/>

      <StackPanel Grid.Row = "2" Grid.ColumnSpan = "2">
         <Button Content = "_Show..." Click="Button_Click" />
      </StackPanel>

   </Grid>
</Window>
両方のテキストボックスのテキストプロパティは、以下に示すPersonクラスのクラス変数である「Name」と「Age」にバインドされます。
Personクラスには、2つの変数しかありません Name そして Age、およびそのオブジェクトはで初期化されます MainWindow クラス。
XAMLコードでは、プロパティNameとAgeにバインドしていますが、そのプロパティが属するオブジェクトを選択していません。
より簡単な方法は、オブジェクトをに割り当てることです DataContext そのプロパティは、次のC#コードでバインドしています MainWindowconstructor。
using System.Windows;
namespace WPFDataBinding {
public partial class MainWindow : Window {
Person person = new Person { Name = "Salman", Age = 26 };
public MainWindow() {
InitializeComponent();
this.DataContext = person;
}
private void Button_Click(object sender, RoutedEventArgs e) {
string message = person.Name + " is " + person.Age;
MessageBox.Show(message);
}
}
public class Person {
private string nameValue;
public string Name {
get { return nameValue; }
set { nameValue = value; }
}
private double ageValue;
public double Age {
get { return ageValue; }
set {
if (value != ageValue) {
ageValue = value;
}
}
}
}
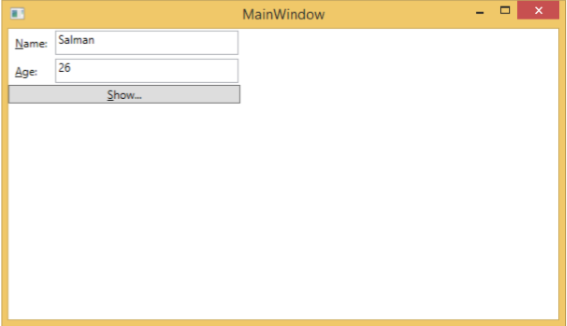
}このアプリケーションを実行してみましょう。メインウィンドウで、そのPersonオブジェクトのNameとAgeに正常にバインドされていることがすぐにわかります。

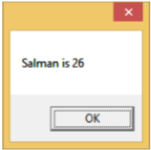
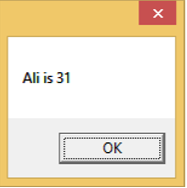
を押すと Show ボタンをクリックすると、メッセージボックスに名前と年齢が表示されます。

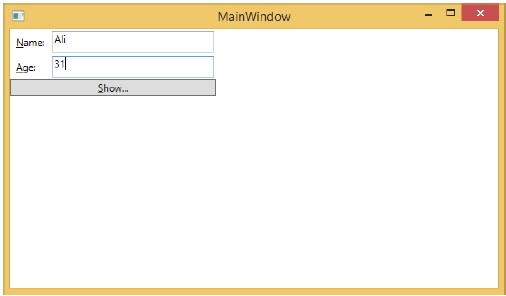
ダイアログボックスで名前と年齢を変更しましょう。

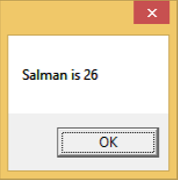
ここで[表示]ボタンをクリックすると、同じメッセージが再び表示されます。
これは、XAMLコードでデータバインディングモードが一方向に設定されているためです。更新されたデータを表示するには、双方向のデータバインディングを理解する必要があります。
双方向データバインディング
双方向バインディングでは、ユーザーはユーザーインターフェイスを介してデータを変更し、そのデータをソースで更新することができます。ユーザーがビューを見ているときにソースが変更された場合は、ビューを更新する必要があります。
同じ例を見てみましょうが、ここでは、XAMLコードでバインディングモードを一方向から双方向に変更します。
<Window x:Class = "WPFDataBinding.MainWindow"
   xmlns = "http://schemas.microsoft.com/winfx/2006/xaml/presentation"
   xmlns:x = "http://schemas.microsoft.com/winfx/2006/xaml"
   xmlns:d = "http://schemas.microsoft.com/expression/blend/2008"
   xmlns:mc = "http://schemas.openxmlformats.org/markup-compatibility/2006"
   xmlns:local = "clr-namespace:WPFDataBinding"
   mc:Ignorable = "d" Title = "MainWindow" Height = "350" Width = "604">

   <Grid>

      <Grid.RowDefinitions>
         <RowDefinition Height = "Auto" />
         <RowDefinition Height = "Auto" />
         <RowDefinition Height = "*" />
      </Grid.RowDefinitions>

      <Grid.ColumnDefinitions>
         <ColumnDefinition Width = "Auto" />
         <ColumnDefinition Width = "200" />
      </Grid.ColumnDefinitions>

      <Label Name = "nameLabel" Margin = "2">_Name:</Label>
      <TextBox Name = "nameText" Grid.Column = "1" Margin = "2"
         Text = "{Binding Name, Mode = TwoWay}"/>
      <Label Name = "ageLabel" Margin = "2" Grid.Row = "1">_Age:</Label>
      <TextBox Name = "ageText" Grid.Column = "1" Grid.Row = "1" Margin = "2"
         Text = "{Binding Age, Mode = TwoWay}"/>

      <StackPanel Grid.Row = "2" Grid.ColumnSpan = "2">
         <Button Content = "_Show..." Click = "Button_Click" />
      </StackPanel>

   </Grid>

</Window>
このアプリケーションをもう一度実行してみましょう。
同じ出力を生成します-
名前と年齢の値を変更しましょう-
ここで[表示]ボタンをクリックすると、更新されたメッセージが表示されます。
概念をよりよく理解するために、両方のケースで上記のコードを実行することをお勧めします。