Kątowy 2 - Formularze
Angular 2 może również projektować formularze, które mogą korzystać z dwukierunkowego łączenia przy użyciu ngModeldyrektywa. Zobaczmy, jak możemy to osiągnąć.
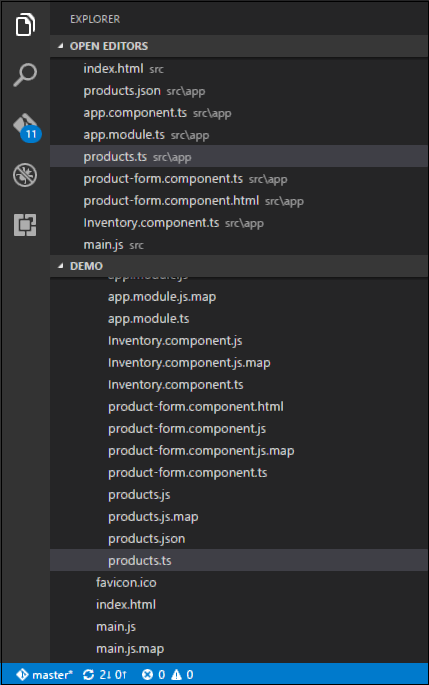
Step 1- Utwórz model, który jest modelem produktów. Utwórz plik o nazwieproducts.ts plik.

Step 2 - Umieść następujący kod w pliku.
export class Product {
   constructor (
      public productid: number,
      public productname: string
   ) {  }
}
Jest to prosta klasa, która ma 2 właściwości, identyfikator produktu i nazwę produktu.
Step 3 - Utwórz komponent formularza produktu o nazwie komponent product-form.component.ts i dodaj następujący kod -
import { Component } from '@angular/core';
import { Product } from './products';

@Component ({
   selector: 'product-form',
   templateUrl: './product-form.component.html'
})

export class ProductFormComponent {
   model = new Product(1,'ProductA');
}
Na temat powyższego programu należy zwrócić uwagę na następujące punkty.
Utwórz obiekt klasy Product i dodaj wartości do identyfikatora produktu i nazwy produktu.
Użyj templateUrl, aby określić lokalizację naszego product-form.component.html, który będzie renderował komponent.
Step 4- Utwórz właściwy formularz. Utwórz plik o nazwie product-form.component.html i umieść następujący kod.
<div class = "container">
   <h1>Product Form</h1>
   <form>
      <div class = "form-group">
         <label for = "productid">ID</label>
         <input type = "text" class = "form-control" id = "productid" required
            [(ngModel)] = "model.productid" name = "id">
      </div>

      <div class = "form-group">
         <label for = "name">Name</label>
         <input type = "text" class = "form-control" id = "name"
            [(ngModel)] = "model.productname" name = "name">
      </div>
   </form>
</div>
Na temat powyższego programu należy zwrócić uwagę na następujący punkt.
Plik ngModel Dyrektywa służy do powiązania przedmiotu produktu z oddzielnymi elementami w formularzu.
Step 5 - Umieść następujący kod w pliku app.component.ts.
import { Component } from '@angular/core';

@Component ({
   selector: 'my-app',
   template: '<product-form></product-form>'
})
export class AppComponent { }
Step 6 - Umieść poniższy kod w pliku app.module.ts
import { NgModule } from '@angular/core';
import { BrowserModule } from '@angular/platform-browser';
import { AppComponent } from './app.component';
import { FormsModule } from '@angular/forms';
import { ProductFormComponent } from './product-form.component';

@NgModule ({
   imports: [ BrowserModule,FormsModule],
   declarations: [ AppComponent,ProductFormComponent],
   bootstrap: [ AppComponent ]
})
export class AppModule { }
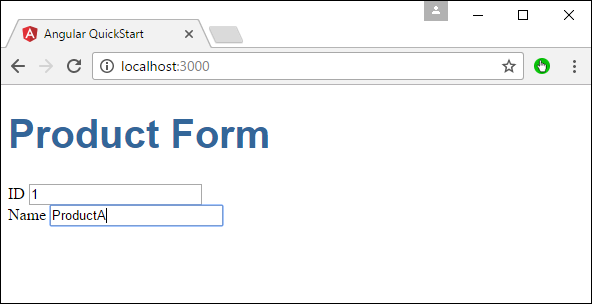
Step 7- Zapisz cały kod i uruchom aplikację przy użyciu npm. Przejdź do przeglądarki, zobaczysz następujące dane wyjściowe.
