Meteor - เทมเพลต
เทมเพลต Meteor ใช้แท็กระดับบนสุดสามแท็ก สองตัวแรกคือhead และ body. แท็กเหล่านี้ทำหน้าที่เหมือนกับใน HTML ทั่วไป แท็กที่สามคือtemplate. นี่คือสถานที่ที่เราเชื่อมต่อ HTML กับ JavaScript
เทมเพลตอย่างง่าย
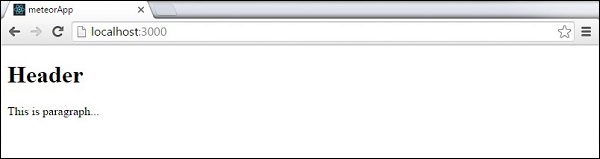
ตัวอย่างต่อไปนี้แสดงวิธีการทำงาน เรากำลังสร้างเทมเพลตด้วยname = "myParagraph"แอตทริบิวต์ ของเราtemplate สร้างแท็กด้านล่าง bodyอย่างไรก็ตามเราจำเป็นต้องรวมไว้ก่อนที่จะแสดงผลบนหน้าจอ เราสามารถทำได้โดยใช้{{> myParagraph}}ไวยากรณ์ ในเทมเพลตของเราเรากำลังใช้เครื่องหมายปีกกาสองชั้น({{text}}). นี่คือภาษาแม่แบบดาวตกที่เรียกว่าSpacebars.
ในไฟล์ JavaScript ของเราเรากำลังตั้งค่า Template.myParagraph.helpers({})วิธีการที่จะเชื่อมต่อกับแม่แบบของเรา เรากำลังใช้text ผู้ช่วยในตัวอย่างนี้
eorApp.html
<head>
   <title>meteorApp</title>
</head>

<body>
   <h1>Header</h1>
   {{> myParagraph}}
</body>

<template name = "myParagraph">
   <p>{{text}}</p>
</template>
eorApp.js
if (Meteor.isClient) {

   // This code only runs on the client
   Template.myParagraph.helpers({
      text: 'This is paragraph...'
   });
}
หลังจากบันทึกการเปลี่ยนแปลงแล้วผลลัพธ์ต่อไปนี้จะเป็น -
เทมเพลตบล็อก
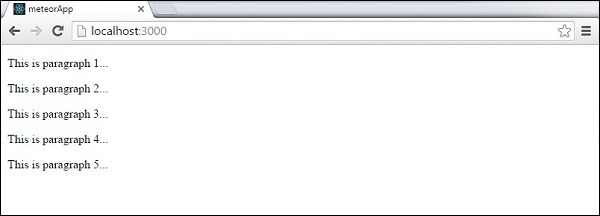
ในตัวอย่างต่อไปนี้เรากำลังใช้ {{#each paragraphs}} เพื่อทำซ้ำในไฟล์ paragraphs อาร์เรย์และเทมเพลตการส่งคืน name = "paragraph" สำหรับแต่ละค่า
eorApp.html
<head>
   <title>meteorApp</title>
</head>

<body>
   <div>
      {{#each paragraphs}}
         {{> paragraph}}
      {{/each}}
   </div>
</body>

<template name = "paragraph">
   <p>{{text}}</p>
</template>
เราจำเป็นต้องสร้าง paragraphsผู้ช่วย. นี่จะเป็นอาร์เรย์ที่มีค่าข้อความห้าค่า
eorApp.js
if (Meteor.isClient) {

   // This code only runs on the client
   Template.body.helpers({
      paragraphs: [
         { text: "This is paragraph 1..." },
         { text: "This is paragraph 2..." },
         { text: "This is paragraph 3..." },
         { text: "This is paragraph 4..." },
         { text: "This is paragraph 5..." }
      ]
   });
}
ตอนนี้เราสามารถเห็นห้าย่อหน้าบนหน้าจอ