SharePoint-開発ツール
この章では、SharePointに関するさまざまなレベルの「開発」について説明します。各レベルは、何らかの方法でSharePointサイトのエンドユーザーにサービスを提供します。このスペクトルを次のように分割できます-
End users −プラットフォームをアプリケーションプラットフォームとして使用する人。
Power users −サイトを作成および管理する(そしておそらくブランド化する)人。
Designers −サイトをブランド化し、ユーザーエクスペリエンスを構築するのは誰か。
Developers −アプリを構築およびデプロイする人。
開発者からエンドユーザーまで、さまざまな人々がSharePointを操作します。次の図に示されています

サイト設定
サイト設定は、SharePointの主要部分の1つです。私たちがそれに精通している必要があることは非常に重要です。
Step 1 − [サイトの設定]ページにアクセスするには、[ User Profile に SharePoint Admin center。オプションをクリックしますSetup My Site [個人用サイトの設定]の下。
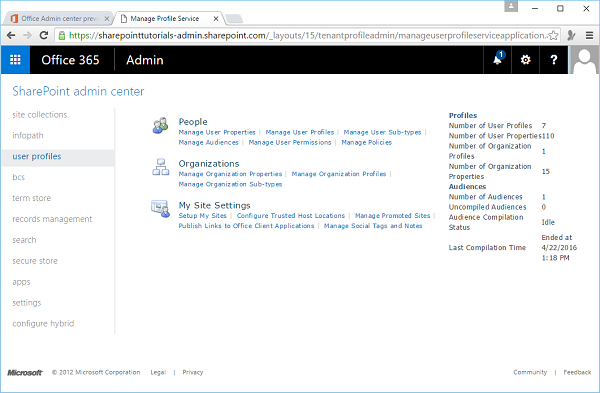
次のページが開きます。
このページには、次のようなサイトのほとんどの構成があります。
- サイトのテーマを変更します。
- 機能をアクティブにします。
- 権限を管理します。
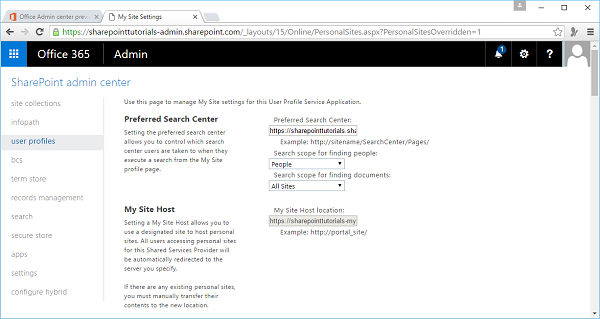
Step 2−一部の設定オプションは[設定]でも使用できます。したがって、左側のペインで[設定]をクリックします。
[サイトの設定]ページのコア機能は、主要なカテゴリに分かれていることに注意してください。たとえば、セキュリティ設定のほとんどは、[ユーザーとアクセス許可]カテゴリ、Webデザイナーギャラリーのテーマなどで利用できます。
HTMLページを追加する
編集の経験は、テキストのフォーマットから画像やマルチメディアの追加まで多岐にわたります。SharePointサイトに直接HTMLを埋め込むことで、コードをもう少し理解することができます。
このタスクは開発に少し似ているので、HTMLページを追加して簡単な例を見てみましょう。
Step 1− SharePointサイトを開き、サイトのホームページに移動します。[ページ]タブで、[編集]メニューオプションをクリックします。
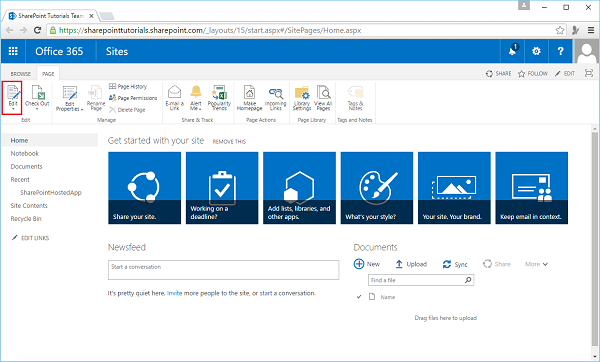
Step 2 − [挿入]タブで、[コードの埋め込み]オプションをクリックします。
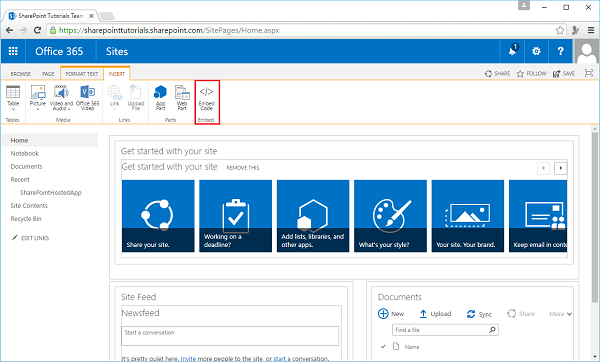
次のダイアログボックスが開きます-

Step 3 −以下に示すように、コードフィールドにHTMLコードを追加します−
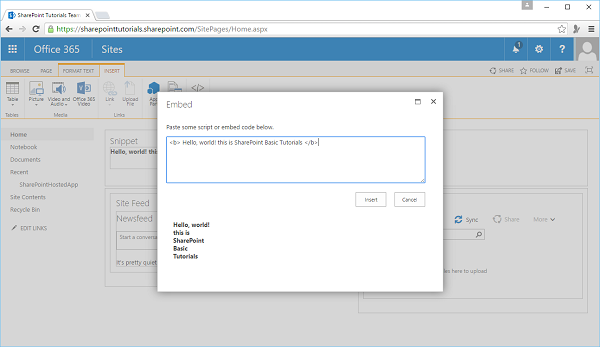
Step 4 −クリック Insert HTMLスニペットが挿入されていることがわかります。
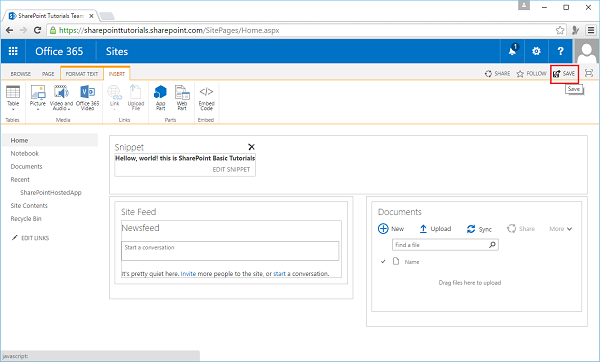
Step 5 −クリック Save。
HTMLコードがSharePointサイトに挿入されていることがわかります。
メディアファイルを追加
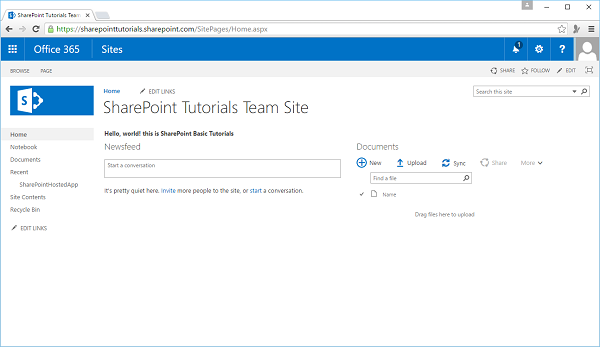
Media PlayerアプリをSharePointサイトに追加するには、SharePointサイトを開き、サイトのホームページに移動します。
Step 1 − [ページ]タブで、[編集]メニューオプションをクリックします。

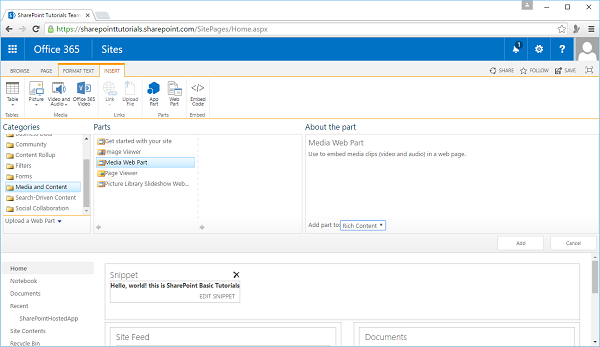
Step 2 − [Webパーツ]オプションを選択します。

Step 3 −メディアとコンテンツをから選択します Categories を選択します Media with Partsパーツセクションから。クリックAdd。
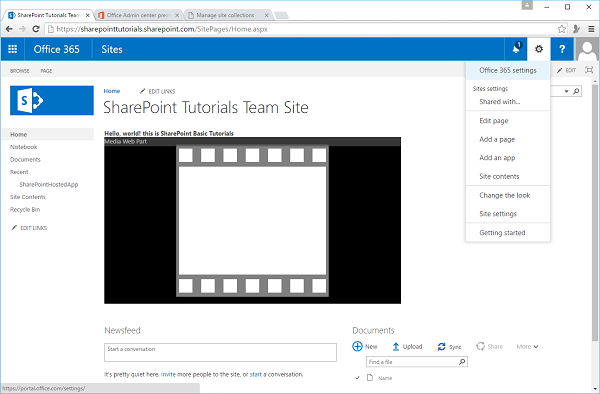
Step 4 −ページを保存すると、メディアファイルを含む次のページが表示されます。

SharePointDesigner
多くの開発者は、SharePointサイトを開発するためのツールとしてSharePointDesignerを使用しないことを好みます。ただし、重要なのは、SharePointDesignerツールを使用すると一部の開発タスクが簡単になるということです。
重要な機能は次のとおりです。
SharePoint Designerは、サイト、ページ、リスト、コンテンツタイプの作成や編集など、SharePointのさまざまなデザイナー機能に使用できます。
SharePoint Designerは、ルールベースの宣言型ワークフローを作成する場合にも役立ちます。このワークフローをVisual Studioにインポートして、より詳細なレベルのカスタマイズを行うことができます。
からダウンロードしてインストールできます https://www.microsoft.com/en-pk/download/details.aspx?id=35491
SharePoint Designerを初めて開くときは、SharePointサイトのURLを提供し、昇格したユーザーとして認証する必要があります。
SharePoint Designerは、標準のSharePointアクセス許可を継承します。
SharePoint Designerでサイトを開くと、サイトのメタデータ、アクセス許可、サブサイトなど、ナビゲート可能ないくつかのオプションとサイトに関する情報が表示されます。
それでは、SharePoint Designerを使用しましょう。ただし、最初に、SharePointサイトを開いてOffice365を使用してSharePointDesignerをセットアップする必要があります。
Step 1 −SharePointサイトを開きます。
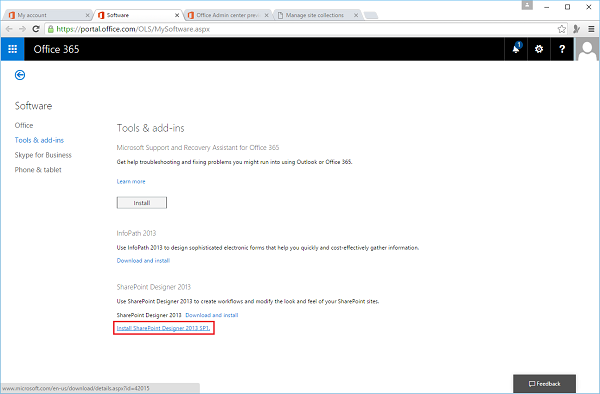
Step 2− Office365設定メニューオプションを選択します。左側のペインで[設定]を選択し、中央のペインでソフトウェアを選択します。
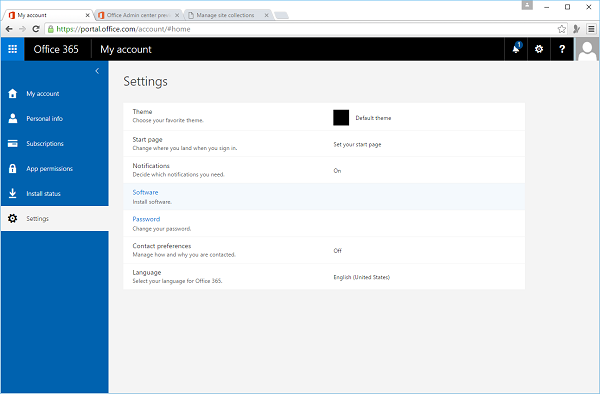
Step 3 −選択 Tools & add-ins左側のペインに、さまざまなオプションが表示されます。最後に、SharePoint Designerオプションが表示されたら、リンクをクリックします。
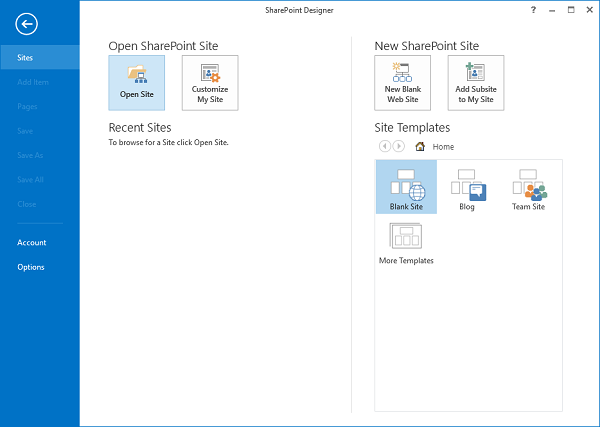
Step 4−インストール後にSharePointDesignerを開きます。クリックOpen Site オプション。
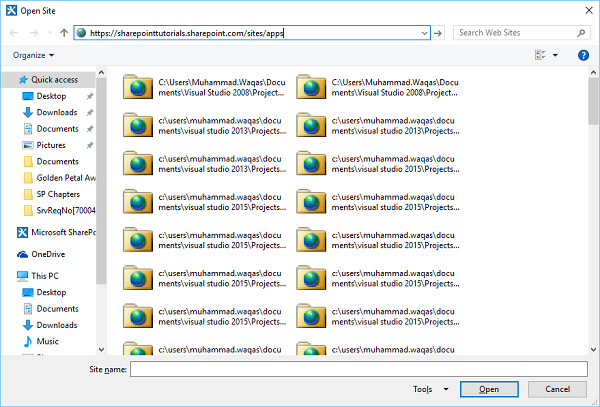
Step 5 − SharePointサイトのURLを指定して、[開く]をクリックします。
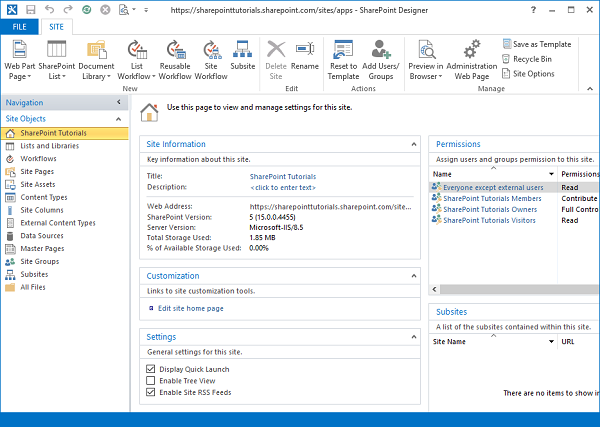
Step 6 − SharePoint Designerサイトを開くと、さまざまなオプションが利用可能であることがわかります。
Step 7 −リボンの[SharePointリスト]をクリックし、メニューから[タスク]を選択します。
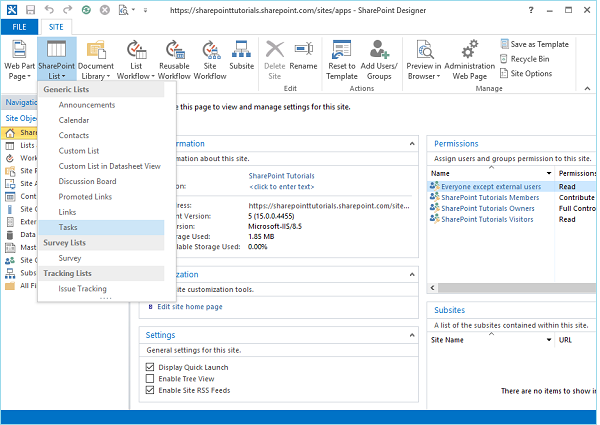
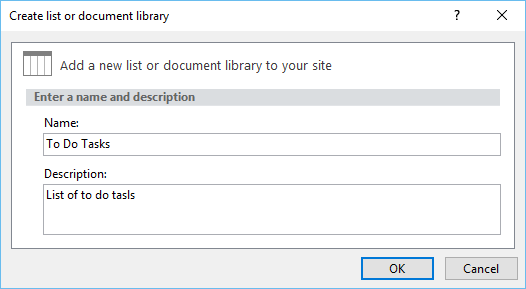
Step 8−新しいダイアログボックスが開きます。名前と説明を指定して、[OK]をクリックします。
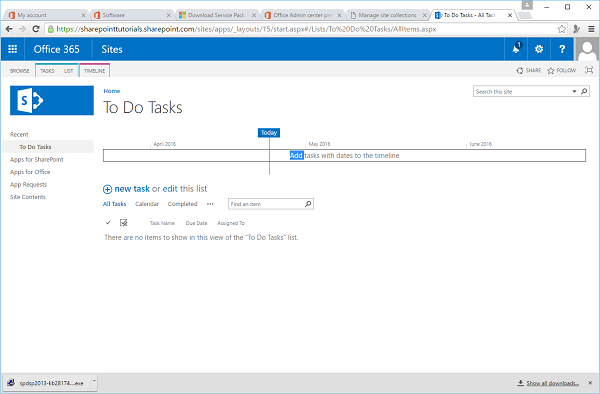
Step 9 −ポータルを使用して同じサイトに移動すると、サイトにToDoリストが表示されます。
VisualStudioとExpressionBlend
使用することもできます Visual Studio そして BlendSharePointサイトにコンテンツを追加します。Visual Studioは、SharePointでのアプリケーションの開発に役立つ多くの機能を提供します。それらを詳細に理解しておくと役に立ちます。
Visual Studioを開いて、SharePointでホストされるアプリケーションの簡単な例を見てみましょう。選択するFile → New → Project オプション。
Step 1 − Visual Studioを開き、 File → New → Project menu。
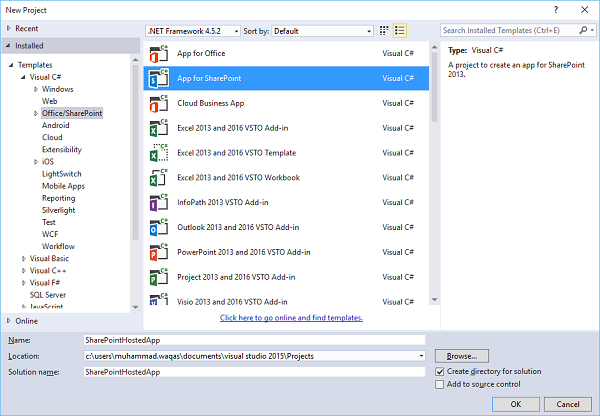
Step 2 −左側のペインで[ Templates → Visual C# → Office/SharePoint 次に、中央のペインで[ App for SharePoint。
[名前]フィールドに名前を入力し、[OK]をクリックすると、次のダイアログボックスが表示されます。
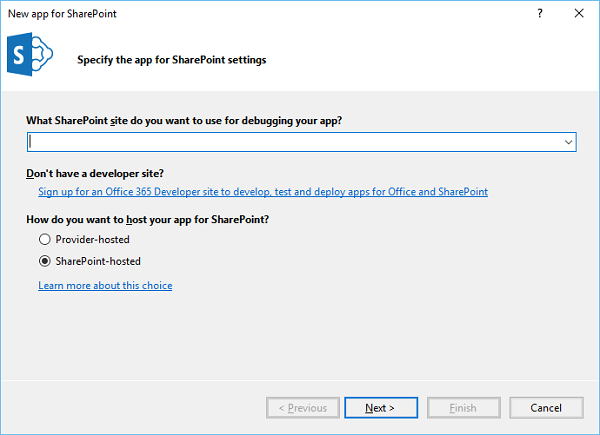
新しいSharePoint用アプリで、デバッグするSharePointサイトのURLを追加してから、SharePoint用のアプリをホストする方法としてSharePointでホストされるモデルを選択する必要があります。
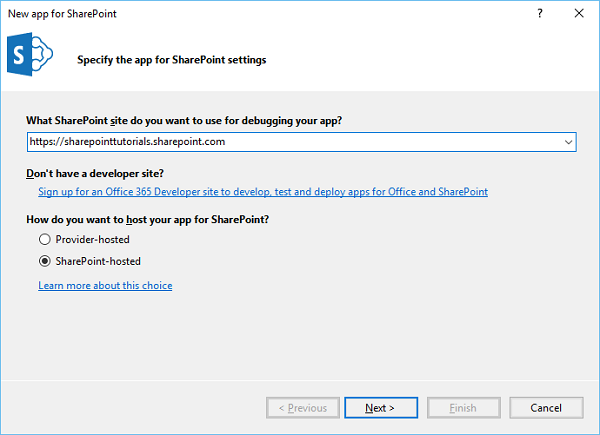
Step 3 − SharePoint管理センターに移動し、SharePointURLをコピーします。

Step 4 −URLをに貼り付けます New App for SharePoint 以下に示すダイアログボックス。
Step 5 −クリック Next そしてそれは開きます Connect to SharePoint ログインが必要なダイアログボックス。
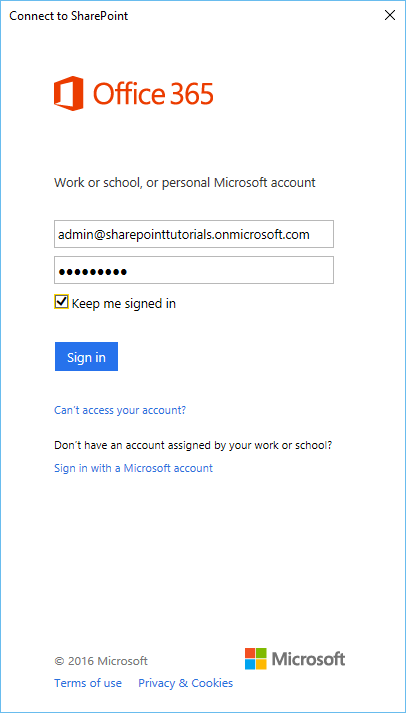
Step 6 −資格情報を入力し、 Sign inボタン。SharePointサイトに正常にログインすると、次のダイアログボックスが表示されます-
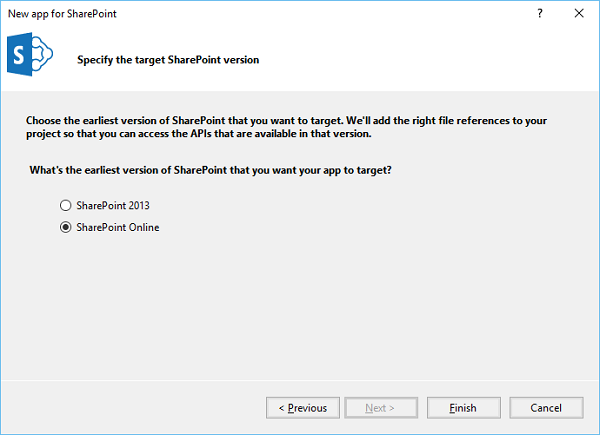
Step 7 −クリック Finish。プロジェクトが作成されたら、をクリックしますAppMenifest.xml ソリューションエクスプローラーのファイル。

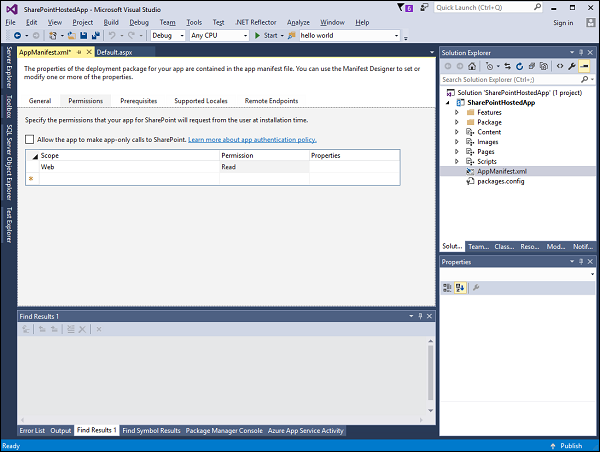
Step 8 −をクリックします Permissionsタブ。スコープドロップダウンリストが開きます。
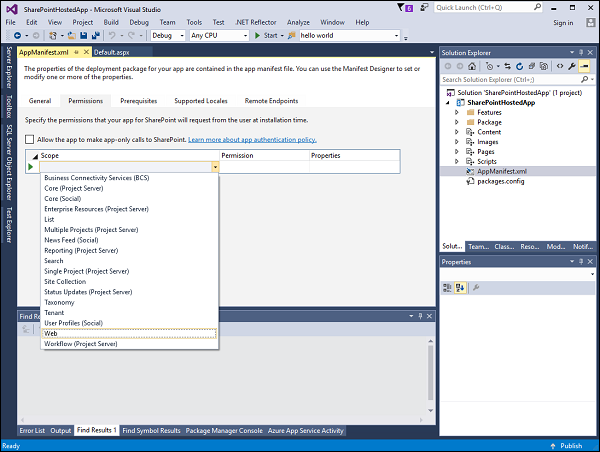
Step 9 − [スコープ]ドロップダウンリストで、[ Web、これは構成している権限の範囲です。[権限]ドロップダウンリストで、[Read、これは構成している権限のタイプです。
Step 10 − Default.aspxファイルを開き、次のコードに置き換えます。
<%-- The following 4 lines are ASP.NET directives needed when
using SharePoint components --%>
<%@ Page Inherits = "Microsoft.SharePoint.WebPartPages.WebPartPage,
Microsoft.SharePoint, Version = 15.0.0.0, Culture = neutral,
PublicKeyToken = 71e9bce111e9429c" MasterPageFile = "~masterurl/default.master"
Language = "C#" %>
<%@ Register TagPrefix = "Utilities" Namespace = "Microsoft.SharePoint.Utilities"
Assembly = "Microsoft.SharePoint, Version = 15.0.0.0, Culture = neutral,
PublicKeyToken = 71e9bce111e9429c" %>
<%@ Register TagPrefix = "WebPartPages"
Namespace = "Microsoft.SharePoint.WebPartPages" Assembly = "Microsoft.SharePoint,
Version = 15.0.0.0, Culture = neutral, PublicKeyToken = 71e9bce111e9429c" %>
<%@ Register TagPrefix = "SharePoint"
Namespace = "Microsoft.SharePoint.WebControls" Assembly = "Microsoft.SharePoint,
Version = 15.0.0.0, Culture = neutral, PublicKeyToken = 71e9bce111e9429c" %>
<%-- The markup and script in the following Content element
will be placed in the <head> of the page --%>
<asp:Content ID = "Content1" ContentPlaceHolderID = "PlaceHolderAdditionalPageHead"
runat = "server">
<script type = "text/javascript" src = "../Scripts/jquery- 1.6.2.min.js"></script>
<link rel = "Stylesheet" type = "text/css" href = "../Content/App.css" />
<script type = "text/javascript" src = "../Scripts/App.js"></script>
</asp:Content>
<asp:Content ID = "Content2" ContentPlaceHolderID = "PlaceHolderMain" runat = "server">
<script type = "text/javascript">
function hello() {
var currentTime = new Date();
$get("timeDiv").innerHTML = currentTime.toDateString();
}
</script>
<div id = "timeDiv"></div>
<input type = "button" value = "Push me!" onclick = "hello();" />
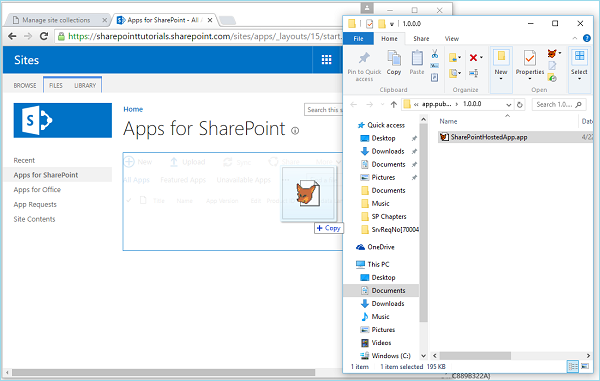
</asp:Content>Step 11−ソリューションエクスプローラーに移動し、プロジェクトを右クリックして[公開]を選択します。クリックPackage the appボタン。これにより、SharePointでホストされるアプリが構築され、SharePointサイトに展開できるように準備されます。

* .appファイルを含む次のフォルダーが表示されます。

Step 12 −SharePointオンラインサイトに移動します。
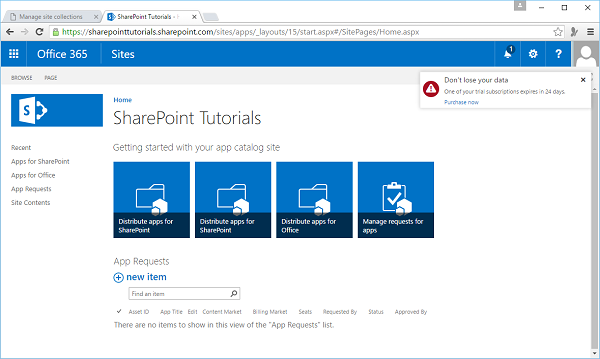
Step 13 −クリック Apps for SharePoint左側のペインで。新しいページが開きます。
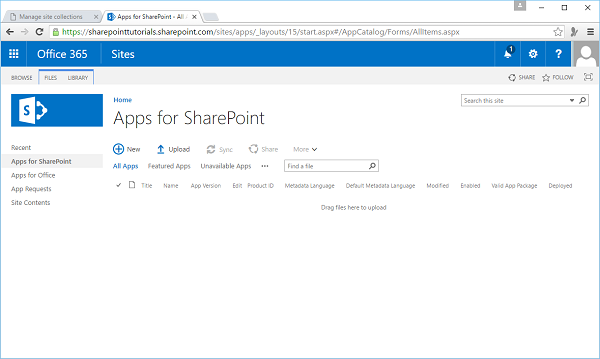
Step 14 −ファイルをここにドラッグしてアップロードします。
ファイルがアップロードされると、次のページが表示されます-
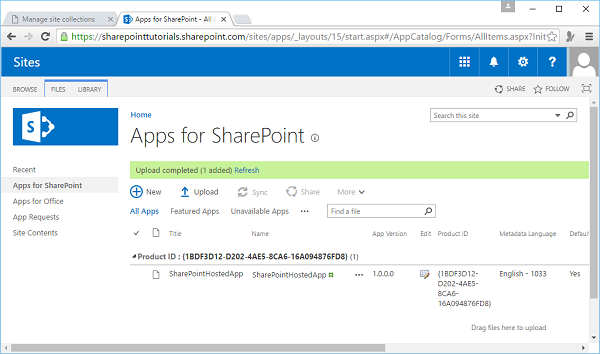
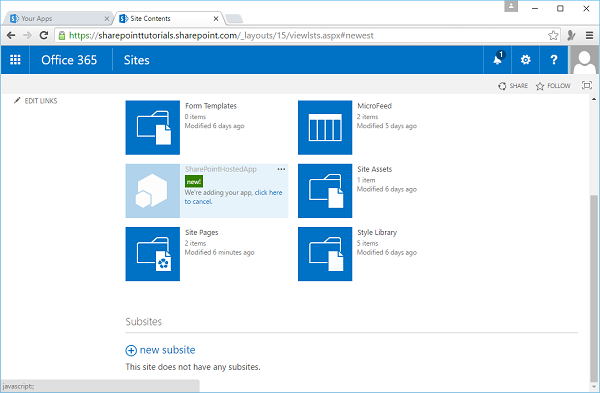
Step 15 −オプションをクリックします- Site Contents左側のペインで。クリックadd an app 次のスクリーンショットに示すようなアイコン-
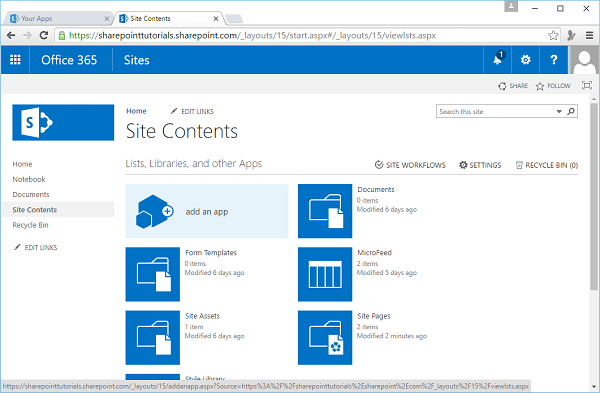
新しいページが開きます。
Step 16 −選択 Your Apps → From Your Organization左側のペインで、アプリをインストールできることがわかります。アプリをクリックします。

Step 17−アプリをクリックすると、次のスクリーンショットに示すようなダイアログボックスが開きます。クリックTrust it。
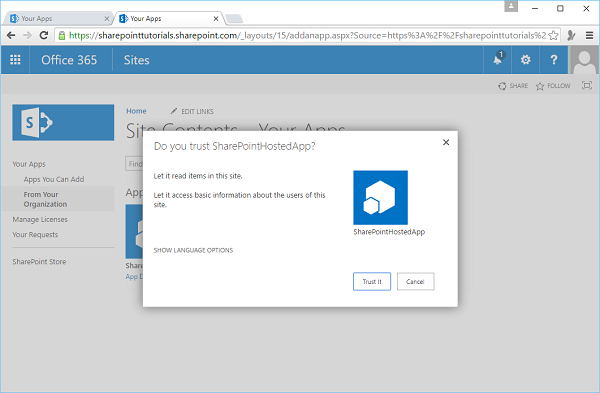
Step 18−アプリがインストールされていることがわかります。インストールが完了したら、アプリをクリックできます。
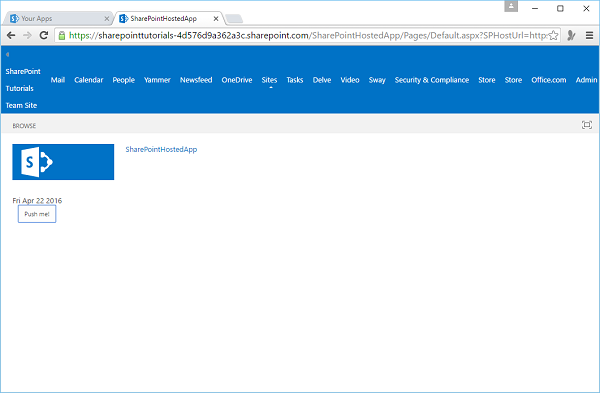
次のページが表示されます。このページにはボタンが1つ含まれています-
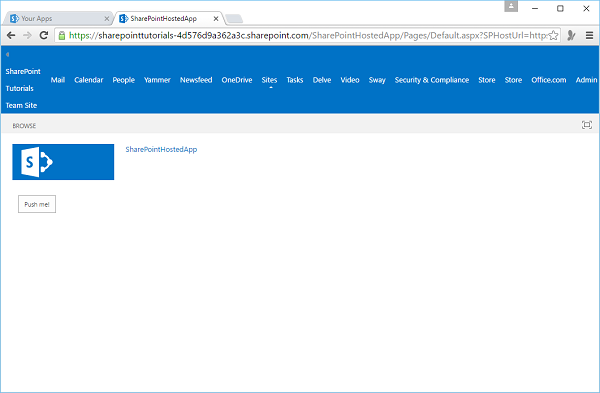
クリックすると Push me ボタンをクリックすると、現在の日付が表示されます。