Google AMP - кнопка
Кнопки - еще одна особенность AMP. Обратите внимание, что в AMP нет изменений для кнопок, и они используются как стандартный тег кнопки HTML. Единственное отличие кнопок на AMP-странице - это работа на ней событий.
В этой главе мы увидим несколько примеров, показывающих работу кнопки и ее использование с компонентами AMP.
Пример кода для лайтбокса
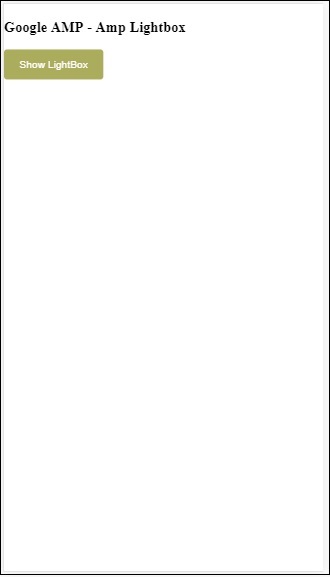
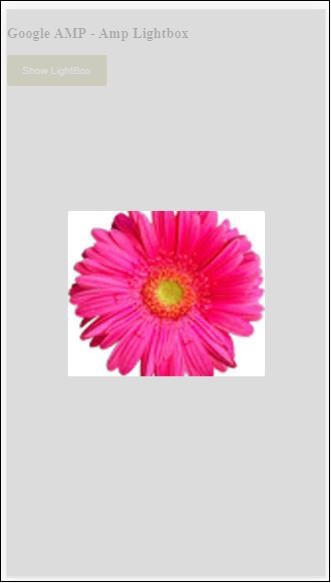
В следующем примере показано, как использовать кнопку для отображения / скрытия amp-lightbox, как показано ниже.
<!doctype html>
<html amp lang = "en">
   <head>
      <meta charset = "utf-8">
      <script async src = "https://cdn.ampproject.org/v0.js"></script>
      <title>Google AMP - Amp Lightbox</title>
      <link rel = "canonical" href = "http://example.ampproject.org/article-metadata.html">

      <meta name = "viewport" content ="width = device-width,minimum-scale = 1,initial-scale = 1">

      <style amp-boilerplate>
         body{
            -webkit-animation:-amp-start 8s steps(1,end) 0s 1 normal both;-moz-animation:
            -amp-start 8s steps(1,end) 0s 1 normal both;-ms-animation:
            -amp-start 8s steps(1,end) 0s 1 normal both;animation:
            -amp-start 8s steps(1,end) 0s 1 normal both
         }
         @-webkit-keyframes
         -amp-start{from{visibility:hidden}to{visibility:visible}}@-moz-keyframes
         -amp-start{from{visibility:hidden}to{visibility:visible}}@-ms-keyframes
         -amp-start{from{visibility:hidden}to{visibility:visible}}@-o-keyframes
         -amp-start{from{visibility:hidden}to{visibility:visible}}@keyframes
         -amp-start{from{visibility:hidden}to{visibility:visible}}
      </style>
      <noscript>
         <style amp-boilerplate>
            body{
               -webkit-animation:none;-moz-animation:none;-ms-an
               imation:none;animation:none
            }
         </style>
      </noscript>

      <script async custom-element = "amp-lightbox"
         src = "https://cdn.ampproject.org/v0/amp-lightbox-0.1.js">
      </script>

      <style amp-custom>
         amp-img {
            border: 1px solid #ddd;
            border-radius: 4px;
            padding: 5px;
         }
         button{
            background-color:
            #ACAD5C; color: white;
            padding: 12px 20px;
            border: none;
            border-radius: 4px;
            cursor: pointer;
            float: left;
         }

         .lightbox {
            background: rgba(211,211,211,0.8);
            width: 100%;
            height: 100%;
            position: absolute;
            display: flex;
            align-items: center;
            justify-content: center;
         }
      </style>
   </head>
   <body>
      <h3>Google AMP - Amp Lightbox</h3>
      <button on = "tap:my-lightbox">
         Show LightBox
      </button>
      <amp-lightbox id = "my-lightbox" layout = "nodisplay">
         <div class = "lightbox" on = "tap:my-lightbox.close" tabindex = "0">
            <amp-img alt = "Beautiful Flower"
               src = "images/flower.jpg"
               width = "246"
               height = "205">
            </amp-img>
         </div>
      </amp-lightbox>
   </body>
</html>
Вывод


Теперь вы можете щелкнуть в любом месте экрана, чтобы закрыть лайтбокс.
В приведенном выше примере мы использовали кнопку, используя код, как показано ниже -
<button on = "tap:my-lightbox">
   Show LightBox
</button>
Next, we have added action on the button using on attribute as shown:
on = "tap:my-lightbox"
Действие произойдет при нажатии на кнопку. Обратите внимание, что ему присваивается идентификатор лайтбокса. Когда пользователь нажимает на кнопку, открывается лайтбокс. Точно так же вы можете использовать кнопку с действием с любым компонентом для взаимодействия с ним.