GoogleAMP-セレクター
Amp-selectorは、オプションのメニューを表示するアンプコンポーネントであり、ユーザーはオプションから選択できます。表示されるオプションは、テキスト、画像、またはその他のアンプコンポーネントです。この章では、これについて詳しく説明します。
amp-selectorを使用するには、次のjavascriptファイルを含める必要があります-
<script async custom-element = "amp-selector"
   src = "https://cdn.ampproject.org/v0/amp-selector-0.1.js">
</script>
アンプセレクターのフォーマット
次のコードは、amp-selector-のフォーマットのサンプルを示しています。
<amp-selector layout = "container">
   <amp-img src = "images/christmas1.jpg"
      width = "60"
      height = "40"
      option = "1">
   <amp-img src = "images/christmas2.jpg"
      width = "60"
      height = "40"
      option = "2">
   </amp-img>
   <amp-img src = "images/christmas3.jpg"
      width = "60"
      height = "40"
      option = "3">
   </amp-img>
   <amp-img src = "images/christmas4.jpg"
      width = "60"
      height = "40"
      option = "4">
   </amp-img>
</amp-selector>
amp-selector内で標準のhtmlタグまたはampコンポーネントを使用できます。コンテンツは画面上のメニューのように表示され、ユーザーはそれらから選択できます。表示されるメニューは、単一選択または複数選択です。
以下に示すシングルおよびマルチセレクトの例を使用して、これを理解しましょう。
アンプセレクターシングルセレクト
次のコードは、amp-selector singleselectのサンプルです。
<!doctype html>
<html amp lang = "en">
   <head>
      <meta charset = "utf-8">
      <script async src = "https://cdn.ampproject.org/v0.js"></script>
      <title>Google AMP - Amp Selector</title>
      <link rel = "canonical" href = "http://example.ampproject.org/article-metadata.html">
      <meta name="viewport" content="width=device-width,minimum-scale = 1,initial-scale = 1">

      <style amp-boilerplate>
         body{-
            webkit-animation:-amp-start 8s steps(1,end) 0s 1 normal both;-moz-animation:
            -amp-start 8s steps(1,end) 0s 1 normal both;-ms-animation:
            -amp-start 8s steps(1,end) 0s 1 normal both;animation:
            -amp-start 8s steps(1,end) 0s 1 normal both
         }
         @-webkit-keyframes
         -amp-start{from{visibility:hidden}to{visibility:visible}}@-moz-keyframes
         -amp-start{from{visibility:hidden}to{visibility:visible}}@-ms-keyframes
         -amp-start{from{visibility:hidden}to{visibility:visible}}@-o-keyframes
         -amp-start{from{visibility:hidden}to{visibility:visible}}@keyframes
         -amp-start{from{visibility:hidden}to{visibility:visible}}
      </style>
      <noscript>
         <style amp-boilerplate>
            body{
            -webkit-animation:none;-moz-animation:none;
            -ms-animation:none;animation:none}
         </style>
      </noscript>

      <script async custom-element="amp-selector"
         src = "https://cdn.ampproject.org/v0/amp-selector-0.1.js">
      </script>
      <style amp-custom>
         amp-selector:not([disabled])
         amp-img[option][selected]:not([disabled]) {
            outline-color: #b6A848;
            outline-width: 2px;
         }
      </style>
   </head>
   <body>
      <h3>Google AMP - Amp Selector</h3>
      <amp-selector layout = "container">
         <amp-img src = "images/christmas1.jpg"
            width = "60"
            height = "40"
            option="1">
         </amp-img>
         <amp-img src="images/christmas2.jpg"
            widt h = 60"
            height = "40"
            option = "2">
         </amp-img>
         <amp-img src = "images/christmas3.jpg"
            width = "60"
            height = "40"
            option = "3">
         </amp-img>
         <amp-img src = "images/christmas4.jpg"
            width = "60"
            height = "40"
            option = "4">
         </amp-img>
      </amp-selector>
   </body>
</html>
出力
上記のコードの出力は次のとおりです-

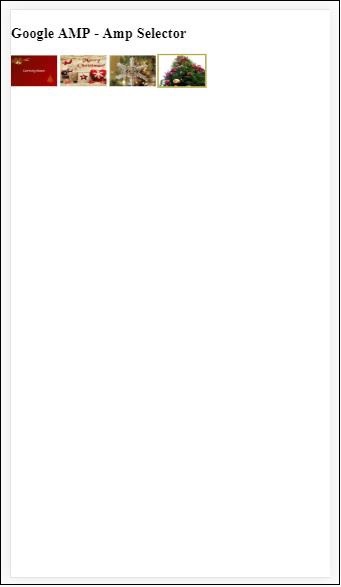
上記の例では、amp-selectorを使用し、内部の画像を使用してオプションを示していることに注意してください。これは単一の選択セレクターであるため、出力に示されているように任意の1つの画像を選択できます。
アンプセレクターマルチプルセレクト
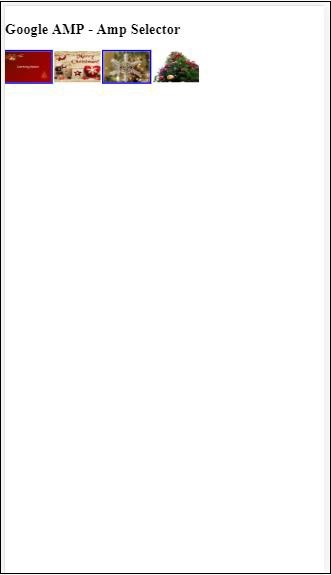
この例では、複数の属性を使用して画像を含むアンプセレクターを表示します。セレクターから複数のオプションを選択できます。
例
<!doctype html>
<html amp lang = "en">
   <head>
      <meta charset = "utf-8 ">
      <script async src = "https://cdn.ampproject.org/v0.js"></script>
      <title>Google AMP - Amp Selector</title>
      <link rel = "canonical" href = "http://example.ampproject.org/article-metadata.html">
      <meta name = "viewport" content = "width = device-width,minimum-scale = 1,initial-scale =1">

      <style amp-boilerplate>
         body{-webkit-animation:
            -amp-start 8s steps(1,end) 0s 1 normal both;-moz-animation:
            -amp-start 8s steps(1,end) 0s 1 normal both;-ms-animation:
            -amp-start 8s steps(1,end) 0s 1 normal both;animation:
            -amp-start 8s steps(1,end) 0s 1 normal both}
         @-webkit-keyframes
         -amp-start{from{visibility:hidden}to{visibility:visible}}@-moz-keyframes
         -amp-start{from{visibility:hidden}to{visibility:visible}}@-ms-keyframes
         -amp-start{from{visibility:hidden}to{visibility:visible}}@-o-keyframes
         -amp-start{from{visibility:hidden}to{visibility:visible}}@keyframes
         -amp-start{from{visibility:hidden}to{visibility:visible}}
      </style>

      <noscript>
         <style amp-boilerplate>
            body{
               -webkit-animation:none;-moz-animation:none;
               -ms-animation:none;animation:none
            }
         </style>
      </noscript>

      <script async custom-element = "amp-selector"
         src = "https://cdn.ampproject.org/v0/amp-selector-0.1.js">
      </script>

      <style amp-custom>
         amp-selector:not([disabled])
         amp-img[option][selected]:not([disabled]) {
            outline-color: blue;
            outline-width: 2px;
         }
      </style>
   </head>
   <body>
      <h3>Google AMP - Amp Selector</h3>
      <amp-selector layout = "container" multiple>
         <amp-img src = "images/christmas1.jpg"
            width = "60"
            height ="40"
            option = "1">
         </amp-img>
         <amp-img src="images/christmas2.jpg"
            width = "60"
            height = "40"
            option = "2">
         </amp-img>
         <amp-img src ="images/christmas3.jpg"
            width = "60"
            height = "40"
            option = "3">
         </amp-img>
         <amp-img src = "images/christmas4.jpg"
            width = "60"
            height = "40"
            option = "4">
         </amp-img>
      </amp-selector>
   </body>
</html>
出力
上記のコードの出力を以下に示します-

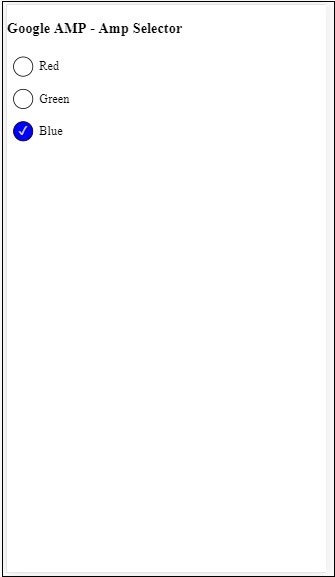
以下のコードに示すように、amp-selectorを使用してラジオボタンを表示することもできます。
例
<!doctype html>
<html amp lang = "en">
   <head>
      <meta charset = "utf-8">
      <script async src = "https://cdn.ampproject.org/v0.js"></script>
      <title>Google AMP - Amp Selector</title>
      <link rel = "canonical" href = "http://example.ampproject.org/article-metadata.html">
      <meta name = "viewport" content ="width = device-width,minimum-scale = 1,initial-scale = 1">

      <style amp-boilerplate>
         body{
            -webkit-animation:
            -amp-start 8s steps(1,end) 0s 1 normal both;-moz-animation:
            -amp-start 8s steps(1,end) 0s 1 normal both;-ms-animation:
            -amp-start 8s steps(1,end) 0s 1 normal both;animation:
            -amp-start 8s steps(1,end) 0s 1 normal both
         }
         @-webkit-keyframes
         -amp-start{from{visibility:hidden}to{visibility:visible}}@-moz-keyframes
         -amp-start{from{visibility:hidden}to{visibility:visible}}@-ms-keyframes
         -amp-start{from{visibility:hidden}to{visibility:visible}}@-o-keyframes
         -amp-start{from{visibility:hidden}to{visibility:visible}}@keyframes
         -amp-start{from{visibility:hidden}to{visibility:visible}}
      </style>

      <noscript>
         <style amp-boilerplate>
            body{
               -webkit-animation:none;
               -moz-animation:none;
               -ms-animation:none;
               animation:none}
         </style>
      </noscript>
      <script async custom-element = "amp-selector"
         src = "https://cdn.ampproject.org/v0/amp-selector-0.1.js">
      </script>
      <style amp-custom>
         .radio-menu {
            list-style: none;
         }
         .radio-menu [option][selected] {
            outline: none;
         }
         .radio-menu [option] {
            display: flex;
            align-items: center;
         }
         .radio-menu [option]:before {
            transition: background 0.25s ease-in-out;
            content: "";
            display: inline-block;
            width: 24px;
            height: 24px;
            margin: 8px;
            border-radius: 100%;
            border: solid 1px black;
         }
         .radio-menu [option  = red][selected]:before {
            text-align: center;
            content: "✓";
            color: white;
            background: red;
         }
         .radio-menu [option  = green][selected]:before {
            text-align: center;
            content: "✓";
            color: white;
            background: green;
         }
         .radio-menu [option  = blue][selected]:before {
            text-align: center;
            content: "✓";
            color: white;
            background: blue;
         }
      </style>
   </head>
   <body>
      <h3>Google AMP - Amp Selector</h3>
      <amp-selector class = "radio-menu" layout = "container" name = "my-selector">
         <div option = "red">Red</div>
         <div option = "green">Green</div>
         <div option = "blue">Blue</div>
      </amp-selector>
   </body>
</html>
出力
