Elbette, Sızdıran Bir Hava Yastığını Onarabilirsiniz… Ya da Yaşlı Benz'inizi Anahtarlara Takabilirsiniz

Kısa bir süre önce, bir aile üyesinin ihmal edilmiş 2011 W212 Mercedes E550'sini Florida'dan kurtarma fırsatı doğdu. Arızalı hava süspansiyonu nedeniyle yere çarptı ve tam bir servise ihtiyaç duyuyordu. Bunu takas etmeyi düşündüler, ancak teklif 10.000 $'a geldiğinde, bunu düzeltebilecek biri için bunun daha değerli olacağını hissettiler. On üç yaşındaki lüks bir Alman arabasına ayarlanabilir havalı süspansiyonu bu şekilde taktım .
İlgili İçerik
Sorunlu çocuğu ücretsiz olarak evlat edinmek isteyip istemediğimi ve onu tamamen işlevsel, düşük maliyetli lüks bir sedana geri döndürmeyi denemek isteyip istemediğimi öğrenmek için bana ulaştılar. Kendini kırbaçlama meraklısı biri olarak ben, bu zorluğa karşı koyamadım.
İlgili İçerik
- Kapalı
- İngilizce
Bu mükemmel bir zamanlamaydı çünkü kışlar da dahil olmak üzere tüm ömrünü Ortabatı'da geçiren 2005 Nissan Xterra'nın 230.000 millik süspansiyonunu yeniden inşa etmek için bir meşale ve pistonlu testereyle üç ayımı harcamıştım. Tuz görmemiş ve tuzla ilgili sorunlar yaşamayacak bir güney otomobiline hazırdım.
Arabayı Michigan'a götürdüğümüzde çalışmalar başladı. Ana suçlu, hava sistemini kompresörün doldurabileceğinden daha hızlı tahliye edecek kadar büyük bir deliğe sahip ön yolcu tarafı hava payandası grubuydu. Değiştirmeler için satış sonrası pazara gidebilirsiniz, ancak birden fazla tamircinin tavsiyesi üzerine bana OEM'e sadık kalmam söylendi. Görünüşe göre sorunlar, satış sonrası veya yenilenmiş amortisörlerde yaygındır ve bu, ana giderin ön ucun yeniden inşası ve hizalanmasıyla ilgili işçilik olması nedeniyle yaklaşık 300 $'lık maliyet tasarrufunu önemsiz hale getirdi.
Mercedes'in havalı payandalarını bulmak zor olabilir ve her biri yaklaşık 1.100 dolara mal olabilir. Sadece tamamen yırtılmış olanı değiştirip zarları sürücü tarafında atmaya idari karar verdim.
Her iki arka hava yastığı da hava tutmalarına rağmen biraz sert görünüyordu, bu yüzden her biri yaklaşık 250 $ karşılığında Arnott yedeklerini aldım ve kurulum oldukça basitti. basit bir hidrolik kriko ve biraz dikkatli manevra ile iki buçuk saat sürdü ve iş tamamlandı.

Or so I thought. The next week was filled with waking up and seeing the car on the ground each morning followed by 30 minutes of me crawling around with a spray bottle filled with soapy water trying to find the leak. “I must have knocked something loose during the install” I thought to myself. I checked the entire air line run, then disassembled and checked the valve block that distributes the air to all four corners. I even inspected the compressor and air tank. No leaks to be found anywhere.
After a few days of frustration I thought to check the brand new parts I just installed and sure enough, there was a leak! The brass pneumatic fitting that is factory-installed was not torqued sufficiently and air was leaking out of the threads. This fitting screws into the plastic housing of the air bag and there are warnings all over the Arnott documentation telling you specifically not to tighten it because it has been torqued at the factory to exact specifications.
Luckily, Arnott has incredible support representatives. I was able to speak with them on the phone and share photos/videos of the whole process and we decided it was worth trying to torque the brass fitting down in situ to avoid the extra cost and trouble of replacing the entire bag with a new one. I lightly torqued the brass fitting while keeping an eye on the soapy water for the bubbles to stop and sure enough, it worked.
Obviously, once I had it running well I figured it was the perfect time to play around and try to break it by installing a custom aftermarket air suspension control module.
If you’re intent on messing up your suspension, there are a ton of options. Some “trick” the factory controller by changing the suspension height sensor linkages and some plug into your OBD port and connect with a phone app. I’ve always had an affinity for the “OEM+” method of modifying cars so I searched for a solution that would seamlessly integrate with the vehicle and not require me to bring out a phone or separate controller every time I wanted to make adjustments.
The solution that checked these boxes was the LowMo M1 from loweringmodule.com. This is a really slick custom controller that splices into the factory CAN communication behind the footwell on the passenger side. Once installed, it can be controlled via the media controls on the steering wheel. Hold the “End Call” button for a few seconds and the dash pops up with the “Suspension Control” settings. Here you can lower or raise the default height for the vehicle and you can adjust the front and rear independently.
I have settled on -5 for the front and -3 for the rear which is about a 1-1.5” drop from the factory height and the limit before I started to notice a significant degradation in ride quality. In the winter I can throw it back to factory height or even a bit higher and not worry about dragging on deeper snow, it’s as easy as going through the settings on the dash.

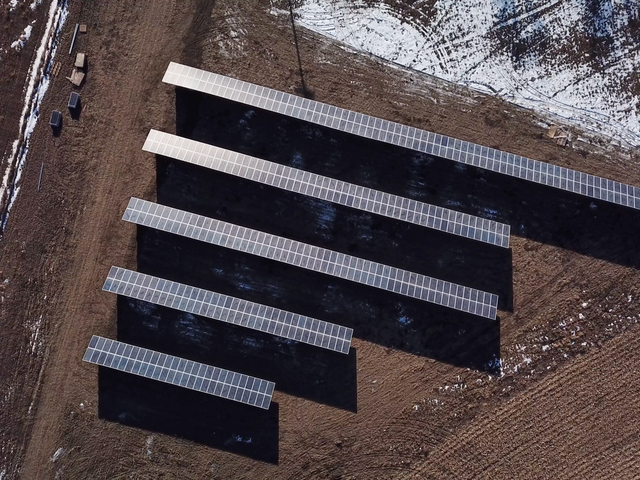
Kontrol cihazı aynı zamanda 55mph'nin üzerinde fabrika yüksekliğine otomatik dönüşü etkinleştirme veya devre dışı bırakma yeteneğine de sahiptir, böylece aşağıdaki resimdeki gibi VIP tarzını çarpmış olsanız bile, uzun yolculuklarda gereksiz kamber aşınması veya sürüş konforunda bozulma yaşamazsınız.
Şimdi sürücü tarafındaki havalı payandanın, süspansiyon kontrol cihazına 1 bin dolar harcadığım için onu tamir etmek yerine beni cezalandırmaya karar vermesine kadar ne kadar dayanabileceğimi görmem gerekiyor…